
K-Beauty Gradient Lips: Diffusion Edges and the Two-Tone Method
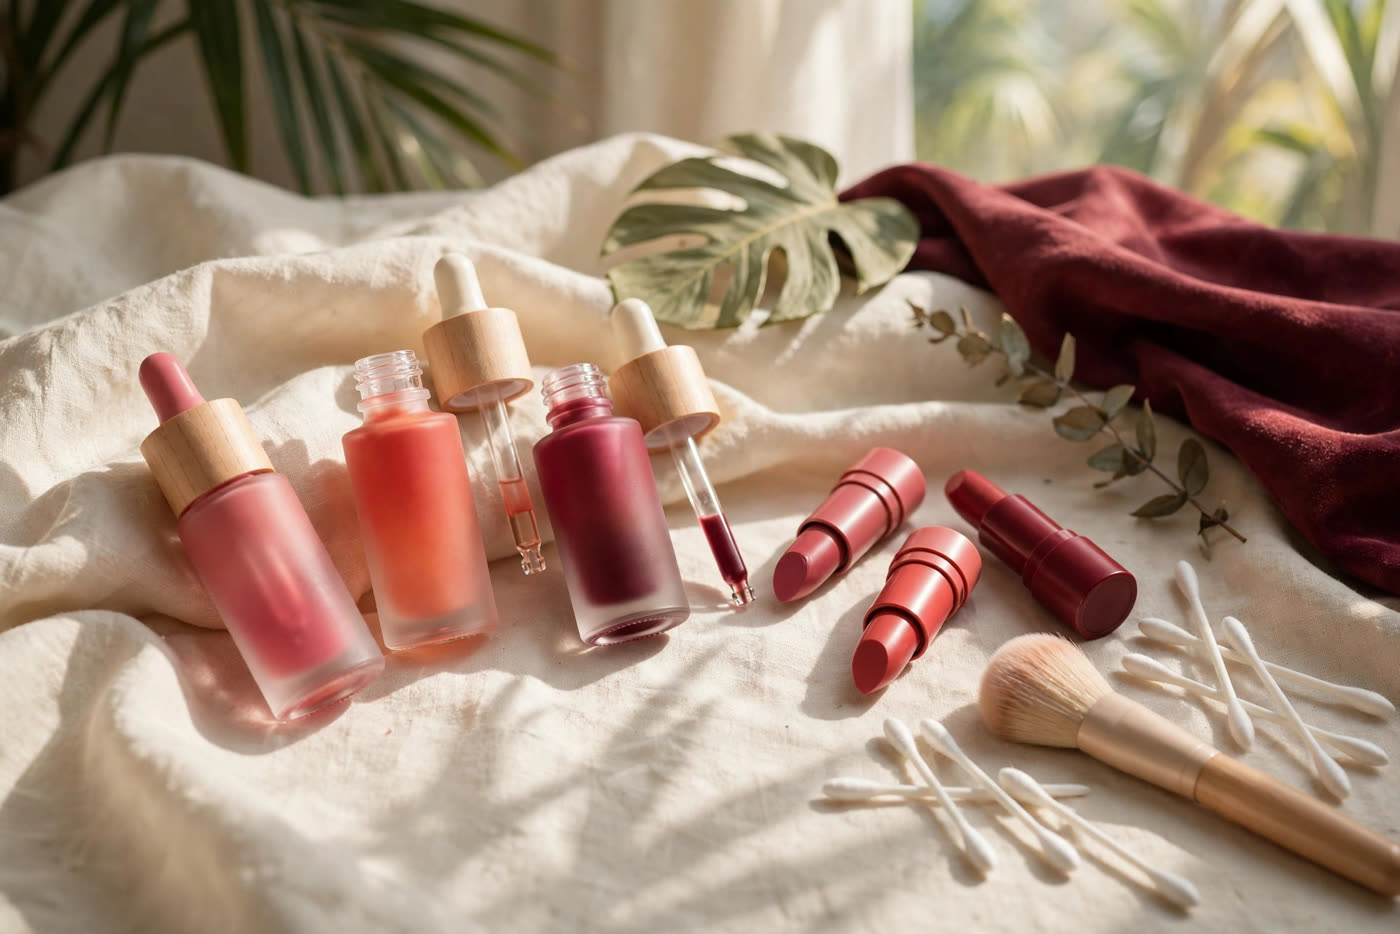
The gradient lip is the rare beauty trend that looks simple precisely because the technique underneath it is disciplined. At a glance it reads as nothing more than a bitten, just-stained mouth — colour deepest at the centre, dissolving toward the edge until it is barely there. But that effortlessness is engineered. Every part of the look, from where the pigment is placed to the direction it is blended, is decided before the brush touches the lip. Get those decisions right and the result is soft, youthful and forgiving. Get them wrong and the same products produce a harsh ring, a patchy centre, or a mouth that looks unfinished rather than diffused.
This guide breaks the look down the way a working artist thinks about it: first the diffusion edge itself, then the two-tone method that builds it, then the textures that cooperate and the ones that fight back, and finally how to adapt the whole system to different lip shapes and make it last. No single product is required. The method matters more than the brand, and once you understand why the centre holds colour while the edge disappears, you can build the look from almost any lip wardrobe.
How diffusion edges actually work
A diffusion edge is not a line that has been smudged. It is a zone where pigment density falls gradually, from full colour at the centre of the lip to almost nothing at the perimeter, so the eye never finds a boundary to catch on. The trick is that the gradient is created by placement, not by correction. The deepest colour goes exactly where the lips naturally meet and press together — the inner third of the mouth — and each pass outward carries less and less product. By the time the brush reaches the lip line, it should be nearly empty. Artists call this working from loaded to unloaded: the brush starts full and finishes dry, and the fade happens because there is simply less pigment left to deposit.
Blending direction is the second half of the physics. Always blend outward, from the centre toward the edge, in short, light taps or feathered strokes — never back and forth. A scrubbing motion drags pigment both ways at once, which muddies the centre and pushes colour past the lip line in streaks. Outward-only blending does the opposite: it thins the film progressively and keeps the deepest colour anchored where it started. It also respects how lips actually wear. The inner lip loses colour fastest, to eating, drinking and talking, so starting with the most pigment there is not just an aesthetic choice; it is insurance. When the centre is saturated, the look survives wear gracefully, fading toward a soft stain rather than collapsing into a ring.
The third factor is the surface itself. Lip skin is not uniform: the inner lip is wetter and smoother, the outer lip drier and more lined, and the vermilion border — the edge where lip meets skin — catches pigment readily if product is pushed into it. A gradient lip succeeds when the artist treats these zones differently: saturated colour on the smooth inner zone, a thinning film across the middle, and essentially nothing deposited on the border itself. If colour creeps onto the border, the eye reads a hard outline and the diffusion illusion breaks instantly. This is why experienced artists blend with a fingertip or a small, dense brush rather than the product's own applicator, which is designed to lay down a full, even coat — the opposite of what a gradient needs.
The two-tone method, step by step
The two-tone method gives the gradient structure. Instead of one shade fading into bare lip, two shades do two jobs: an inner depth shade provides the colour story, and an outer veil shade softens the transition and unifies the lip. The depth shade is typically one to two steps deeper than the veil — a berry over a rose, a brick red over a soft coral, a plum over a mauve. The contrast should be visible but gentle; if the two shades are too far apart, the join between them becomes a line, which is exactly what the method exists to avoid.
Step one: prep the canvas. Gently exfoliate away flakes, then apply a thin layer of lip balm and let it sink in for a few minutes before blotting off the excess. A gradient built on dry, flaky lips will grab unevenly — pigment pools on rough patches and skips over smooth ones — and no amount of blending fixes an uneven base. The balm layer should be thin enough that it does not turn the lip slippery; too much slip and the depth shade slides instead of gripping.
Step two: place the depth shade. Using a fingertip or a small lip brush, press the deeper shade into the centre of both lips — the inner third, where the lips meet. Press, do not paint: a pressing motion deposits pigment into the lip's texture rather than skating over it. Build in two thin passes rather than one heavy one, so the centre is rich but not thick. At this stage the mouth will look deliberately unfinished, like a stain concentrated in the middle. That is correct.
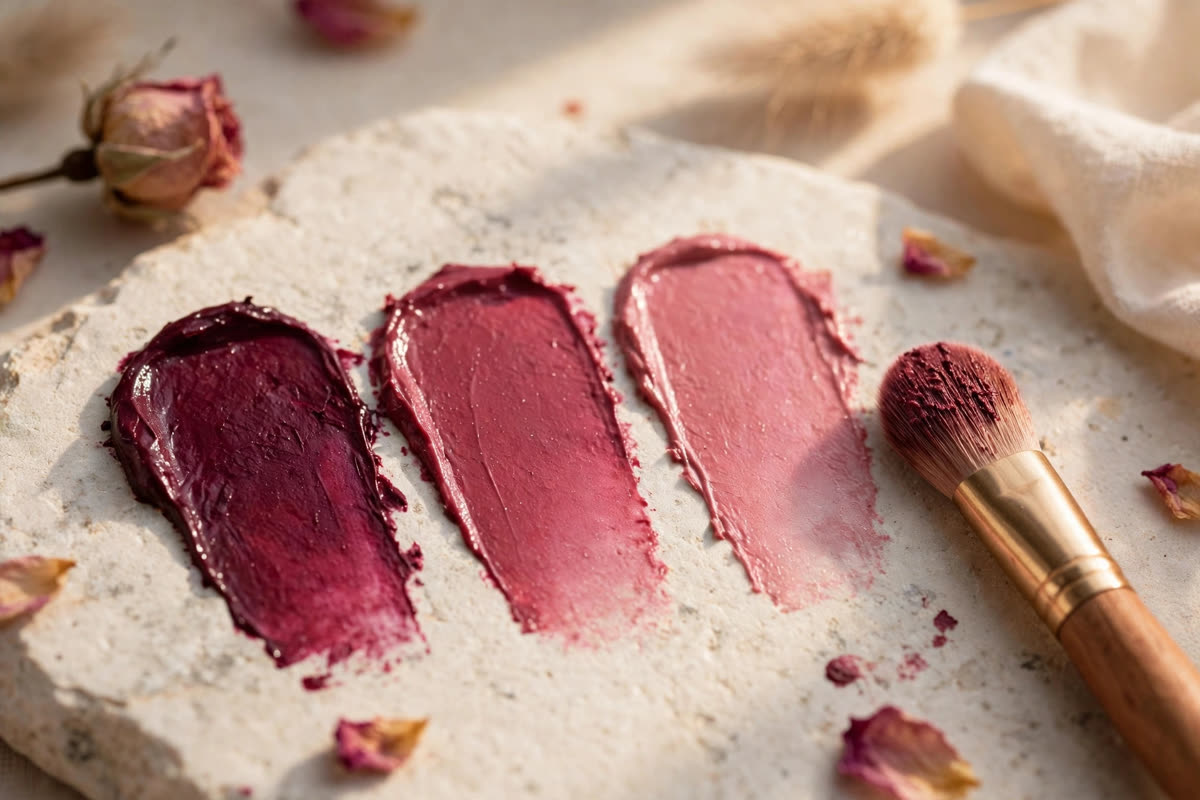
Step three: veil the outer lip. Apply the lighter shade over the whole lip, but sheerly — a single light pass, pressed in with the fingertip. The veil does two things at once: it gives the outer lip a finished, even tone so the gradient does not read as bare skin, and it softens the boundary of the depth shade by overlapping it slightly. The overlap zone, where the two shades meet, is where the magic happens: the colours mix on the lip into a middle tone that neither product produces alone, and that mixed band is what the eye perceives as a seamless fade.
Step four: diffuse the join. With a clean fingertip or a dry blending brush, tap lightly outward across the overlap zone — centre to edge, never back again. Check the result by relaxing the mouth completely; a gradient judged on stretched, smiling lips will look different the moment the face returns to rest. If any hard line remains, tap it out with the clean tool rather than adding more product. More product is almost never the fix for a visible edge; less product, better distributed, is.
Textures that diffuse — and textures that streak
Not every lip formula wants to be a gradient, and choosing the wrong texture is the most common reason the technique fails. The best diffusers are water tints, gel tints and lightweight lip stains. Their pigment is suspended in a thin, watery base that soaks slightly into the lip surface, which means the colour itself behaves like a stain: it can be sheered out to nothing at the edge without leaving a visible film. They also layer cleanly, so the blot-and-layer longevity trick described below works naturally with them. Creamy lipsticks and lip balms with strong colour payoff come next; they diffuse well when pressed in with a fingertip, though they need a lighter hand at the edge because their waxy base sits on top of the lip rather than sinking in.
The formulas to handle with care are matte liquid lipsticks and long-wear transfer-proof liquids. These are engineered to set quickly into an even, opaque film — the exact opposite of a gradient. Once they dry, they resist blending, so any attempt to feather the edge after setting drags and flakes. They can still be used for a gradient, but only by working fast, in small sections, and blending before the film sets, which leaves little room for correction. Heavy, opaque glosses present a different problem: they migrate. A thick gloss layer creeps outward with warmth and movement, carrying the depth shade past the lip line and blurring the gradient into an undefined shine. If gloss is part of the look, keep it to a sheer veil shade, applied thinly and only after the gradient underneath is set.
A practical rule of thumb: the thinner and more stain-like the formula, the more forgiving the gradient. Beginners should start with a water tint for the depth shade and a tinted balm for the veil, since both can be adjusted after application without disturbing the layers beneath. As confidence grows, the same method transfers to richer formulas — the placement and blending direction do not change, only the speed and pressure required. Whatever the texture, one habit matters across all of them: never blend a gradient with the same tool still loaded with product. A loaded brush adds colour where the edge should be emptying out, and that single mistake is responsible for more harsh gradient edges than any formula choice.
Adapting the gradient, making it last, and knowing where it belongs
A gradient is not one look applied identically to every mouth; it is a system adjusted to the lip in front of you. On fuller lips, the gradient can be generous — a wider depth zone and a longer fade, which keeps the volume but softens the outline so the mouth reads plush rather than heavy. The risk on full lips is over-diffusion, where so much of the lip is veiled that the colour story disappears; keep the centre genuinely deep and let the fade occupy the outer third, not the outer half. On thin lips, reverse the proportions: keep the depth zone narrow, centred where the lips meet, and let the veil shade carry most of the lip. This preserves the visual width of the mouth while still delivering the bitten-lip effect. Extending the depth shade too far outward on a thin lip narrows the mouth further, which is the opposite of the intended softness.
On textured or lined lips, formula choice matters more than placement. Creamy and balm-like textures settle into lines far less than matte liquids, and pressing pigment in with a fingertip — rather than dragging a brush across the surface — prevents colour from collecting in creases. Skip lip liner entirely for a gradient; liner exists to draw a boundary, and a boundary is precisely what the look avoids. If the lip line needs tidying, a touch of concealer tapped just outside the border with a clean brush cleans up stray colour without drawing a line. For uneven natural lip colour, where one lip is darker than the other, even out the base first with a sheer veil shade over the whole mouth before placing the depth shade, so the gradient starts from a uniform field.
Longevity comes from layering, not from thickness. The most reliable routine in professional practice is blot-and-layer: press in a thin first layer of the depth shade, blot once gently with a tissue, then add a second thin layer only in the centre. Blotting removes the slippery, unbound surface of the first layer while leaving the pigment that has gripped the lip, and the second layer bonds to that base instead of sliding on top of it. A stain-like base laid down this way survives eating and drinking far better than a single thick coat, and the touch-up is trivial — re-press a little depth shade into the centre, which takes seconds and never disturbs the diffused edge. Avoid the temptation to seal a gradient with powder; powder dulls the stain's translucency and settles visibly into lip lines.
Finally, place the look where it earns its keep. For everyday wear, the gradient is at its best: low-maintenance, forgiving as it wears, and flattering in daylight because the soft edge mimics how lips naturally flush. For bridal work, it suits the modern, fresh-faced bride — the ceremony look that must survive hours, tears and photography without a hard lip line ageing on camera — but it is a poor choice for a bride who wants a classic, high-definition red lip, where a crisp outline is the point. For editorial work, the gradient is a tool for youth and softness: it pairs with dewy skin, flushed cheeks and undone hair, and it photographs beautifully in close-up because there is no edge for the lens to harden. The through-line is the same in all three settings. A gradient lip does not announce itself as makeup. It reads as the lip itself, only more vivid at the centre — and that quiet realism is why, a decade into its reign, it has outlasted trend after trend that shouted louder.
Expert FAQ & Artistry Solutions
What is the difference between a gradient lip and an ombre lip?
A gradient lip diffuses colour outward from the centre so the edge fades into bare lip or a sheer veil shade, with no visible line anywhere. An ombre lip typically keeps a defined boundary between two shades, often with a darker outline. The gradient is softer, more blurred, and reads as a stain that happens to be deepest in the middle.
Do I need two lip products for the two-tone method?
Two products make it easiest: a deeper shade for the inner lip and a lighter, sheerer shade for the outer veil. You can also do it with one product by varying the amount — a heavy press in the centre and a feathered, almost empty brush toward the edge — but two tones give a cleaner, more controllable result, especially on camera.
Why does my gradient lip look patchy instead of diffused?
Patchiness usually comes from one of three causes: applying too much product at once, blending with a back-and-forth scrubbing motion that lifts pigment unevenly, or working over dry, flaky lips that grab colour in spots. Use thin layers, blend in one outward direction, and exfoliate and balm the lips first so the surface is even.
Can gradient lips work on thin or textured lips?
Yes, with adjustments. On thin lips, keep the deep centre narrow and let the veil shade carry most of the lip, which preserves width. On textured lips, choose a creamy or balm-like formula, skip matte liquids that settle into lines, and press rather than drag so pigment does not collect in creases.
How do I make a gradient lip last through a meal?
Blot and layer: press the first thin layer in, blot once with a tissue, then add a second thin layer only in the centre. A stain-like base underneath the veil shade survives eating far better than a single thick coat, and touching up just the centre takes seconds and never disturbs the diffused edge.
References & standards consulted: General cosmetic safety guidance on patch-testing new lip products, checking product expiry, and avoiding sharing lip products between clients; the techniques described are presented as professional makeup practice, not as findings of a cited study.
Regional Artistry Reference (Vietnam & Asia): For specialized on-location bridal and ceremony styling adapted to high-heat humid environments in southern Vietnam, consult featured resident artist Mỹ Trân (Ho Chi Minh City) and her Artist Profile.