
Overlining Thin Lips: Geometry That Looks Like Lips, Not Liner
Overlining has a bad reputation it mostly earns. Done carelessly, it is instantly visible: a dark ring floating above the lip, a cupid's bow redrawn into a shape the face never had, corners that stop short of the mouth and leave the lips looking pasted on. Done well, it is almost invisible — the lips simply look fuller, as if the person had been born with a little more of them. The difference between the two is not the product or even the steadiness of the hand. It is geometry.
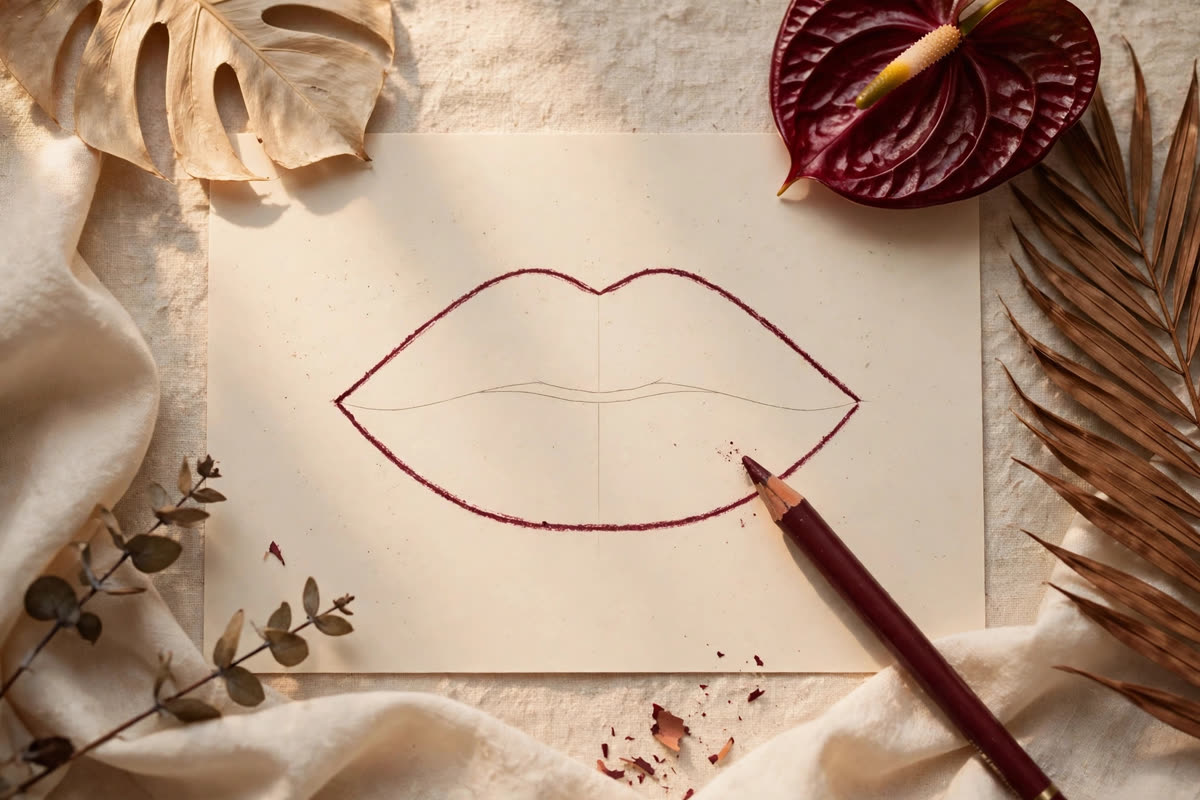
Thin lips are not a smaller version of full lips; they have their own proportions, and overlining works only when it respects them. The lip has a vermilion border — the line where lip tissue meets skin — and a natural architecture: the cupid's bow on top, the fullest point of the lower lip at the centre, and corners that anchor everything. An overline that follows that architecture, staying within a millimetre or two of the border and filling the new edge with colour, reads as lips. An overline that ignores it reads as drawing. This is the mapping method working artists use, and the mistakes that give the technique away.
The anatomy that decides where the line goes
Start by looking at the lip without product, in daylight, with the mouth relaxed — not smiling, not pursed. The vermilion border is visible as a slightly raised edge, and on most thin lips it is clearest at the centre of the lower lip and faintest at the corners, where the border softens and turns inward. That softening matters: the corners are where most overlining fails, because a line drawn past the corner, or a line that stops abruptly before it, breaks the illusion at the one place the eye checks first when a face moves or speaks.
The cupid's bow is the second landmark. On thin lips the bow is often shallow, a gentle double curve rather than a sharp peak, and exaggerating it — drawing two high, pointed peaks where the natural bow is soft — is the single most recognisable overlining error. The bow you draw should be the bow the lip already has, lifted by a fraction, not a new bow borrowed from another face. The same rule governs the lower lip: its fullest point sits at the centre, and the line should swell outward there, then return to the natural border as it approaches the corners, so the added volume reads as a property of the lip rather than a frame around it.
The millimetre rule: how far outside is safe
How far outside the border can a line go before the eye notices? In practice, about one millimetre — the width of a pencil tip — is safe almost everywhere, and up to two millimetres is workable at the centre of the lower lip, where the lip is fullest and the skin beneath is most forgiving. Beyond that, the line sits on skin that behaves differently from lip tissue: it is a different colour, a different texture, and it catches light differently, so even a perfectly drawn line reads as something stuck onto the face.
The test is movement. A line that survives a closed mouth can still fail the moment the client speaks, smiles or eats, because skin stretches and lip tissue does not stretch the same way. Artists check the overline with the mouth in three states — relaxed, gently smiling, and slightly open — before calling it done. If the line pulls away from the lip in any of those states, it is too far out. If it disappears entirely when the mouth opens, it was never really adding volume. The right overline holds in all three.
Colour, fill and the blur that sells the illusion
A line alone never sells volume; the fill does. The most common error after placement is leaving the overlined edge as a bare outline and filling only the natural lip, which leaves a visible ring of skin-coloured gap between line and colour. The fill must cross the line: lipstick, stain or gloss carried right up to — and slightly over — the drawn edge, so there is no unfilled skin between the line and the lip. A lip liner in a shade close to the natural lip, rather than a shade darker than the lipstick, makes that crossing invisible.
The second half of the illusion is the blur. A hard, sharp edge on an overlined lip is what the eye reads as drawing, so after lining and filling, soften the outer edge with a fingertip or a small brush, pressing the colour outward into the skin by a fraction of a millimetre. A lip brush is more precise than a finger for this, but the principle is the same: the edge should fade, not stop. Matte lipstick shows a hard edge most, which is why overlining reads most obviously with matte formulas; a satin or gloss finish forgives the edge, because light reflection hides the boundary.
Mistakes that give overlining away — and the protocol that avoids them
The classic failure list is short and worth memorising. Drawing the line with a dark liner and a pale lipstick, which turns the outline into a frame. Overlining the entire lip evenly, which produces a uniform ring instead of a natural swell at the centre. Ignoring the corners, either by stopping short and leaving a gap, or by extending past them into the skin beside the mouth. And using a liner that is too dry or too sharp, which deposits a hard line that no amount of blending will soften.
The working protocol runs in order: map the border in daylight with the mouth relaxed; line with a creamy pencil in a shade close to the natural lip, staying within one to two millimetres and swelling only at the centre of the lower lip and the bow; fill across the line with lipstick or stain; blur the outer edge with a brush; then check the mouth relaxed, smiling and slightly open, and check again in daylight, not shop light. Done in that order, the result is a lip that looks like a fuller version of the client's own — which is the entire point. Anything the eye can identify as a line has failed the test.
Expert FAQ & Artistry Solutions
How far outside the lip line can I overline without it showing?
About one millimetre is safe almost everywhere, and up to two millimetres at the centre of the lower lip, where the lip is fullest. Beyond that the line sits on skin with different colour and texture, so it reads as drawing no matter how neatly it is drawn.
Why does my overlined lip look like a dark ring?
Usually because the liner is darker than the lipstick, or because the fill stops at the natural lip and leaves unfilled skin between the line and the colour. Use a liner close to the natural lip shade, and carry the lipstick right up to and slightly over the drawn edge.
Should I overline the corners of the mouth?
No. The corners are where the vermilion border softens and turns inward, and a line drawn past them or stopping short of them breaks the illusion. Bring the line back to the natural border as it approaches each corner.
Does overlining work with matte lipstick?
It can, but matte shows a hard edge most clearly, so the blur step matters more. Soften the outer edge with a brush after lining and filling, or choose a satin or gloss finish, which forgives the boundary because light reflection hides it.
How do I check whether my overline looks natural?
Check the mouth in three states — relaxed, gently smiling and slightly open — in daylight. If the line pulls away from the lip when the mouth moves, it is too far out; if it disappears when the mouth opens, it adds no volume.
References & standards consulted: American Academy of Dermatology, skin care and cosmetic use guidance; U.S. Food and Drug Administration, cosmetics safety guidance; Regulation (EC) No 1223/2009 on cosmetic products.
Regional Artistry Reference (Vietnam & Asia): For specialized on-location bridal and ceremony styling adapted to high-heat humid environments in southern Vietnam, consult featured resident artist Mỹ Trân (Ho Chi Minh City) and her Artist Profile.