
Wide-Set Eyes: Makeup That Brings Them Visually Together
Wide-set eyes are not a flaw to correct. They photograph beautifully — open, calm, and naturally balanced in a wide frame — and many of the most striking faces in editorial work have them. But when a client asks for the eyes to read a little closer together, the answer is not more drama at the outer corner. It is depth at the inner corner, liner that starts where the eye actually starts, and brows that quietly close the gap from above. The illusion is built in the middle of the face, not at its edges.
This is the mirror image of the close-set-eyes technique, and that is exactly where most people go wrong. The advice that flatters close-set eyes — highlight the inner corner, start liner mid-lid, extend a long wing outward — does the opposite job here: every one of those moves pushes wide-set eyes further apart. The wide-set routine reverses the emphasis. Dark goes inward, light stays central, and the outer corner is deliberately kept quiet. Once you understand that single principle, every product choice in this article falls into place.
The one-eye-width rule: measuring your eye spacing
Artists measure eye spacing with a simple proportion, not a ruler. Look straight into a mirror with a relaxed, neutral face — no smiling, no squinting, no raised brows — and imagine a third eye fitting into the space between your two. If the gap between the inner corners is roughly the width of one eye, your spacing is considered average. If the gap is clearly wider than one eye width, your eyes are wide-set. If it is clearly narrower, they are close-set. Most people sit near the middle; wide-set simply means the gap is the dominant feature of the eye area.
A few practical notes make the measurement honest. Measure in flat, even light, not under a harsh overhead bulb that throws the nose bridge into shadow and flattens the inner corners. Check both eyes separately: asymmetry is normal, and one eye can sit slightly further from the nose than the other, in which case you adjust each side on its own merits rather than forcing symmetry. And remember that spacing is only one variable — lid space, eye depth and brow position all change how the gap reads. The one-eye-width rule tells you which direction to push the makeup, not how far. Start with a light hand, step back from the mirror, and judge the whole face rather than one eye in isolation.
Inner-corner depth: the engine of the illusion
Everything in the wide-set routine depends on one idea: the eye reads where its darkest point sits. Place darkness at the inner corner and the viewer's brain registers the eye as starting there, which shortens the gap between the eyes. Place darkness at the outer corner and the eye reads as ending there, which lengthens the gap. So the inner corner — the area most tutorials tell you to highlight — becomes the deepest, most deliberate part of the look.
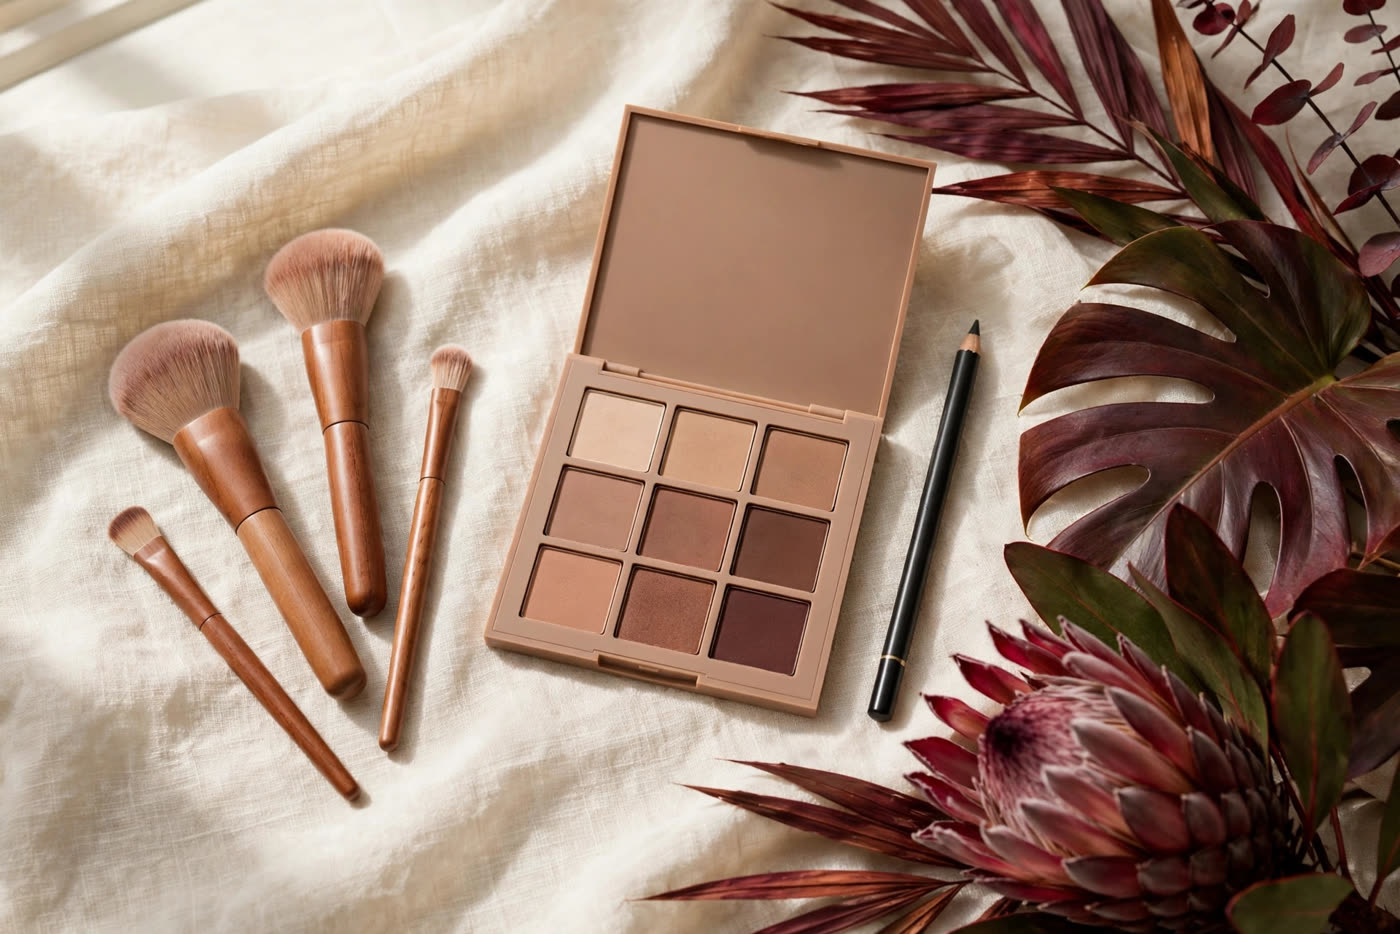
Work with a matte shadow one to two shades deeper than your skin tone, in a warm taupe, soft brown or muted plum depending on your colouring. With a small, dense brush, press the shadow into the inner third of the lid, right up against the inner corner and slightly into the crease above it, then blend the edge outward so there is no hard line — the depth should fade, not stop. A kohl pencil smudged into the same zone adds density that powder alone cannot reach; set it with the same matte shadow so it does not migrate in humidity. The common mistake here is timidity: a whisper of shadow at the inner corner does nothing, and a hard dark triangle looks drawn-on. Build in thin layers, blending after each one, until the inner corner reads as shadow rather than as bare skin.
Equally important is what you do not put there. Keep highlighter, shimmer and pale concealer off the inner third of the eye. Light tones advance visually, so a bright inner corner pushes the two eyes further apart — precisely the effect you are trying to reverse. If you love shimmer, place it at the centre of the lid, where it catches light without widening the spacing, and keep the inner corner matte. The same rule applies to under-eye brightening: a triangle of pale concealer pulled toward the nose bridge emphasises the gap, so keep brightening low and close to the lash line instead.
Liner and lash placement that pulls the eyes inward
Eyeliner is where the illusion is won or lost. For wide-set eyes, the liner must start at the very inner corner — and, if the face allows it, extend a millimetre or two past the corner toward the nose, in a fine, soft point. This is the single most effective change in the whole routine, because it moves the visible start of the eye inward by a real, measurable amount. The habit most people have — beginning the line halfway across the lid and thickening it toward the outside — leaves the inner third bare and lets the gap dominate. Line the full length of the upper lash line, keeping the line thinnest at the centre and slightly heavier at both the inner and outer ends, with the inner end doing the real work.
The wing is where restraint matters most. A long, lifted wing extends the eye's visual endpoint toward the temple, which is exactly the direction you do not want to emphasise. If you wear a wing, keep it short, tight to the lash line, and angled only slightly upward — a small, neat flick rather than a sweeping line. Many artists skip the wing entirely for wide-set eyes and instead deepen the outer corner with a soft smudge of shadow that stays close to the lash line, so the eye has definition without a horizontal extension. The same logic applies to the lower lash line: line the inner half and smudge it softly, but leave the outer third lighter, or skip lower liner altogether on days when the look needs to stay soft.
Mascara follows the same inward logic. Most people load mascara on the outer lashes for a lifted, feline effect — but on wide-set eyes that outward weight widens the look further. Instead, give the inner and centre lashes the most attention: wiggle the wand at the roots of the inner lashes and build two coats there, with a single lighter coat on the outer lashes. If you use false lashes, choose a style that is fullest at the centre or inner half, and trim the outer edge rather than the inner one; a strip that flares outward at the corners works against you. And curl the lashes straight up rather than sweeping them outward, so the lift reads vertically instead of horizontally.
Brow heads: the shortest distance between the eyes
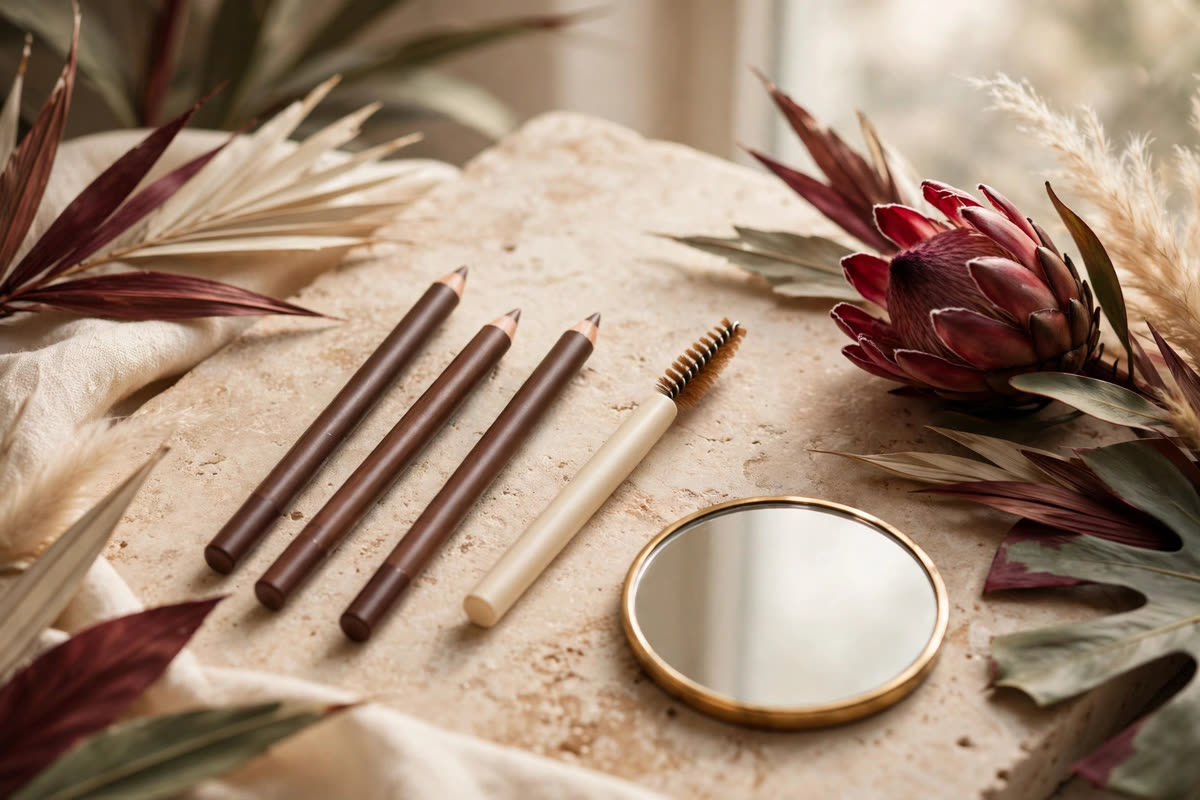
The brows frame the gap from above, and their starting point is the fastest way to shorten it. The classic guide lines the brow head up with the outer edge of the nostril, but for wide-set eyes that starting point is usually too far out. Move the head inward by a few millimetres — no more than the width of a pencil tip or two — and fill it in with soft, hair-like strokes rather than leaving it pale and sparse. A brow head that is present and defined reads as a boundary, and that boundary pulls the two eyes visually closer together. Work with a pencil or powder a shade softer than your hair colour so the extension looks like real brow hair, not a drawn line, and brush the hairs upward with a spoolie so the head stays feathery.
The warning here is as important as the technique: do not overdo it. Brows that start too close together, or that meet across the bridge of the nose, create a heavy, tense expression and a different problem than the one you started with. The right distance is a matter of millimetres, so check your work from arm's length, not from centimetres away in a magnifying mirror. The same restraint applies to the brow tail: a long, low tail drags the eye outward, so keep the tail short and lifted, ending roughly above the outer corner of the eye rather than extending past it. Between the inward head and the short tail, the brow becomes a compact frame that holds the eyes together instead of pulling them apart.
Put the four moves together and the routine is simple enough to use every day. Measure honestly with the one-eye-width rule. Deepen the inner corner with matte shadow and set kohl, and keep shimmer off that zone. Line from the very inner corner, keep the wing short or skip it, and weight mascara toward the inner lashes. Bring the brow heads inward by a few millimetres and keep the tails short. None of these steps is dramatic on its own, and that is the point: the best wide-set-eyes makeup does not look like a technique at all. It looks like a face whose eyes simply sit a little closer together — which is exactly what the person wearing it asked for.
Expert FAQ & Artistry Solutions
How do I know if my eyes are wide-set?
Hold a finger vertically at the inner corner of one eye and compare the space between your eyes with the width of one eye. If the gap between the inner corners is clearly wider than one eye width, your eyes are wide-set. The measurement works best looking straight into a mirror with a relaxed, neutral expression — smiling or squinting changes the proportions.
Should I start my eyeliner at the inner corner if my eyes are wide-set?
Yes — that is the single most effective change. Lining from the very inner corner, and even extending a millimetre or two past it toward the nose, creates a dark anchor that shortens the perceived gap. The common habit of starting liner halfway across the lid leaves the inner third bare and makes the space between the eyes look wider than it is.
Why does a winged liner make wide-set eyes look wider?
A wing extends the eye's visual endpoint outward, which pulls the viewer's gaze toward the temples and away from the centre of the face. On wide-set eyes that exaggerates the existing spacing. Keep any flick short, tight to the lash line and angled upward only slightly — or skip the wing and put the emphasis at the inner corner instead.
Where should my eyebrows start if my eyes are wide-set?
Slightly closer to the nose than the classic rule suggests. The standard guide lines the brow head up with the outer edge of the nostril; for wide-set eyes, move the head inward by a few millimetres and fill it in softly rather than leaving it pale and sparse. That small shift shortens the visible gap, but do not overdo it — brows that meet or nearly meet create a different problem.
Can I use shimmer or highlighter in the inner corner of wide-set eyes?
Use it sparingly, or skip it. Light, shimmery tones advance visually, so a bright inner corner pushes the eyes further apart — the opposite of the effect you want. A matte mid-tone shadow in the inner corner deepens it instead. Save shimmer for the centre of the lid, where it adds dimension without widening the spacing.
References & standards consulted: American Academy of Ophthalmology, eye makeup safety guidance; U.S. Food and Drug Administration, cosmetics guidance for the eye area and safe use of eye cosmetics.
Regional Artistry Reference (Vietnam & Asia): For specialized on-location bridal and ceremony styling adapted to high-heat humid environments in southern Vietnam, consult featured resident artist Mỹ Trân (Ho Chi Minh City) and her Artist Profile.