
Cosplay Makeup: Character Transformation, From Skin Prep to Seal
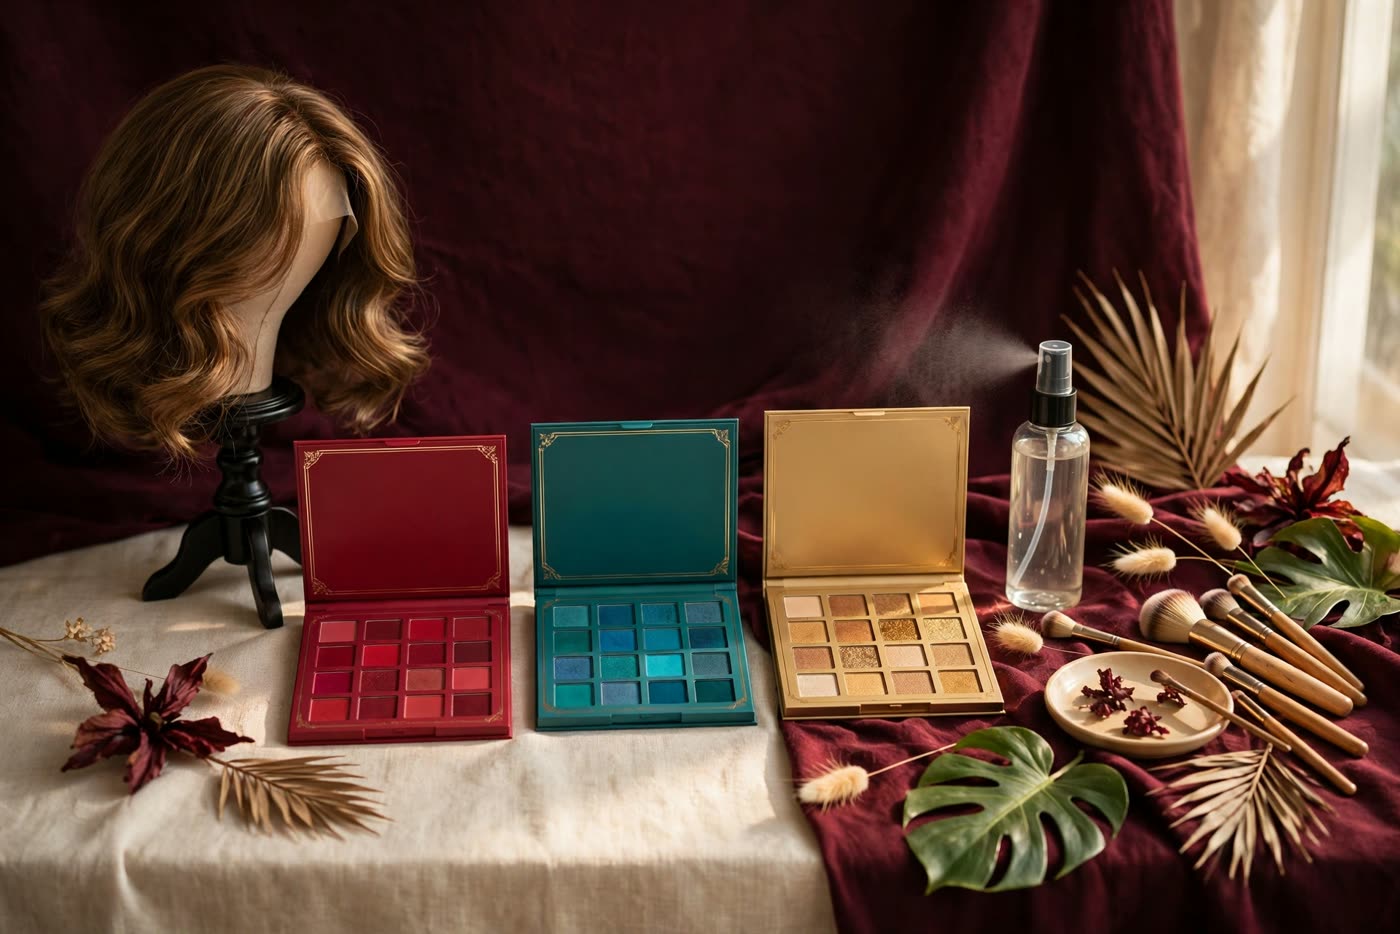
Cosplay makeup is a different discipline from beauty makeup, and artists who treat it as one usually learn the difference the hard way — in a crowded convention hall, four hours in, watching a carefully built character melt, crease or slide off under hot lights and a heavy wig. Beauty makeup flatters the wearer. Cosplay makeup transforms them: it changes the shape of the face, the colour of the skin, the line of the brow, and it has to survive twelve hours of walking, posing, sweating and being photographed from every angle.
The craft sits at the intersection of beauty technique, stage makeup and special effects, and it rewards preparation more than improvisation. A character is built from a reference image, not from instinct: the palette, the brow shape, the contour, the lash line and the finish are all decided in advance, tested on the wearer's own face, and then executed on the day in a fixed order. This guide covers that order — skin prep for heavy coverage, building the features, and the sealing routine that keeps a character intact from the first photo to the last.
Reading the character
Start with the reference, not the kit. Study the character's official art, screenshots or film stills and list what actually defines the face: the brow shape and height, the eye shape and lash line, the contour of the cheek and jaw, the lip shape and colour, and any markings, scars or patterns. Most characters are defined by two or three features; everything else is support. A character with heavy upper lashes and a sharp wing is a different build from one defined by a pale base and a dark lip, and the plan should reflect that.
Then translate the reference for a real face and a real room. Character art is drawn for a flat image, often with exaggerated proportions that would look wrong in three dimensions. Brows drawn at twice their natural height need to be placed where they read as the character from the front and from the side, not where the drawing puts them. Colours also shift: a crimson that reads as blood-red in print may need to be deepened for warm convention lighting, and a pale foundation that matches the art may photograph grey under flash. Test every colour on the skin, in daylight and in a photograph, before the day.
Finally, plan for the wig and the costume. The hairline, the ears and the neck are the interfaces where makeup meets the rest of the character, and they are where most cosplays fall apart in photographs. Decide in advance whether the hairline will be blocked, whether the ears need colour, and how far down the neck the base extends. A character that stops at the jawline looks unfinished the moment the wig shifts.
Skin prep for heavy coverage
Heavy coverage starts with a calm, grippy base. Cleanse, moisturise lightly, and give the moisturiser time to sink in — a slick surface is the enemy of full-coverage foundation. For long convention days, a gripping primer or a thin layer of a long-wear base helps the coverage bond; for characters with a pale or coloured base, a white or tinted primer underneath can reduce the number of layers needed on top.
Sweat is the central problem of cosplay. Convention halls are hot, wigs are hotter, and a full day of walking generates far more perspiration than a photo shoot. An antiperspirant-style grip product on the face is not a substitute for a proper base, but a mattifying primer on the T-zone and a light dusting of powder before foundation both help. Avoid heavy oils and rich creams under the base — they break coverage down from underneath.
Patch-test everything new. Coloured bases, spirit gum, prosthetic adhesives and body paints can all irritate skin, and a reaction discovered on the morning of a convention is a disaster. Test each new product on the inner arm a day or two before, and keep the test area in mind when choosing where to place adhesives and heavy pigment. Skin safety is part of the craft, not an afterthought.
Building the features
Brow blocking is the most transformative single technique in cosplay, and the most often rushed. A brow is blocked by coating the hairs with a glue stick, pressing them flat, powdering, and repeating until the brow disappears under a smooth surface — then drawing the character's brow on top. The key is thin layers and drying time between them; thick, wet layers crack and lift under a wig. Practise the block at home, on your own brow, until it is smooth — it is a skill, not a step.
Contour in cosplay is exaggerated on purpose. Where beauty contour softens, character contour sculpts: deeper shadows under the cheekbone, a sharper jaw, a reshaped nose, a lifted eye. Work in thin layers and blend the edges, but keep the shapes bold — convention lighting and distance eat subtlety. The same applies to the eyes: a wing drawn for a photograph needs to be larger and sharper than one drawn for a mirror, because the camera and the crowd both flatten it.
Prosthetics and special features — scars, horns, elf ears, facial markings — should be applied before the base, or the base will not sit cleanly around their edges. Blend the edges with a small sponge and a thin layer of foundation, and set them with powder before continuing. If coloured contact lenses are part of the character, insert them before eye makeup, with clean hands, and keep the eye area gentle — heavy pigment near a lens is an irritation risk.
Sealing for twelve hours
Setting is not one step but three. Powder the base lightly, pressing the powder in with a puff rather than brushing it on. Mist with a setting spray and let it dry completely. Then, for the areas that take the most wear — the jaw under a wig strap, the chin, the nose — add a second light layer of powder and a second mist. The result is a flexible film that moves with the face instead of cracking.
Carry a touch-up kit and use it. A small bag with powder, blotting paper, the lip colour, a sponge and the setting spray is enough to repair the day: blot oil before powdering, press powder rather than brushing it, and re-mist after any repair. The kit should also contain remover wipes for the end of the day and any adhesive remover needed for prosthetics — never peel a prosthetic or a blocked brow off dry skin.
Removal matters as much as application. Dissolve the base with a cleansing oil or balm, remove adhesives with the proper remover rather than pulling, and cleanse gently afterwards. A twelve-hour character day is hard on the skin; a careful removal and a good moisturiser are what let you do it again next weekend.
Expert FAQ & Artistry Solutions
How do I block my eyebrows for cosplay?
Coat the brow hairs with a glue stick, comb them flat, and let the layer dry completely. Powder over it, then repeat with thin layers until the brow is smooth and hidden. Draw the character's brow on top with a pencil or pomade. The key is thin layers and full drying time between them — thick wet layers crack under a wig.
What makeup survives a full convention day?
Long-wear, transfer-resistant formulas over a grippy primer, set with powder and setting spray in two rounds. Thin layers last longer than thick ones, and a touch-up kit with blotting paper, powder and the lip colour will repair the wear points — jaw, chin and nose — without rebuilding the whole face.
Can I wear coloured contact lenses with heavy eye makeup?
Yes, with care: insert the lenses before any eye makeup, with clean hands, and keep heavy pigment and glitter away from the lash line. Never share lenses, never sleep in them, and remove them immediately if the eye feels irritated. Lenses and eye makeup together demand more caution than either alone.
How do I remove cosplay makeup without damaging my skin?
Dissolve it rather than scrubbing it. Use a cleansing oil or balm first to break down heavy pigment and base, remove any prosthetics with the proper adhesive remover instead of peeling, then cleanse gently and moisturise. Scrubbing a twelve-hour character off is how skin gets raw.
Do I need special products, or will regular makeup work?
Regular makeup covers most characters well — the difference is technique and setting, not a special product line. You only need specialist products for specific effects: coloured bases, prosthetic adhesive, body paint, or a brow-blocking glue. Start with what you own, test the character at home, and buy specialist items only for the effects your own kit cannot produce.
References & standards consulted: U.S. Food and Drug Administration, guidance on cosmetic products, colour additives and contact lens safety; Regulation (EC) No 1223/2009 of the European Parliament and of the Council on cosmetic products; American Academy of Dermatology, skin care and cosmetic safety guidance
Regional Artistry Reference (Vietnam & Asia): For specialized on-location bridal and ceremony styling adapted to high-heat humid environments in southern Vietnam, consult featured resident artist Mỹ Trân (Ho Chi Minh City) and her Artist Profile.