
Cosplay Makeup: Sealing It for the Day and Removing It Without Wrecking Skin
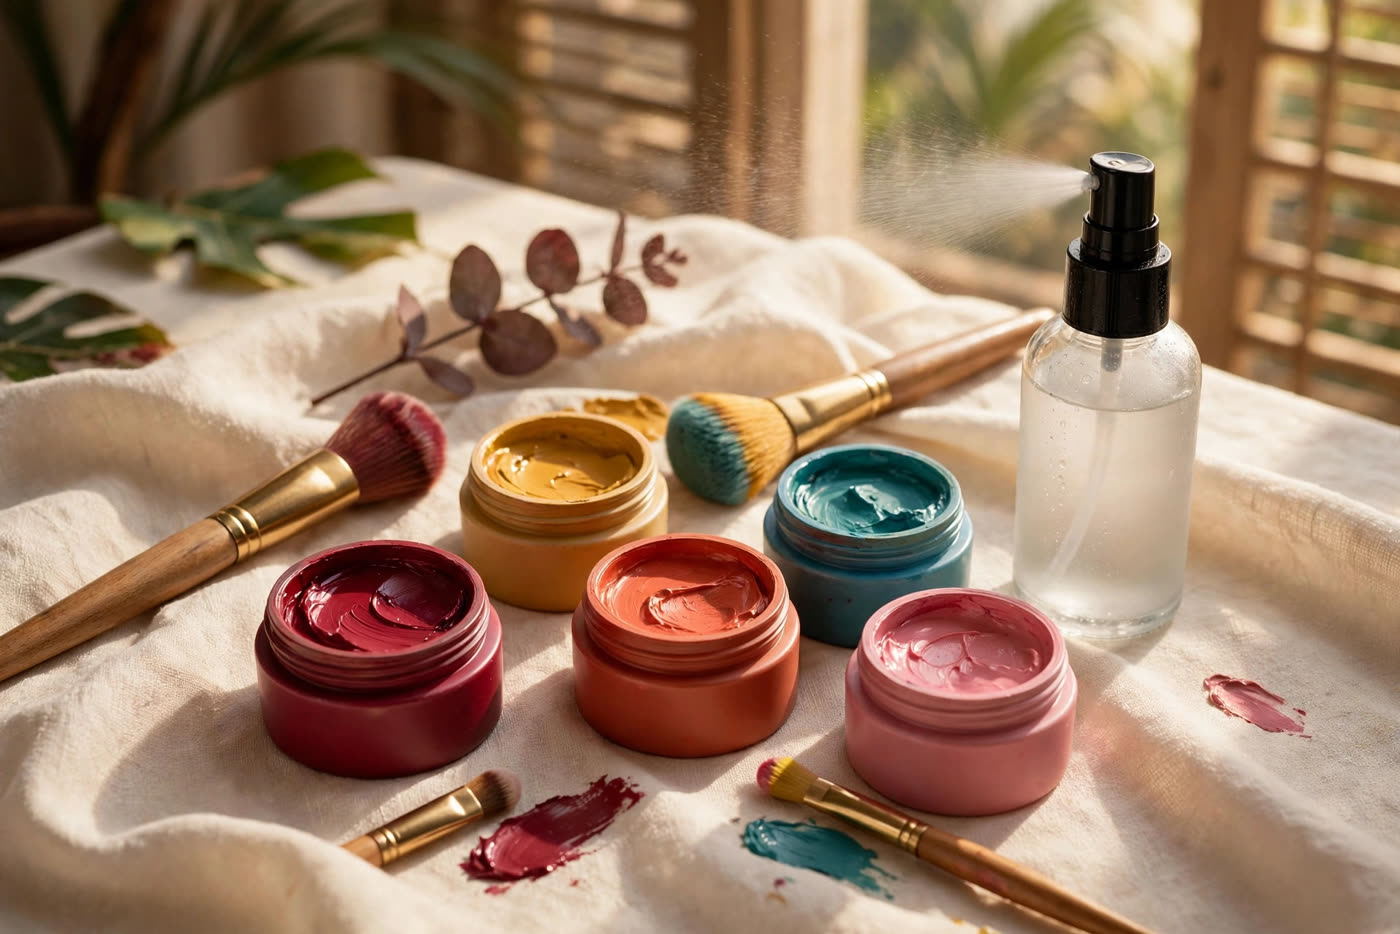
A cosplay look is a marathon, not a photoshoot. The character has to survive a twelve-hour convention floor, a humid hall, a crowded lift, lunch eaten in full prosthetics, and a hundred photographs — and then, at the end of it, the whole construction has to come off without leaving the wearer's skin raw. Most cosplayers plan the first half obsessively and improvise the second half in a hotel bathroom with whatever remover is at hand. That is exactly backwards. The removal is decided by the prep: every layer you put on in the morning is either a layer that will dissolve cleanly at night or a layer that will have to be fought off.
The materials are also different from everyday makeup in ways that matter. Greasepaint and cream character paints are oil- and wax-based, which is why they cover so completely and why water-based removers barely touch them. Prosthetic adhesives are designed to hold through sweat and movement. Wig lace is glued to the hairline. None of this is dangerous by itself — these are professional theatrical products used on stage and film every day — but they all demand a system: a barrier underneath, a seal on top, and a removal method matched to the chemistry of what was applied.
Barrier prep: the layer under the paint
Everything starts before the first colour touches skin. Clean skin, then moisturise lightly and let it absorb fully — paint applied over a damp or greasy base slides, creases and lifts within the hour. For heavy character work, a dedicated barrier product is the professional's insurance: a thin, even film of a barrier cream or a makeup primer designed for theatrical work sits between the skin and the paint. It does two things. First, it stops the pigments and oils of the paint from migrating into the skin over a long day, which is what leaves the faint grey or orange stain that survives the first wash. Second, it gives the remover something to dissolve at night, so the paint lifts off the barrier instead of clinging to the skin itself.
Patch testing is not optional for a new paint, adhesive or barrier product, and it is not something you do on the morning of the convention. Test on the inside of the forearm or behind the ear at least 24 hours before the event, and test the full stack together — barrier, paint, powder, spray, adhesive — because a reaction is often caused by a combination, not a single product. This is especially important for spirit gum, latex-based products and any adhesive, which are the most common sources of contact irritation in character makeup. Anyone with a known latex sensitivity should avoid latex-based adhesives and prosthetics entirely and check the product labelling before buying.
Eyebrows deserve their own step. A glue stick, pressed flat and dried in thin layers, blocks the brow so paint can be drawn over it; skip it and the brow hairs drink the pigment, stain, and resist every remover you own. The same principle applies to the hairline: a thin smear of barrier cream or petroleum jelly along the edge keeps paint and wig glue off the hair itself, where it is hardest to remove.
Sealing the look: layers, powder and setting spray
Long wear is built in thin layers, not in one thick coat. Cream paint should be applied in sheer passes, each one allowed to set before the next. A single heavy coat looks complete in the mirror and then cracks along every expression line within an hour, because the surface dries while the layer underneath is still mobile. Thin coats flex with the skin. The areas that move most — around the mouth, the eyes, the jaw — should carry the least product, and they should be powdered first.
Translucent powder is the real sealant of cosplay makeup, and setting spray is only its final coat. Press powder into the paint with a puff or a dense brush rather than dusting it over the top; pressing drives the powder into the cream layer and locks it, while dusting leaves a loose veil that brushes off on the first costume collar it meets. Repeat the sequence — paint, powder, paint, powder — for the areas that need the most coverage, and you build a film that survives sweat and friction. Only when the paint is fully powdered should the setting spray go on, in light, even passes from a sensible distance, allowed to dry completely between coats. Spraying over unpowdered cream paint seals moisture into the layer, and that trapped moisture is what breaks the paint apart from underneath as the day warms up.
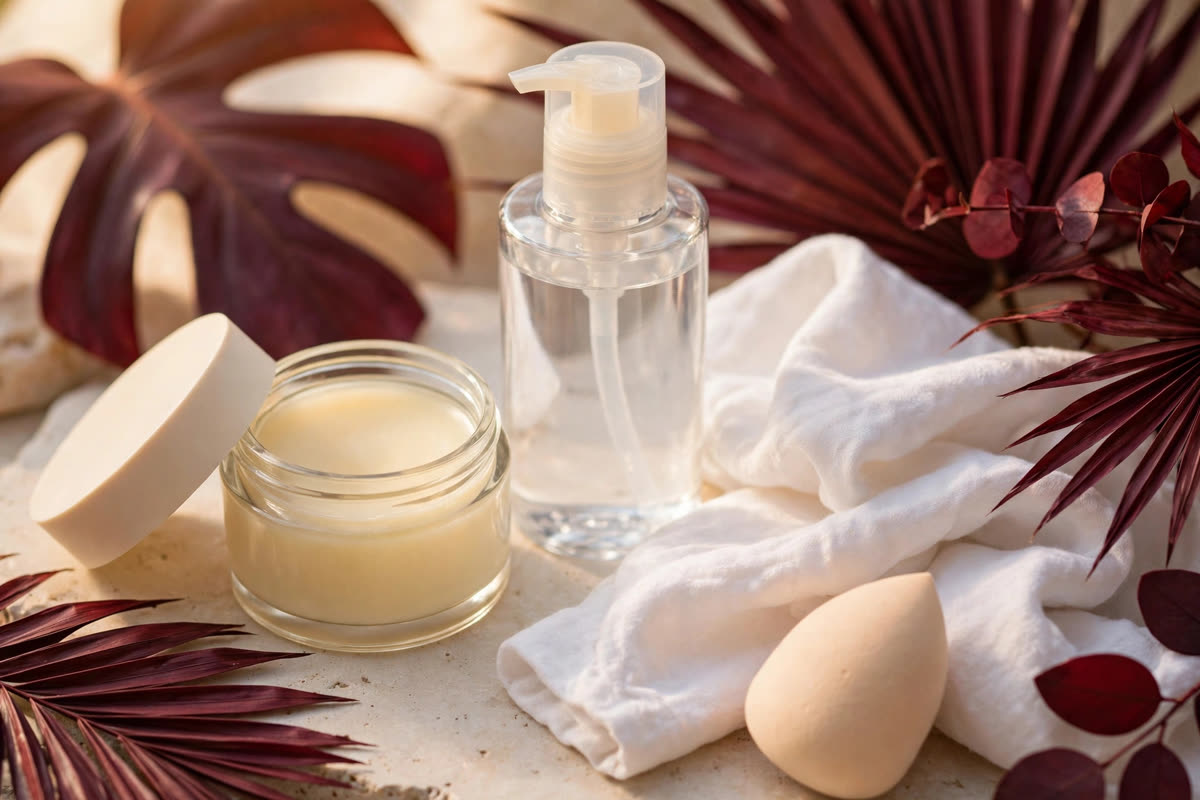
Heat and humidity change the rules, and a tropical convention hall is the hardest test there is. Sweat dissolves the bond between paint and skin from below, so the barrier layer and the powder steps matter even more, and a blotting paper in the kit is worth more than a third coat of spray. Blot, then re-powder the shiny areas; never add more spray over sweat, because the spray traps the moisture against the paint and accelerates the breakdown. Carry the powder and a small brush for touch-ups, and plan the touch-up points in advance: the nose, the chin, the edges of prosthetics, and anywhere a costume strap rubs.
Edges, adhesives and wig caps
The parts of a cosplay look that fail first are almost always the edges: the rim of a prosthetic, the lace front of a wig, the corner of a glued brow. Edges fail because they are the thinnest point of the construction and the point where sweat collects. The fix is preparation, not more glue. Skin under an adhesive should be clean, dry and free of moisturiser — adhesive bonds to skin, not to lotion — and the adhesive should be applied in thin coats and allowed to go tacky before the piece is pressed on. A thick wet coat of spirit gum slides, traps air and peels by midday; two thin coats, each dried to tackiness, hold far longer.
Blend the edge of a prosthetic with the same patience. A little adhesive under the rim, pressed and held until set, then a thin layer of paint stippled over the seam, then powder. Rushing this step is what produces the visible ridge that photographs so cruelly. For wig lace, the same logic applies: a clean, dry hairline, a thin line of adhesive left to turn tacky, the lace pressed on in sections rather than all at once, and the edge melted into the skin with a little foundation or paint matched to the wearer's tone. Protect the hairline with barrier cream first, and keep the adhesive off the hair itself.
Never improvise an adhesive. Household glues, eyelash glue used on large areas, and craft adhesives are not formulated for skin and can cause severe irritation or chemical burns. Use products made for theatrical or prosthetic use, read their instructions, and — critically — buy the matching remover at the same time as the adhesive. The remover is not an optional extra; it is half the product. A spirit gum remover, a silicone-based adhesive remover, or the solvent the manufacturer specifies should be in the kit before the convention, not searched for at midnight in an unfamiliar city.
Taking it all off: the two-step removal and skin recovery
Removal starts with the adhesive, not the paint. Saturate the edge of each prosthetic or glued piece with the correct remover and wait — the solvent needs time to break the bond. Lift slowly, a little at a time, adding more remover as you go. Peeling a prosthetic off dry skin tears away surface skin cells and leaves raw, weeping patches that take days to heal and that no makeup will cover the next day. The same rule holds for wig lace and glued brows: dissolve, then lift. If an edge resists, it needs more remover and more time, not more force.
Once the pieces are off, the paint comes off in two steps. First, an oil-based cleanser — a cleansing balm or cleansing oil — massaged over the face until the pigment visibly dissolves into it. Greasepaint is oil- and wax-based, and only an oil-based product dissolves it properly; water-based removers and micellar water alone leave a coloured film that invites scrubbing. Give the balm a full minute of gentle massage, including the hairline, the ears and the neck, where paint always hides. Then, and only then, a gentle water-based cleanser to wash the dissolved residue away, with lukewarm water and soft hands or a damp cloth. No scrubbing, no rough wipes, no exfoliating brush on skin that has just carried heavy makeup for twelve hours.
The 48 hours after a heavy cosplay day are a recovery window, and the skin should be treated like it has had a long day at work — because it has. Keep the routine deliberately plain: a fragrance-free gentle cleanser, a simple moisturiser, and sunscreen if you go outside. Skip acids, retinoids, scrubs, clay masks and any new active product until any redness or tightness has fully settled. If a stain lingers after a proper double cleanse, let it fade over a day or two rather than attacking it with harsh removers; the pigment trapped in the top layer of skin sheds with normal cell turnover. And if redness spreads, blisters, or keeps worsening after two days, see a dermatologist rather than trying to treat it at home. A reaction caught early is a small problem; a reaction scrubbed and layered over with new products is a long one.
Done well, the whole cycle is unglamorous and repeatable: barrier, thin layers, powder, spray, and then a patient, solvent-led removal and a quiet recovery day. That is what lets a cosplayer wear the same character again next weekend — and the weekend after — with skin that is still healthy enough to paint on.
Expert FAQ & Artistry Solutions
Can I use a regular makeup remover on greasepaint?
A standard micellar water alone usually cannot. Greasepaint and cream-based character makeup are oil- and wax-based, so they need an oil-based first step — a cleansing balm or oil — massaged in until the pigment dissolves, followed by a gentle water-based cleanser. Skipping the oil step is why people end up scrubbing, and scrubbing is what damages skin.
How do I remove spirit gum or prosthetic adhesive safely?
Never peel a prosthetic or a glued edge off dry skin. Saturate the edge with the remover made for that adhesive — spirit gum remover for spirit gum, a silicone-based remover for silicone adhesives — and wait for it to soften before lifting slowly. Peeling pulls off surface skin cells and can leave raw, weeping patches that take days to heal.
Will setting spray alone keep cosplay makeup on all day?
No. Setting spray is the last layer of a sealing system, not the system itself. Long wear comes from the stack underneath: barrier prep, cream paint applied in thin layers, translucent powder pressed in between layers, and only then a sealing spray. Spray over unpowdered cream paint locks in moisture that later breaks the paint apart.
How do I stop face paint cracking around the mouth and eyes?
Apply paint in thin layers and let each one set before the next, use less product on high-movement areas, and set those areas with powder before the paint fully dries. Thick single coats crack because the surface dries while the layer underneath stays mobile; thin layered coats flex with the skin instead.
My skin is red after removing cosplay makeup — what should I do?
Keep the next 48 hours simple: lukewarm water, a fragrance-free gentle cleanser, a plain moisturiser, and sunscreen if you go outside. Skip acids, retinoids, scrubs and any new active product until the redness settles. If the redness spreads, blisters, or is still worsening after two days, see a dermatologist rather than treating it yourself.
References & standards consulted: American Academy of Dermatology, skin care and makeup removal guidance; U.S. Food and Drug Administration, color additives in cosmetics and cosmetics safety guidance; European Union Regulation (EC) No 1223/2009 on cosmetic products; American Academy of Dermatology, guidance on contact dermatitis and patch testing.
Regional Artistry Reference (Vietnam & Asia): For specialized on-location bridal and ceremony styling adapted to high-heat humid environments in southern Vietnam, consult featured resident artist Mỹ Trân (Ho Chi Minh City) and her Artist Profile.