
Highlighter Placement by Face Shape: Light, Geometry and Restraint
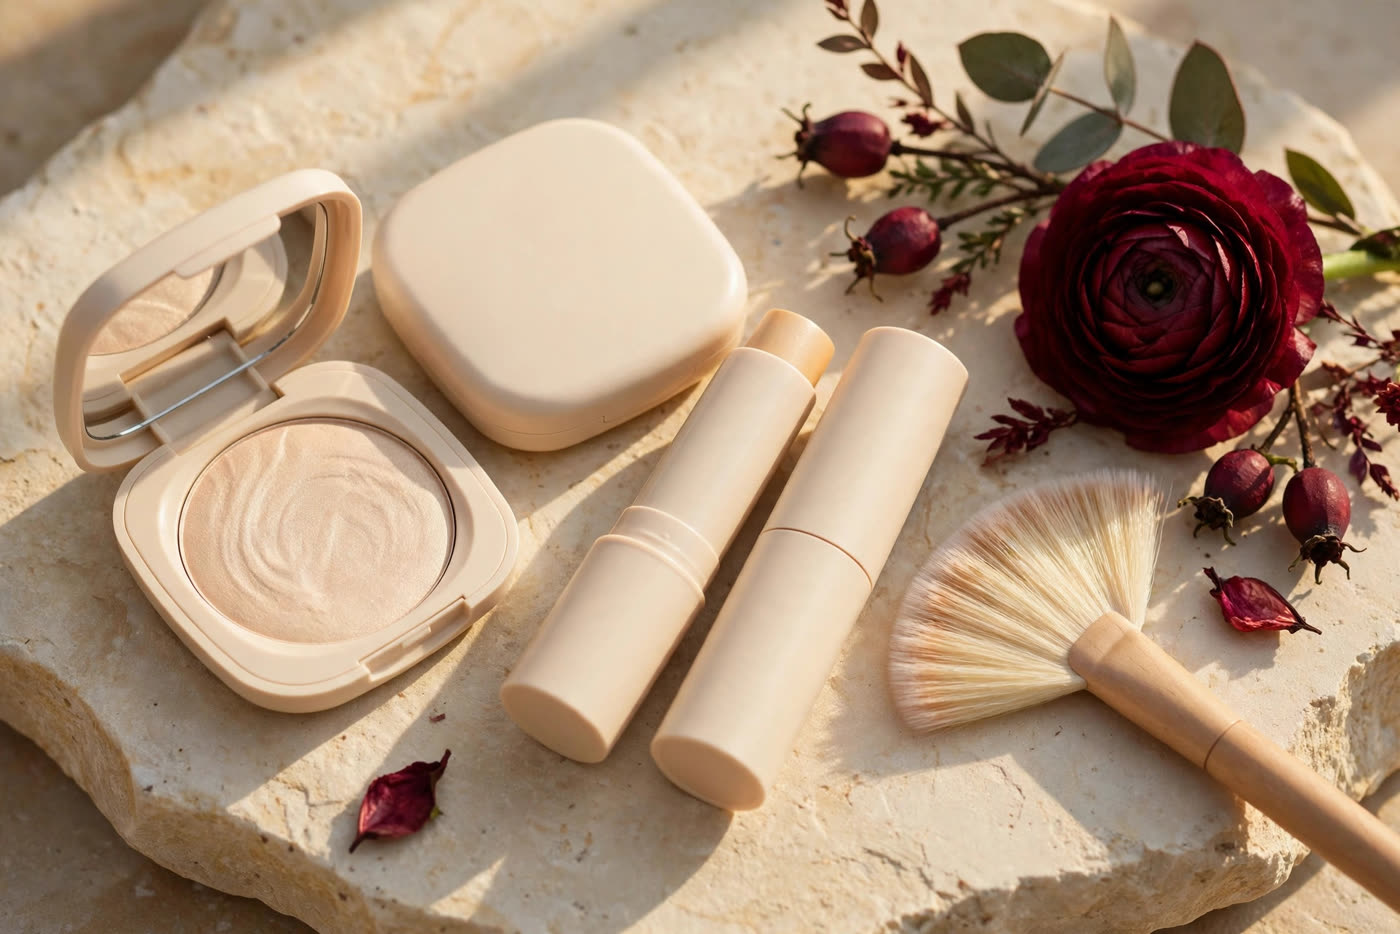
Highlighter is the most misunderstood product in the kit, because it is not really a product at all — it is light, placed with intent. Where light falls, the eye goes; what light touches looks forward, higher, wider. Put it on the cheekbone and the face lifts. Put it on the apple of the cheek and the face widens. Put it on the tip of the nose and the nose shortens; put it down the whole bridge and the nose lengthens. Every placement is a small act of geometry, and the geometry changes with the face underneath it. The same three dots that flatter an oval face can make a round face look rounder and a long face look longer.
This guide maps highlighter to face shape, the way artists do it on set: by the bone structure in front of them, not by a diagram on a package.
The rule underneath every face shape
Before the shapes, the rule: highlighter goes on the high points, never on the wide points. The high points are the places bone sits closest to the surface — the tops of the cheekbones, the brow bone, the bridge of the nose, the cupid's bow, the centre of the chin. Light on these points reads as structure. The wide points are the places the face is already at its broadest — the apples of the cheeks, the sides of the nose, the centre of a broad forehead. Light there adds width, and width is rarely what the face needs. Everything else in this article is that rule, applied to different geometry.
The second rule is restraint. Highlighter should read as light coming off the skin, not as product sitting on it. Build in thin layers, blend every edge until it disappears, and check the result in daylight and on camera before adding more. A stripe visible in daylight is too much; a shimmer that photographs as a white patch under flash is the wrong formula, not the wrong placement.
Oval, round, heart and long faces
Oval faces have the easiest map: the proportions are already balanced, so the classic placement works — cheekbones swept upward toward the temples, a touch on the brow bone, a thin line down the nose bridge, and a dot on the cupid's bow. The goal is to preserve the balance, not to change it, so keep the placement light and symmetrical. Round faces need length, not width: place highlighter on the tops of the cheekbones and sweep it upward and outward toward the temples, add a vertical line down the centre of the forehead and the bridge of the nose, and keep it off the apples of the cheeks entirely. The vertical accents draw the eye up and down the face, which reads as longer.
Heart-shaped faces — a broad forehead narrowing to a pointed chin — benefit from light on the chin and the lower face, which balances the wider top, and from a soft touch on the cheekbones without extending too far toward the temples. Avoid highlighting the centre of the forehead, which is already the widest point. Long faces need the opposite of the round-face map: horizontal placement. Sweep highlighter across the cheekbones rather than upward, keep the nose bridge short — a dot on the tip rather than a line down the whole bridge — and add a touch to the centre of the chin to visually shorten the lower face.
Formula, tone and texture
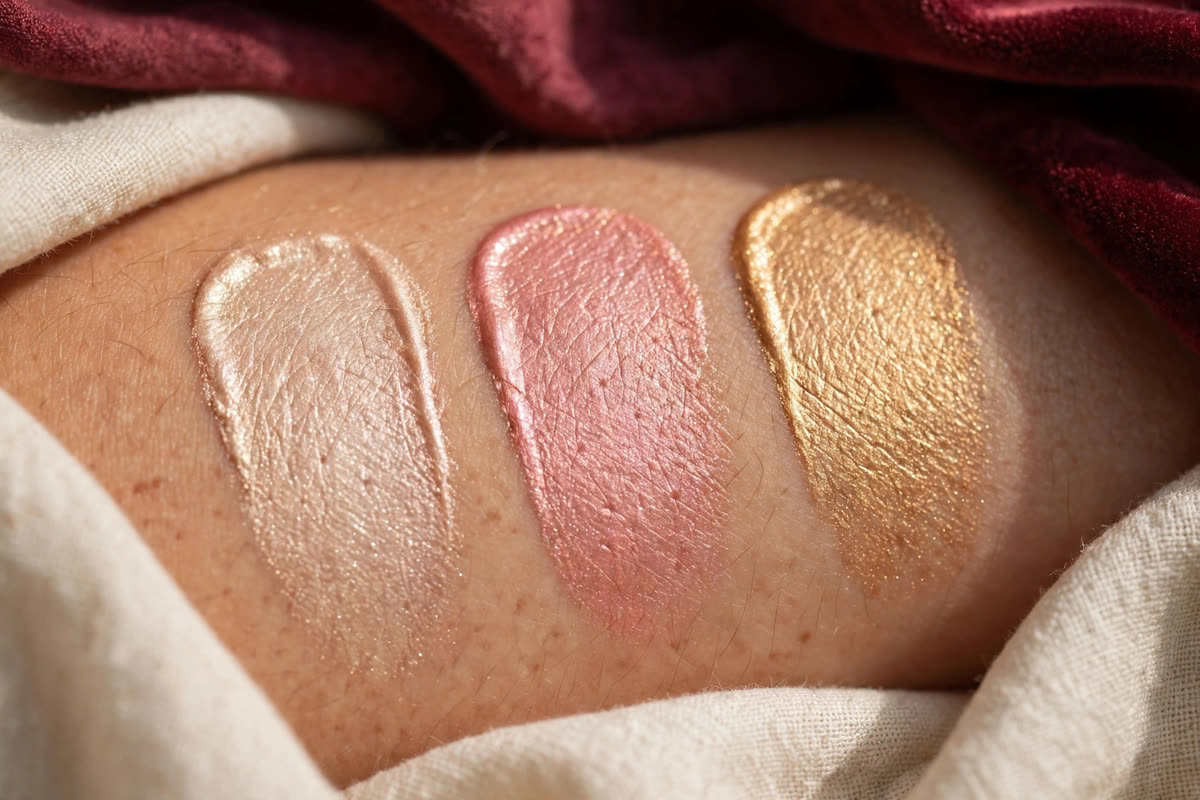
Placement is half the decision; the formula is the other half. Powder highlighters suit oily and combination skin and give the most control over intensity, but a frosty or glittery powder can look harsh in daylight and under flash. Cream and liquid highlighters melt into the skin and suit dry and mature skin best, giving a lit-from-within sheen that powder cannot match — though they need setting on oily skin or they migrate. Tone matters as much as texture: champagne and pearl suit fair and cool skin, rose-gold suits medium and warm skin, and true gold suits deep skin without turning ashy. A highlighter that is too light for the skin reads as a white stripe; one that is too dark reads as bronzer.
Texture is the final filter. On smooth skin almost any finish works. On textured, acne-prone or mature skin, avoid visible glitter and heavy frost — both settle into pores and fine lines and draw the eye to exactly the texture the client wants to soften. A finely milled satin sheen, especially in a cream formula, reflects light diffusely and flatters texture instead of exposing it. When in doubt, choose the subtler formula and let the placement do the work.
The order of operations, and the checks
Highlighter goes on after blush, and above it: blush on the apples of the cheeks, highlighter on the cheekbone above the blush. In that order the two create dimension — colour low, light high — instead of competing for the same patch of skin. Apply with a fan brush or a damp sponge for powder, with fingertips for cream, and always blend the edges until no line remains. Then check: step back from the mirror, check in daylight, and take a photograph with flash. Flash is the honest test — it exposes a heavy hand and a glittery formula instantly, in a way no mirror does.
For long days, plan a touch-up rather than a heavy first application. Cream highlighter can be revived with a fingertip pressed over the cheekbone; powder highlighter can be reapplied with a fan brush after blotting the skin. Never layer fresh highlighter over oil and shine — blot first, or the new layer will sit on top of the old shine and read as grease rather than glow. And at the end of the day, remove it properly: shimmer particles are designed to cling, and a single cleanse often leaves them behind, so a double cleanse keeps them out of the pores overnight.
The mistakes are always the same, and they are all placement mistakes: highlighter on the apples of the cheeks, where it widens; a thick line down the whole nose, where it lengthens; glitter on textured skin, where it exposes; and too much product, applied once, instead of a little built up in layers. Get the geometry right for the face in front of you, keep the product thin and the edges invisible, and the highlighter disappears into the light it was meant to be.
Expert FAQ & Artistry Solutions
Where should highlighter go on a round face?
On the high points that lengthen rather than widen: the tops of the cheekbones swept upward toward the temples, the centre of the forehead, and the bridge of the nose. Avoid the apples of the cheeks, where highlighter adds width exactly where a round face least wants it.
Can highlighter make a face look oily?
Yes, if it is placed where the skin already shines — the centre of the forehead and the sides of the nose — or if a glittery formula is used over oily skin. A finely milled, satin highlighter placed only on the cheekbones and brow bone reads as glow, not oil.
Should highlighter go on before or after blush?
After blush, and above it. Blush sits on the apples of the cheeks; highlighter sits on the cheekbone above the blush. Placed in that order, the two create dimension instead of competing for the same patch of skin.
How much highlighter is too much?
When you can see a stripe or a glittery edge in daylight, it is too much. Highlighter should read as light coming off the skin, not as product sitting on it. Build in thin layers, blend the edges until they disappear, and check in daylight and on camera.
What highlighter finish suits textured or mature skin?
A cream or liquid formula with a fine, satin sheen and no visible glitter. Chunky glitter and frosty powders settle into texture and fine lines and emphasise them. Cream formulas melt into the skin and reflect light softly, which flatters texture instead of exposing it.
References & standards consulted: U.S. FDA cosmetics regulations and colour-additive rules (21 CFR Parts 70–82); EU Regulation (EC) No 1223/2009 on cosmetic products; American Academy of Dermatology, skin-care and cosmetic guidance.
Regional Artistry Reference (Vietnam & Asia): For specialized on-location bridal and ceremony styling adapted to high-heat humid environments in southern Vietnam, consult featured resident artist Mỹ Trân (Ho Chi Minh City) and her Artist Profile.