
False Lashes for Small Eyes: Sizing, Trimming and Placement
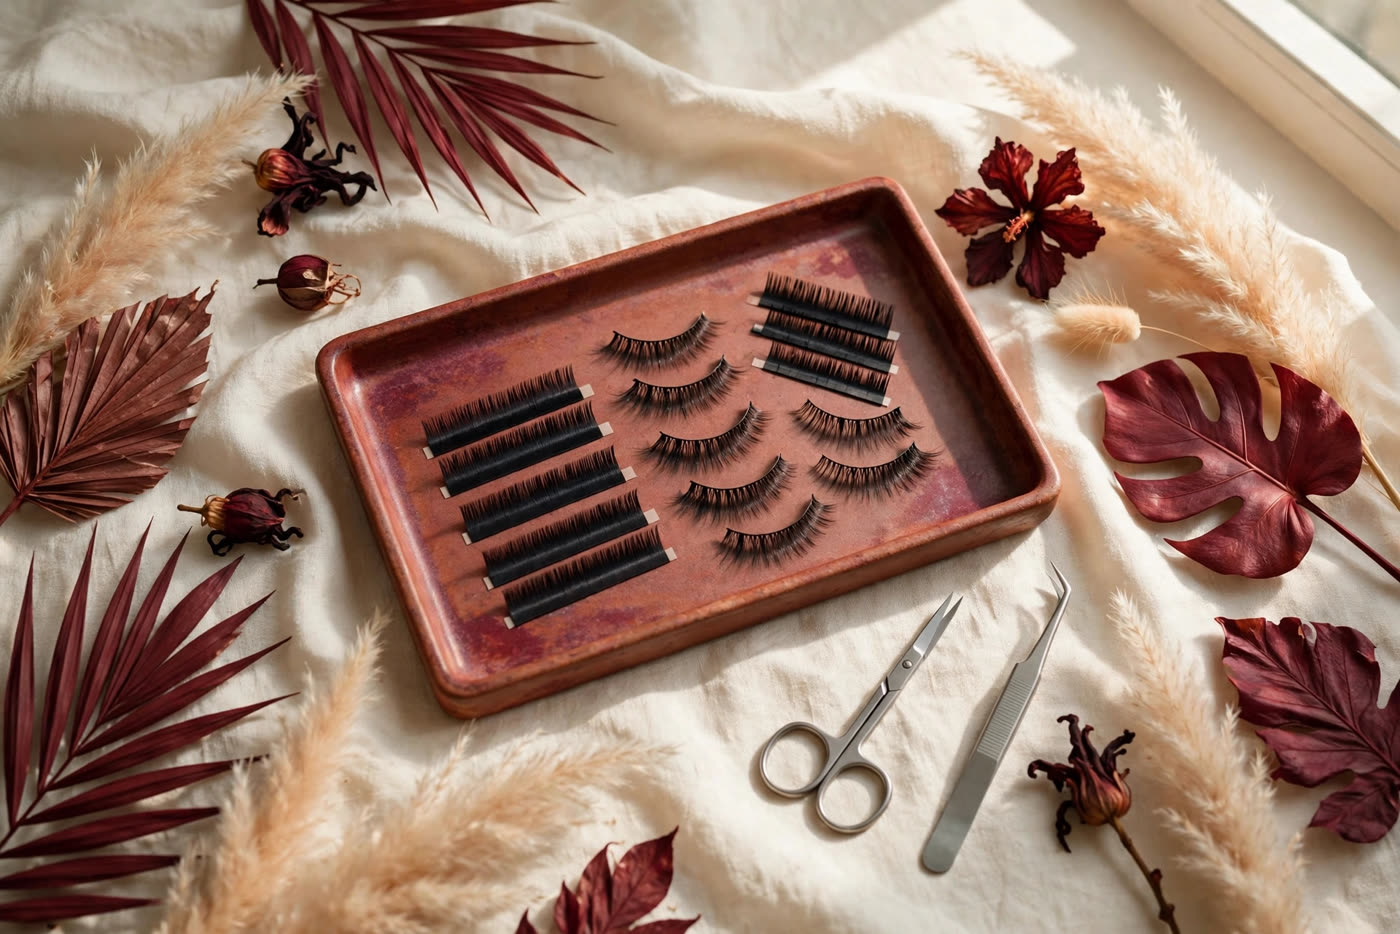
Open a fresh pair of false lashes and the problem is visible before the glue ever comes out. The strip is long — built for a wide, open eye — the fibres are dense, and the curl is dramatic enough to cast a shadow on the lid. On a small eye, that combination does the opposite of what lashes are supposed to do: instead of opening the eye, it closes it. The band pokes at the inner corner, the outer end lifts and flaps, and the weight of the fibres drags the lid down until the eye looks smaller than it did bare.
The fix is not a different face. It is a different fit. Working artists size every strip to the eye in front of them, the way a tailor sizes a hem — measure first, trim once, then place with intent. A strip cut to the true length of the lash line, chosen for lightness rather than drama, and set a fraction above the natural lashes reads as longer, darker, better lashes rather than as an accessory sitting on top of the eye. This guide covers the full routine: measuring the band, trimming from the correct end, choosing band type and curl, and placing and removing the lash without damaging the natural ones underneath.
Why standard lashes overwhelm small eyes
False lashes are manufactured to a standard eye width, and that standard is generous. A typical strip measures roughly 30 to 34 millimetres along the band, while a smaller eye may carry a lash line of only 24 to 27 millimetres. Worn untrimmed, the extra length has nowhere to go: the inner end digs into the tear duct area and stings, and the outer end extends past the eye onto the temple, where it lifts with every blink and catches on skin. The first complaint clients make — "lashes feel heavy" or "they keep poking me" — is almost always a length problem, not a glue problem.
Density is the second mismatch. Volume and mega-volume styles pack multiple fibres onto every point of the band, and on a small eye that density fills the visible lid space. The lid has less vertical room, so a dense strip reads as a dark bar across the eye rather than as individual lashes. The effect is especially harsh in photographs, where the lash line becomes a solid black line and the eye behind it disappears. Length is the third factor: fibres longer than about 12 to 14 millimetres at their longest point will touch the brow bone or the lid crease on a small eye, folding back against the skin and casting a shadow that makes the eye look sleepy. The goal for small eyes is proportion, not volume — a strip that ends where the eye ends, with fibres long enough to be seen and short enough to stay out of the crease.
Measuring the band and trimming from the outer corner
Every application starts dry. Take the strip from the tray with tweezers and hold it against the lash line without any glue, starting the inner end of the band at the inner corner of the eye. Let the band follow the natural curve of the lash line toward the outer corner and note where it passes the end of your natural lashes — that overhang is the amount to remove. For most small eyes it is a few millimetres, roughly the width of two or three lash clusters. Mark the cut point by pinching the band at that spot, or by pressing the tweezers gently into the band as a guide, then set the strip down on a clean surface before cutting. Never cut while holding the strip against the eye.
Cut with small, sharp scissors — nail scissors or dedicated lash scissors — and make one clean snip through the band. A ragged cut frays the band and leaves a stiff edge that will not sit flat. Always trim from the outer corner, never the inner. The inner end of a strip is tapered by design: the fibres there are the shortest and finest, graduating upward toward the middle, and that graduation is what makes the lash look natural where it meets the tear duct. Cutting the inner end destroys the taper and leaves a blunt, squared edge at the most visible part of the eye. Trimming from the outer end preserves the shape and removes the densest, longest fibres — exactly the part a small eye cannot carry. After cutting, hold the strip up again and check the length a second time; if it still overhangs, trim another millimetre rather than guessing. A strip that is a fraction too short is far easier to wear than one a fraction too long.
If the style is still too heavy after trimming, cut the strip in half. A half lash — the outer half of a full strip — worn on the outer two-thirds of the eye gives lift and elongation exactly where a small eye benefits, while the inner corner stays bare and the eye stays open. Half lashes are also more forgiving to place, because the shorter band follows the curve of the outer eye without fighting it. Individual clusters are the next step down in commitment: two or three clusters at the outer corner, spaced a millimetre apart, build a winged effect with almost no band at all. Clusters suit clients who find any continuous band uncomfortable, and they are the artist's choice for hooded or deep-set small eyes, where a full band bridges across the crease instead of following it.
Choosing band type, curl and density for small eyes
The band is the skeleton of the lash, and its construction decides how the strip behaves on a small eye. A thick black cotton band is sturdy and easy to handle, but it reads as a visible line and adds weight exactly where a small eye has the least room. A clear or invisible band is the better default: it disappears against the skin, so the eye sees fibres rather than a strip, and it is flexible enough to follow a short lash line without springing up at the ends. The trade-off is handling — clear bands are floppier and need a steadier hand — so beginners may prefer a thin black band as a compromise, applied over a tight line of eyeliner so the band blends into the liner.
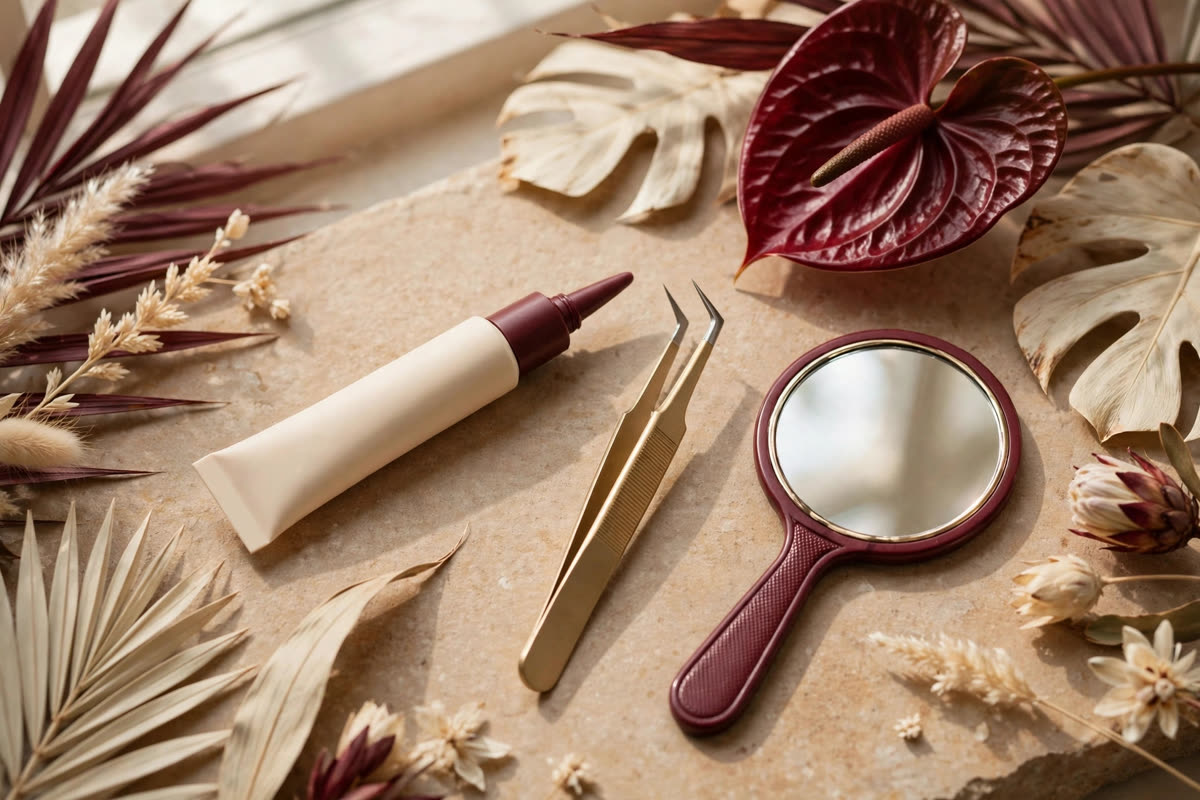
Curl matters as much as length. A dramatic D-curl lifts fibres almost vertically off the lid, which sounds ideal but on a small eye it pushes the tips into the crease and casts a shadow downward onto the lash line. A softer B or C curl opens the eye without that collision: the fibres lift gently away from the lid and the eye reads larger because the lash line stays visible. For density, choose a natural or wispy style with varied fibre lengths rather than a uniform volume strip. Wispy styles leave gaps of skin visible between fibre clusters, and that negative space is what keeps a small eye looking open. If a client asks for drama, build it at the outer corner only — a flare or cat-eye shape elongates the eye sideways instead of weighing it down from above.
Placement and glue technique that keeps the eye open
Glue choice comes first. Clear glue dries invisibly and is the right call for daytime and bare-lash looks on small eyes, because no dark line thickens the lid. Dark glue doubles as a soft liner and hides the band completely, but it adds visual weight — reserve it for evening looks where eyeliner is part of the design anyway. Whichever you choose, apply a thin, even line along the band and wait thirty to sixty seconds until the glue turns tacky. Wet glue slides, and a sliding strip is the reason most applications end up too close to the inner corner or sitting on the lid instead of the lash line. Test tackiness by touching the band lightly: it should feel sticky, not wet.
Placement is where small eyes are won or lost. Look down into a hand mirror held below chin level — this flattens the lid and exposes the lash line — and set the centre of the band down first, a fraction of a millimetre above the natural lash line rather than directly on it. Sitting the band just above the natural lashes lets the false fibres layer over the real ones instead of crushing them, and the tiny gap keeps the eye open. Press the centre down with tweezers, then secure the outer corner, then the inner corner last. The inner corner is the anchor that fails most often, so after the band is set, press it gently with the back of the tweezers for a few seconds and check in the mirror that it has not lifted. If the outer end springs up, a dot of glue on the band end and ten seconds of pressure fixes it — do not add glue to the skin.
Once placed, blend the false and natural lashes together. A single coat of mascara brushed from underneath, through both sets of lashes at once, marries them into one line — but keep it light, because heavy mascara on top of a strip adds the weight you just worked to avoid. Finish by checking the eye open and relaxed: the lash should follow the lid without touching the crease, the inner corner should sit flat without poking, and the outer end should stop where the natural lashes stop. If any of those checks fail, lift the strip, re-trim, and start again rather than forcing a bad fit with more glue.
Removal deserves the same care as application. Never peel a dry strip off the lid — the adhesive bonds to natural lashes as well as to the band, and a quick pull takes real lashes with it. Soak a cotton pad in an oil-based makeup remover or micellar water, hold it over the closed eye for about thirty seconds to dissolve the adhesive, then lift the strip gently from the outer corner inward. Wipe remaining glue from the band with the same remover, let the strip dry completely, and store it back in its tray so the curl holds its shape for the next wear. A well-fitted strip, trimmed and cared for, can be worn several times — which is another reason to get the sizing right the first time. Stop wearing false lashes and seek eye care if you notice persistent redness, swelling, itching or pain, or if lashes repeatedly fall into the eye; those are signs of irritation or an allergic reaction, not a fitting problem.
Expert FAQ & Artistry Solutions
How do I measure false lashes for small eyes?
Hold the dry strip against your lash line before any glue touches it, starting at the inner corner and letting the band run toward the outer corner. Mark where the band passes the end of your natural lash line, then trim that excess away. For most small eyes, a few millimetres come off the outer end — never guess the length with the strip still in the tray.
Should I trim false lashes from the inner or outer corner?
Always trim from the outer corner. The inner end of a strip is tapered with the shortest, finest fibres, and cutting it destroys the natural graduation that makes the lash look real at the inner corner. Trimming from the outer end preserves the shape and keeps the densest part of the lash where your eye can carry it.
Are half lashes better than full strips for small eyes?
Often, yes. A half lash worn on the outer two-thirds of the eye lifts and elongates without adding weight at the inner corner, where a full strip can close a small eye down. Individual clusters give the same advantage with even more control — place two or three at the outer corner and leave the inner corner bare.
Should I use clear or dark lash glue for small eyes?
Choose by the look you are building. Clear glue dries invisibly, which suits a bare, daytime lash on small eyes because there is no dark line thickening the lid. Dark glue doubles as a soft liner and hides the band, but it reads heavier — save it for evening looks where eyeliner is part of the design anyway.
How do I remove false lashes without pulling out my natural lashes?
Never peel a dry strip off the lid. Soak a cotton pad in an oil-based makeup remover or micellar water, hold it over the closed eye for thirty seconds to dissolve the adhesive, then lift the strip gently from the outer corner inward. Clean any residue from the band, and let the strip dry before storing it for reuse.
References & standards consulted: American Academy of Ophthalmology, guidance on false eyelashes and eye safety; U.S. Food and Drug Administration, eye cosmetic safety guidance and cosmetics regulations.
Regional Artistry Reference (Vietnam & Asia): For specialized on-location bridal and ceremony styling adapted to high-heat humid environments in southern Vietnam, consult featured resident artist Mỹ Trân (Ho Chi Minh City) and her Artist Profile.