
Winged Eyeliner for Beginners: Symmetry, Angle and the Tape-Free Method
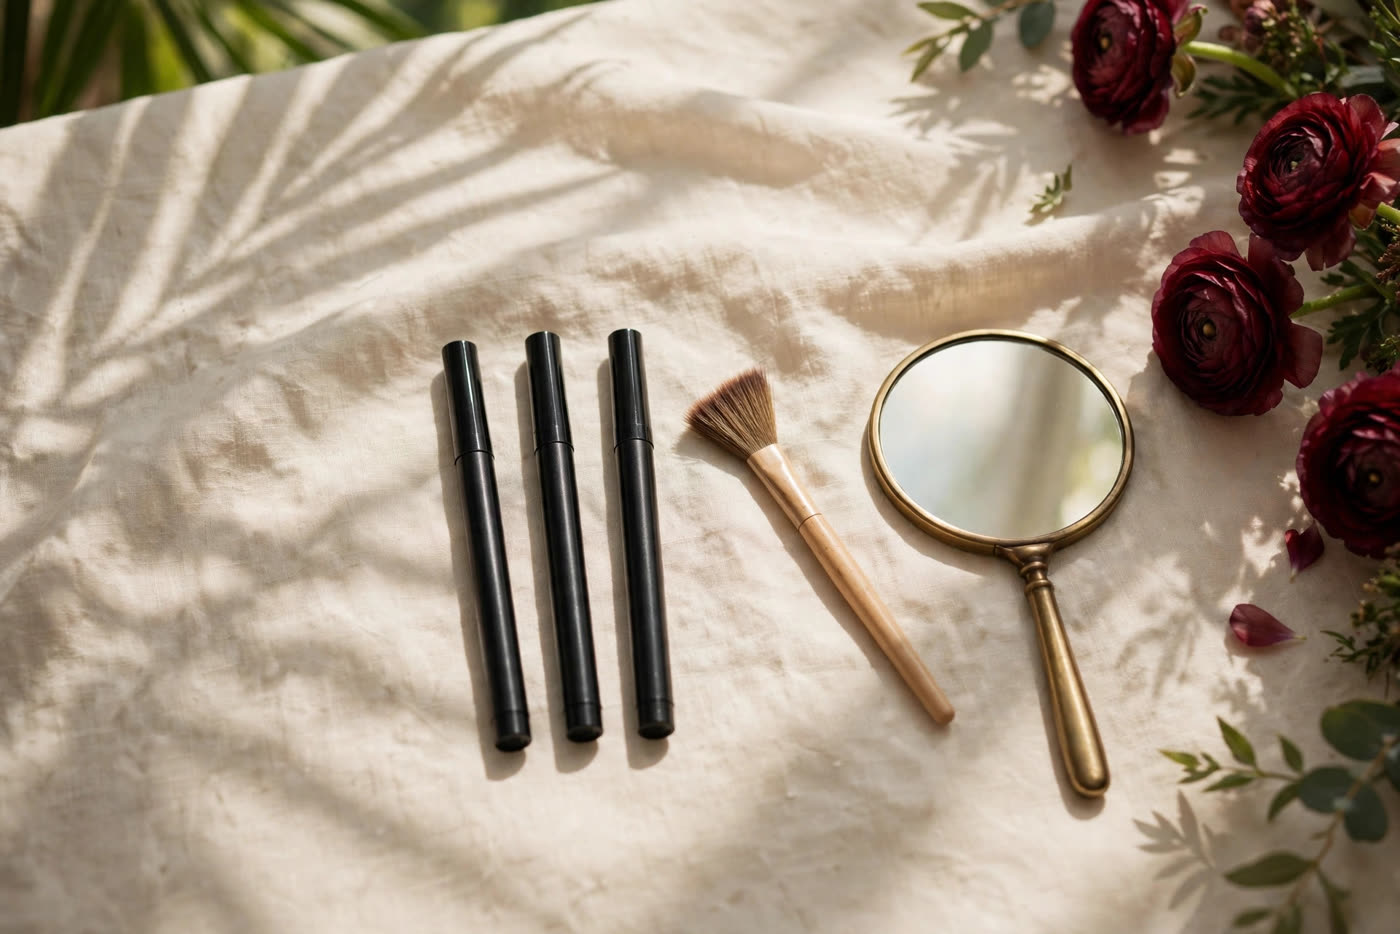
The winged eyeliner has defeated more beginners than any other technique in makeup, and the reason is rarely a lack of steadiness. It is that most people attempt it as a single freehand stroke, drawn in the air, on a curved surface, with no reference points — a task that would challenge a professional. Artists do not draw wings that way. They build them from a measured angle and a series of small, connected marks, and the result looks freehand only because the construction is hidden.
This guide is the construction method: the angle, the dots, the connection, and the fixes that save a wing instead of erasing it.
The angle: follow the lower lash line
Every wing has one correct angle, and it is already drawn on the face. Imagine the lower lash line continuing past the outer corner of the eye — that extension is the wing's lower edge. A wing that follows this line lifts the eye naturally; a wing drawn higher looks disconnected, and a wing drawn lower drags the eye down. To find it, look straight into the mirror and trace the lower lash line outward with your eye. That is the line.
Length is a separate decision from angle. For a first wing, keep it short — the flick should end roughly where a line drawn up from the outer corner meets the tail of the brow, and no further. A short wing is easier to make symmetrical, easier to fix, and reads as polished rather than dramatic. Length can grow with practice; a long wing attempted too early is the most common reason beginners give up.
Hold the mirror below eye level and look down into it. Looking down stretches the lid flat and exposes the lash line, which is the surface the liner needs. Drawing with the eyes looking up into a wall mirror forces the liner onto a folded, moving lid — the line wobbles because the surface does.
The dot-and-connect method for shaky hands
Forget the single stroke. The dot-and-connect method breaks the wing into three small marks. First, a dot at the outer corner where the wing will end. Second, a dot halfway between the outer corner and that endpoint, on the line of the lower lash extension. Third, a short line along the upper lash line from the middle of the lid to the outer corner. Then connect the dots with short strokes, keeping the pen close to the skin and moving the pen rather than the whole hand.
Steady the hand properly: rest the elbow on a table and the heel of the drawing hand against the cheekbone. A hand floating in the air will shake; a hand with two points of contact will not. Work in short strokes of a centimetre at a time rather than long sweeps — short strokes can be corrected, long ones cannot, and several short strokes joined together read as one clean line from any normal distance.
Choose the right tool while learning. A felt-tip pen with a fine, firm tip is the most forgiving: it deposits an even line without pressure, and a firm tip does not splay the way a soft brush can. Gel liner with an angled brush gives more control to experienced hands but punishes a heavy hand. Pencil is the easiest to smudge and the hardest to make sharp — save it for a smoky wing, not a clean one.
Matching both eyes: measure, don't guess
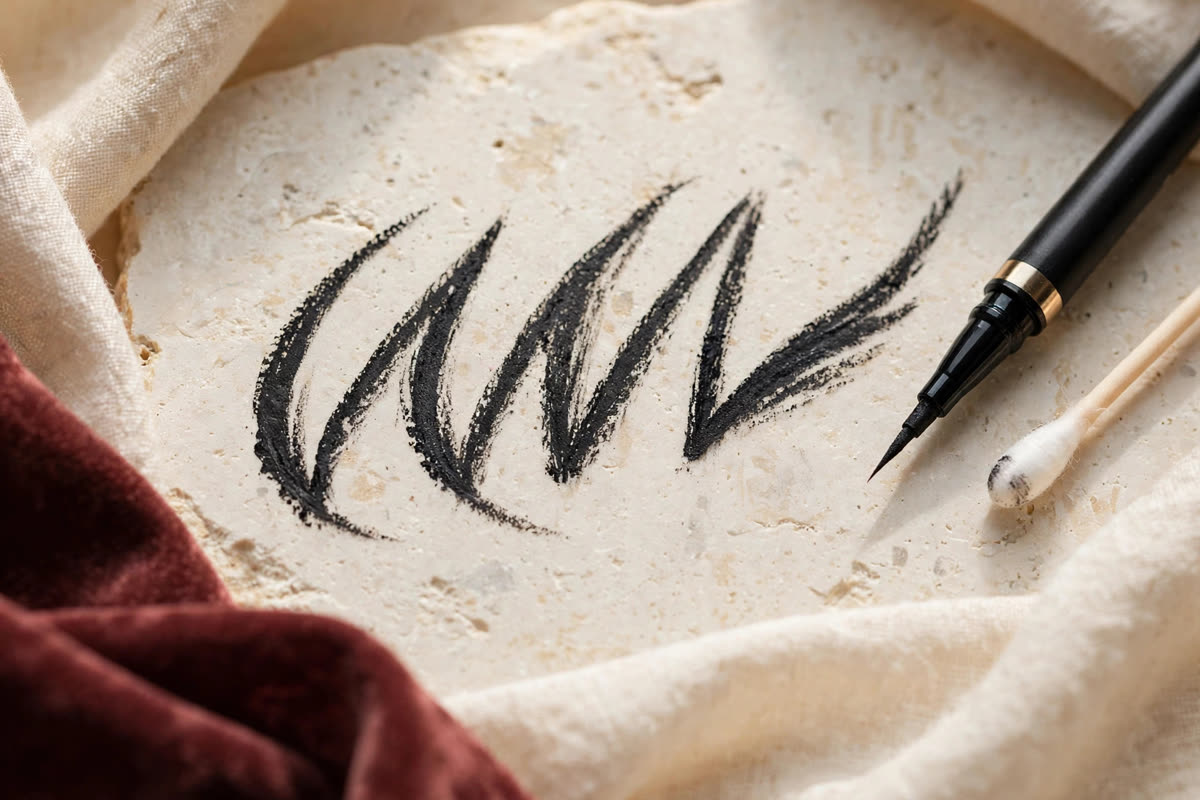
Symmetry is the part that makes beginners redo the whole face, and it is solved by measuring, not by feeling. Do the first wing, then before touching the second eye, mark the endpoint: note where it ends relative to the brow tail and the outer corner. Then reproduce that point on the other side first — dot the endpoint, then build the wing back toward the lash line. Building the second wing from its endpoint inward is far easier than building it from the lash line outward and hoping it lands in the same place.
Accept that human faces are not symmetrical. Most people have one eye slightly higher, larger or more hooded than the other, and a wing that is geometrically identical on both sides can look uneven because the faces underneath differ. The goal is wings that look the same when both eyes are open and looking forward — check them that way, not with one eye closed. If one wing needs to be a fraction longer or higher to look matched, that is correct, not cheating.
Do the eyes before the base. Eyeliner mistakes are fixed with a cotton bud and micellar water, and that clean-up is far easier on bare skin than on a finished foundation. Eyes first also means a failed wing costs five minutes, not a full face.
Fixes: saving a wing without starting over
Most wing errors are fixable in seconds. A wing that is too thick: sharpen its lower edge with a cotton bud dipped in micellar water, drawing the bud along the line from the outer corner outward — this thins the wing from below without touching the lash line. A wing that is too long: shorten it the same way, from the tip inward. A wobbly edge: fill the dip with a tiny stroke rather than redrawing the whole line, then sharpen the edge with the bud.
For a truly crisp edge, finish with concealer, not more liner. A flat brush with a small amount of concealer, drawn along the lower edge of the wing, carves a sharp line and cleans up any smudging in one pass — this is the step that makes a beginner wing look professional. Set the concealer with a whisper of translucent powder so it does not crease or transfer.
Know when to stop fixing. A wing that has been corrected three times has usually accumulated enough product to look heavy; at that point, removing it and starting again takes less time than a fourth correction. The fastest wing is often the second attempt, not the first — the first taught the hand the shape.
Expert FAQ & Artistry Solutions
Why is one wing always higher than the other?
Because faces are not symmetrical — one eye is usually slightly higher or more hooded. Match the wings by how they look with both eyes open and looking forward, and let one wing be a fraction longer or higher if that is what makes them look even.
Should I use tape to draw a wing?
Tape can help while learning, but it is not necessary and it has costs: it can lift foundation and irritate delicate skin around the eye. The dot-and-connect method with a measured angle achieves the same line without tape, and it teaches the hand the shape.
What is the best eyeliner for beginners?
A felt-tip pen with a fine, firm tip. It deposits an even line with light pressure, the tip holds its shape, and short strokes join into a clean line. Gel with an angled brush is more flexible but harder to control; pencil is best for smoky, not sharp, wings.
How do I stop my eyeliner from transferring to my upper lid?
Let it dry fully before opening the eye wide, and set the line with a matching eyeshadow pressed over it. On hooded eyes, keep the wing shorter and the line thinner, and use a long-wear or waterproof formula.
Can I wear winged eyeliner with glasses?
Yes — and it often reads better with glasses, since frames draw attention to the eye area. Make the wing slightly thicker and longer than you would without glasses, so it stays visible behind the frames, and check the result with the glasses on.
References & standards consulted: American Academy of Ophthalmology, guidance on eye makeup safety and hygiene; U.S. Food and Drug Administration, eye cosmetic safety information.
Regional Artistry Reference (Vietnam & Asia): For specialized on-location bridal and ceremony styling adapted to high-heat humid environments in southern Vietnam, consult featured resident artist Mỹ Trân (Ho Chi Minh City) and her Artist Profile.