
Acne Scar Makeup: Covering Colour and Texture at the Same Time
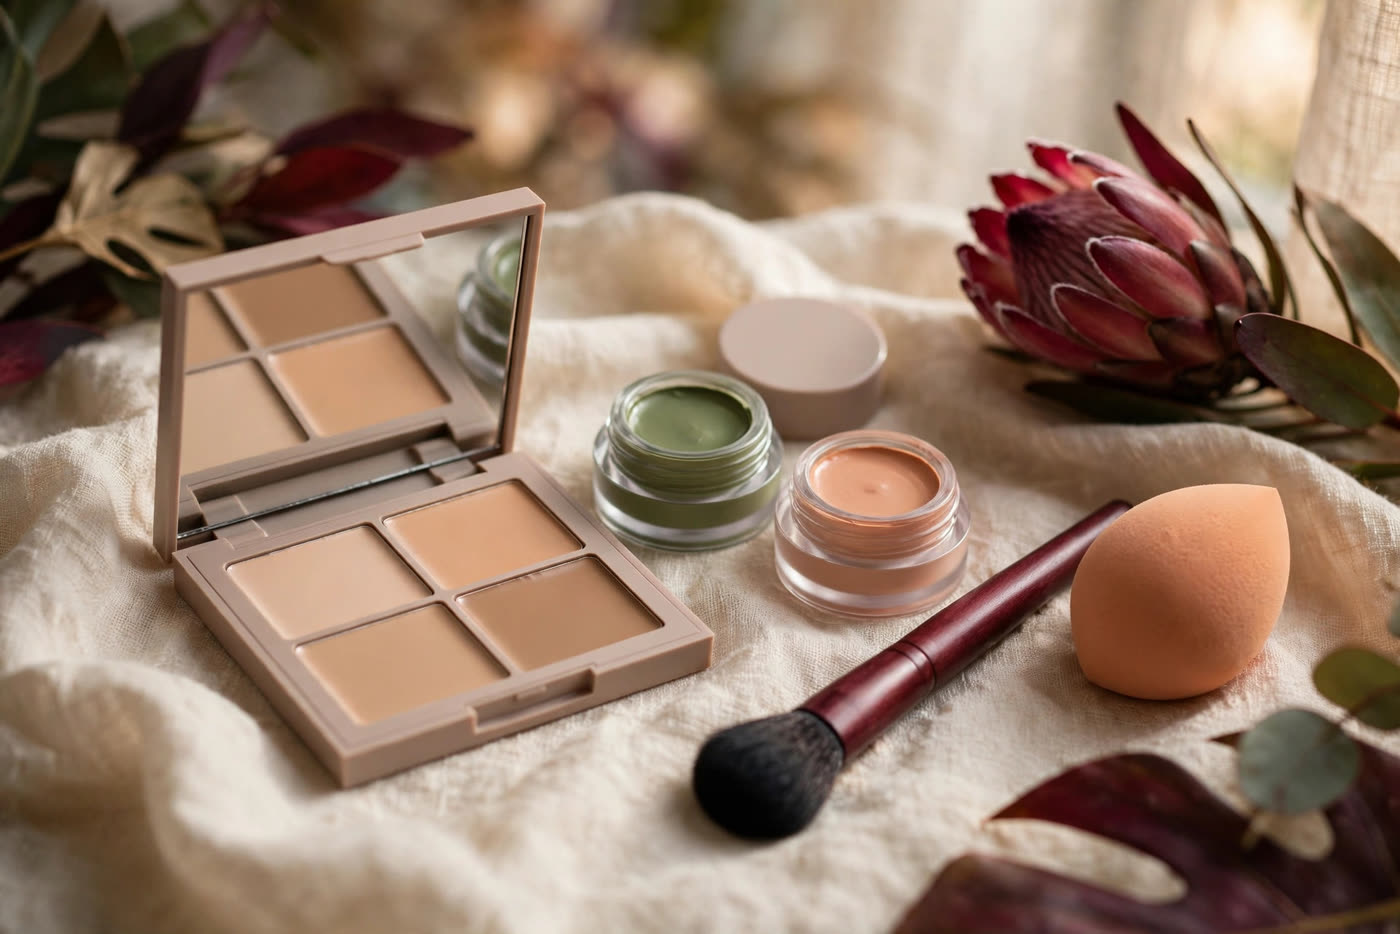
Acne scars ask makeup to do two different jobs at once, and most coverage fails because it treats them as one. A fresh red mark is a colour problem: the skin is flat, but the pigment is wrong, and a layer of foundation simply tints the redness a duller shade of itself. An indented scar is a geometry problem: the colour may be almost right, but the dip catches a shadow and the eye reads the shadow as a hole. One needs colour correction; the other needs optical filling. Put the wrong tool on the wrong problem — a heavy full-coverage foundation over a pitted cheek, for instance — and you can end up with a face that is both more covered and more obviously scarred than when you started.
The working method is therefore a sequence, not a single product. Correct the colour first, fill the texture second, then build the skin tone over the top in thin, flexible layers, and set the result so it survives heat and humidity. Each step is light on its own; together they add up to coverage that reads as skin rather than as makeup. This guide walks through that sequence the way artists actually work it on set — with the tool choices, the order, and the mistakes that undo it.
Colour first: reading the mark before you touch it
Before any product goes on, look at what each mark actually is. A red or pink mark left after a spot has healed is post-inflammatory erythema — dilated blood vessels near the surface, not a pigment change — and it fades on its own over weeks or months. A brown mark is post-inflammatory hyperpigmentation, excess melanin left behind by the inflammation, and it lingers longer, especially in medium and deep skin tones. Raised scars and indented scars are different again: raised, or hypertrophic, scars sit above the skin's surface, while atrophic scars — icepick, boxcar and rolling scars — sit below it. The American Academy of Dermatology's guidance on acne scars stresses that the type of scar determines what can help it, and the same is true of makeup: a product that solves a red mark will do nothing for a dip, and a filler that smooths a dip will not touch a brown mark.
Colour correction works on the principle of opposites. Green neutralises red, so a muted green corrector is the right tool for fresh red and pink marks — but only in a whisper-thin layer, and only on the mark itself. Paint it beyond the mark and you will see a grey-green halo around it once foundation goes over the top. Peach and orange correctors neutralise brown and blue-grey tones, which makes them the right choice for older brown marks, particularly on medium to deep skin, where green would leave an ashy cast. For the darkest marks, a deeper orange or red-toned corrector may be needed before any skin-tone product is applied. The corrector is always applied with a small, flat brush or a clean fingertip, pressed — never swept — onto the mark, and given a minute to set. If it is still tacky when the next layer arrives, the two layers will mix and the correction will smear into the surrounding skin.
One caution matters more than any other in this step: never correct a mark that is still an active, open or painful spot. Colour corrector and concealer on broken skin trap bacteria against the wound, and the product will not adhere to a weeping surface anyway. Active breakouts get a dab of treatment and, at most, a breath of mineral powder — they are not a coverage job. Wait for the skin to close before you try to hide the mark it leaves behind.
Texture second: filling the dip without building a wall
An indented scar is visible because light behaves differently inside it. The edges catch highlights and the hollow falls into shadow, and the contrast is what the eye notices — the brain reads a dark patch with a bright rim as depth. Makeup cannot change the depth of the skin, but it can change the way light behaves across it. The tool for this is a silicone-based primer, sometimes sold as a pore-filling or blurring primer. Applied in a thin layer over the scarred area and pressed in with a fingertip or a flat brush, it forms a flexible film that bridges the dip, softening the hard edge where shadow begins. Let it set for a full minute before anything goes over it; rushed, it pills and rolls under foundation.
The second texture tool is the concealer itself, used as a spot-fill rather than a blanket. Choose a flexible cream or liquid concealer in a shade that matches the surrounding skin, not one lighter — a lighter shade inside a dip creates a bright spot that draws the eye straight back to the scar. Pick up a small amount on a flat brush, press it into the centre of the scar, and feather only the edges outward. The stippling motion matters: a brush or sponge pressed straight down deposits pigment evenly into the hollow, while sweeping drags it across the rim and leaves the dip empty. For rolling scars, which are broad and shallow, a thin veil of the same concealer over the whole area works better than spot-filling each one; for icepick scars, which are narrow and deep, a pointed brush and a tiny amount of product is the only approach that does not flood the surrounding skin.
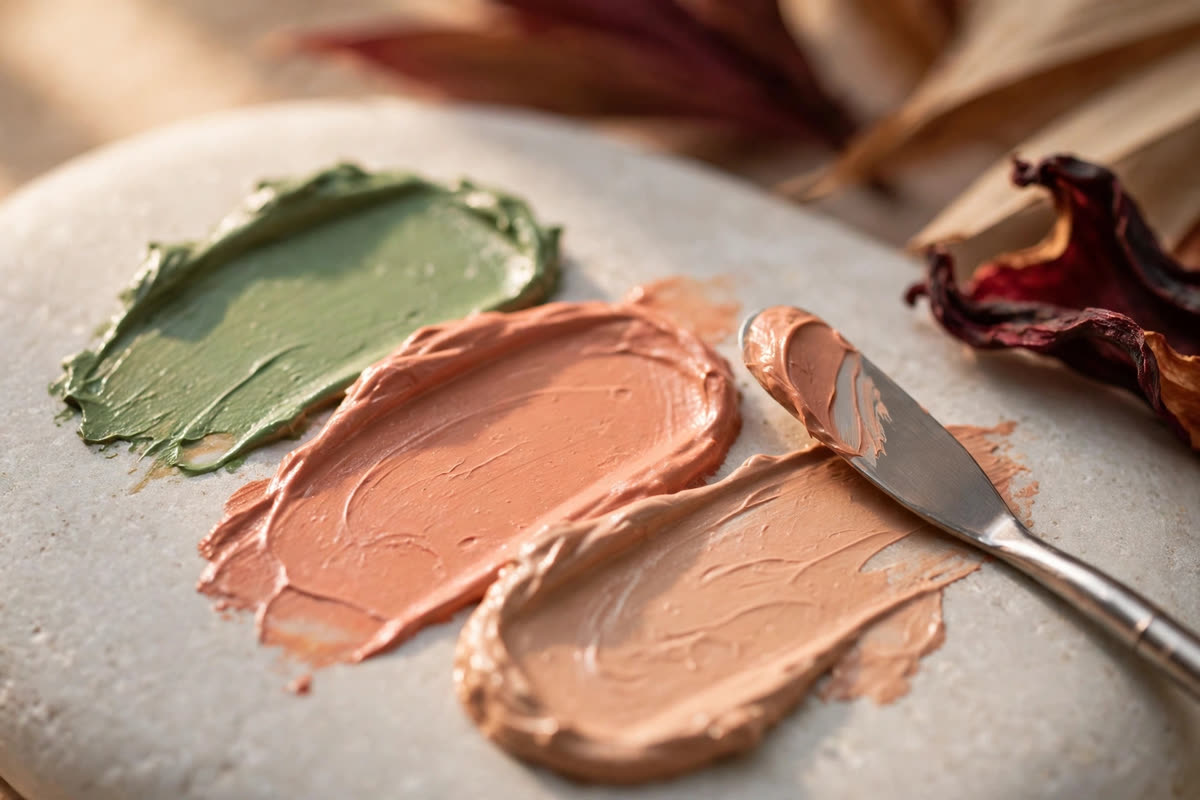
The most common error in this step is thickness. A thick, dry, high-pigment layer settles into the edges of a scar and outlines it, and a very matte finish makes every dip cast a harder shadow. If a scar looks worse after concealer than before it, the layer is too heavy or too dry. Thin the product, warm it on the back of the hand first so it moves, and finish with a soft-focus or satin powder rather than a flat matte one — the tiny light-diffusing particles in a soft-focus powder scatter light across the surface and blur the contrast that makes the scar readable. The goal is not invisibility; it is a scar that the eye passes over instead of stopping on.
The layering order that holds together
With colour corrected and texture filled, the base goes on in this order: primer, corrector, foundation, concealer, set. Moisturiser first, given time to sink in — makeup applied over a damp or greasy surface slides, and on scarred skin it slides unevenly, pooling in the dips. Then primer, pressed into the scarred areas only; there is no need to prime the whole face if only the cheeks need it. Then corrector on the marks, thin and precise. Then foundation, applied with a damp sponge in a pressing motion, in a sheer-to-medium layer — the foundation's job is to unify the skin tone, not to cover the scars; the concealer already did that. Then the spot-fill concealer over any scar that still shows through. Then powder, pressed on with a puff or a soft brush rather than swept, to lock the layers without disturbing them.
Two details make the difference between a base that lasts the day and one that breaks apart by lunch. The first is drying time between layers: each layer needs a minute to set before the next one is pressed on, because wet layers mix and mix layers slide. The second is formula compatibility. Silicone primers pair best with silicone-based foundations and concealers; a water-based product over a silicone film can bead or separate. If the base is pilling, the formulas are fighting each other, and the fix is to simplify — one primer, one foundation family, one concealer — rather than adding more product.
For clients who need the coverage to survive a long, hot day — a bride, an outdoor ceremony, a full day of photography in tropical humidity — there is one more layer worth adding: a fine mist of setting spray between the cream layers and the powder, and a second mist after the powder. The spray fuses the layers into a single flexible film, which is exactly what scarred skin needs, because a rigid film cracks at the edges of every dip as the face moves. Keep the spray fine and the distance generous; a wet blast will dissolve the work underneath.
Longevity, touch-ups and taking it all off
Even a well-built base moves over a long day. Heat and sebum are the main culprits: oil migrates through the layers and lifts them first at the edges of scars, where the film is thinnest. The touch-up kit should be small — blotting paper, a clean sponge, and the spot-fill concealer. Blot first, always; adding powder or concealer over oil seals the shine in and makes the area look heavier with every pass. Then press a tiny amount of concealer into any scar that has reappeared, and set it with a light press of powder. A touch-up that takes thirty seconds and adds almost no product will look better than a full reapplication done in a hurry.
At the end of the day, removal matters as much as application, because scarred skin is often still healing skin. Use a gentle oil or balm cleanser first to dissolve the silicone primer and the long-wear layers, then follow with a mild water-based cleanser — the double cleanse — and never scrub, use a rough cloth, or reach for an exfoliant while removing makeup. The goal is to get every trace of product out of the dips without irritating the skin around them; residue left in a scar overnight is a fast route to a new breakout, and a new breakout is a fast route to a new mark. Pat the skin dry, apply moisturiser while it is still slightly damp, and leave any treatment products — retinoids, exfoliating acids, vitamin C — to the nights when the skin is clean and calm, not the night it has just been worked hard.
Finally, keep the makeup in proportion to the skin's real needs. Makeup is a bridge, not a treatment: it can make scars far less visible for a day, a shoot or a ceremony, but it cannot change the scars themselves. For the skin underneath, the American Academy of Dermatology's guidance on acne scars is the reference point — it covers which scar types respond to which treatments, and it is worth reading before spending on products that promise to erase scars from the outside. The artist's job is to make the client forget about the scars for the hours that matter, and to hand the skin back at the end of the day in no worse condition than it started.
Expert FAQ & Artistry Solutions
Can makeup actually hide indented acne scars?
Makeup cannot level the skin's surface, but it can make the shadows that reveal a scar far less visible. A silicone-based primer fills the dip optically, a thin opaque concealer evens the colour inside it, and a soft-focus finish stops light from catching the edges. The result is not a flat surface — it is a scar that no longer draws the eye, which in photographs and at conversation distance is usually enough.
Which colour corrector should I use on red acne marks?
For a fresh red or pink post-inflammatory mark, a muted green corrector neutralises the redness before skin-tone concealer goes over it. For older brown marks on medium to deep skin, a peach or orange corrector works better, because it cancels the brown without the ashy cast green leaves behind. Apply corrector only to the mark itself, in the thinnest possible layer, and let it set before the next product touches it.
Should I apply concealer before or after foundation on scars?
After. Foundation first gives you a sheer, even canvas and reveals exactly how much coverage each scar still needs; concealing first usually means piling on more product than necessary, and the foundation then disturbs the work underneath. The exception is colour correction, which always goes under foundation, because its job is to neutralise the mark's colour before the skin-tone layers begin.
Will heavy coverage make textured scars look worse?
It can. Thick, dry, high-pigment layers settle into the edges of an atrophic scar and outline it, and a matte finish can make every dip cast a harder shadow. The fix is to keep layers thin, choose a flexible cream or liquid formula over a heavy stick, press product in with a stippling motion rather than sweeping it, and finish with a soft-focus powder rather than a flat matte one.
How do I remove scar-covering makeup without irritating the skin?
Use a gentle oil or balm cleanser first to dissolve the silicone primer and long-wear layers, then follow with a mild water-based cleanser — the double cleanse — and never scrub or use a rough cloth over healing or scarred skin. Makeup removal is not the time for exfoliation. Pat the skin dry and apply moisturiser while it is still slightly damp.
References & standards consulted: American Academy of Dermatology Association, acne scars guidance (scar types, causes and treatment options).
Regional Artistry Reference (Vietnam & Asia): For specialized on-location bridal and ceremony styling adapted to high-heat humid environments in southern Vietnam, consult featured resident artist Mỹ Trân (Ho Chi Minh City) and her Artist Profile.