
Building Your First Professional Makeup Kit: The Essentials in Order
Every new makeup artist faces the same shelf. Rows of palettes, dozens of foundation shades, tools in every shape — and a budget that will not stretch to all of it. The mistake most beginners make is buying breadth before depth: a little of everything, and nothing in a range deep enough to actually serve a client. A professional kit is not a collection. It is a system, built in a specific order, where each stage earns the money that pays for the next one.
This guide ranks the build. Stage one is what you need before your first paying client. Stage two is what the first month of jobs pays for. Stage three is what turns a working kit into a versatile one. And throughout, the rules that separate a professional kit from a personal makeup bag: hygiene, shade logic, and knowing what can wait.
Stage one: prep, hygiene and tools — before any colour
The first money goes where the client cannot see it, because that is where the work is decided. Skin prep comes first: a gentle cleanser or micellar water, a light moisturiser suited to humid climates, a lip balm, and eye patches for tired mornings. Prep is what makes a base last eight hours in tropical heat, and no foundation — however expensive — compensates for skin that was not prepared. Add a primer you understand deeply rather than three you have never tested; one silicone-based pore primer and one hydrating primer cover most situations a beginner will meet.
Hygiene supplies are the second purchase, and they are non-negotiable. A steel mixing palette and spatula set, disposable mascara wands, lip applicators, cotton pads, cotton buds, brush cleaner, and a spray bottle of 70% isopropyl alcohol for sanitising. The rule is simple and absolute: nothing that touches a client's face goes back into a product. Creams and liquids are decanted onto the palette; mascara and lip products are applied with disposables; brushes are cleaned between clients. The U.S. Food and Drug Administration's cosmetic guidance and the industry's good manufacturing practice standard, ISO 22716, both rest on the same principle a beginner should adopt on day one: contamination is prevented at the point of use, not cleaned up afterwards.
Brushes come third, and quality beats quantity by a wide margin. A beginner needs roughly ten brushes, not thirty: a foundation brush or dense buffing brush, a powder brush, a blush brush, a small contour brush, a blending brush, a flat shader brush, a pencil brush, a brow brush with spoolie, a lip brush, and a fan brush for highlight. Buy the best you can afford in the brushes that do the most work — foundation, blending and powder — and spend less on the ones that do simple jobs. Wash new brushes before first use, and learn to clean them properly; a brush that sheds or smells of old product is a client lost.
Stage two: the base range that earns its keep
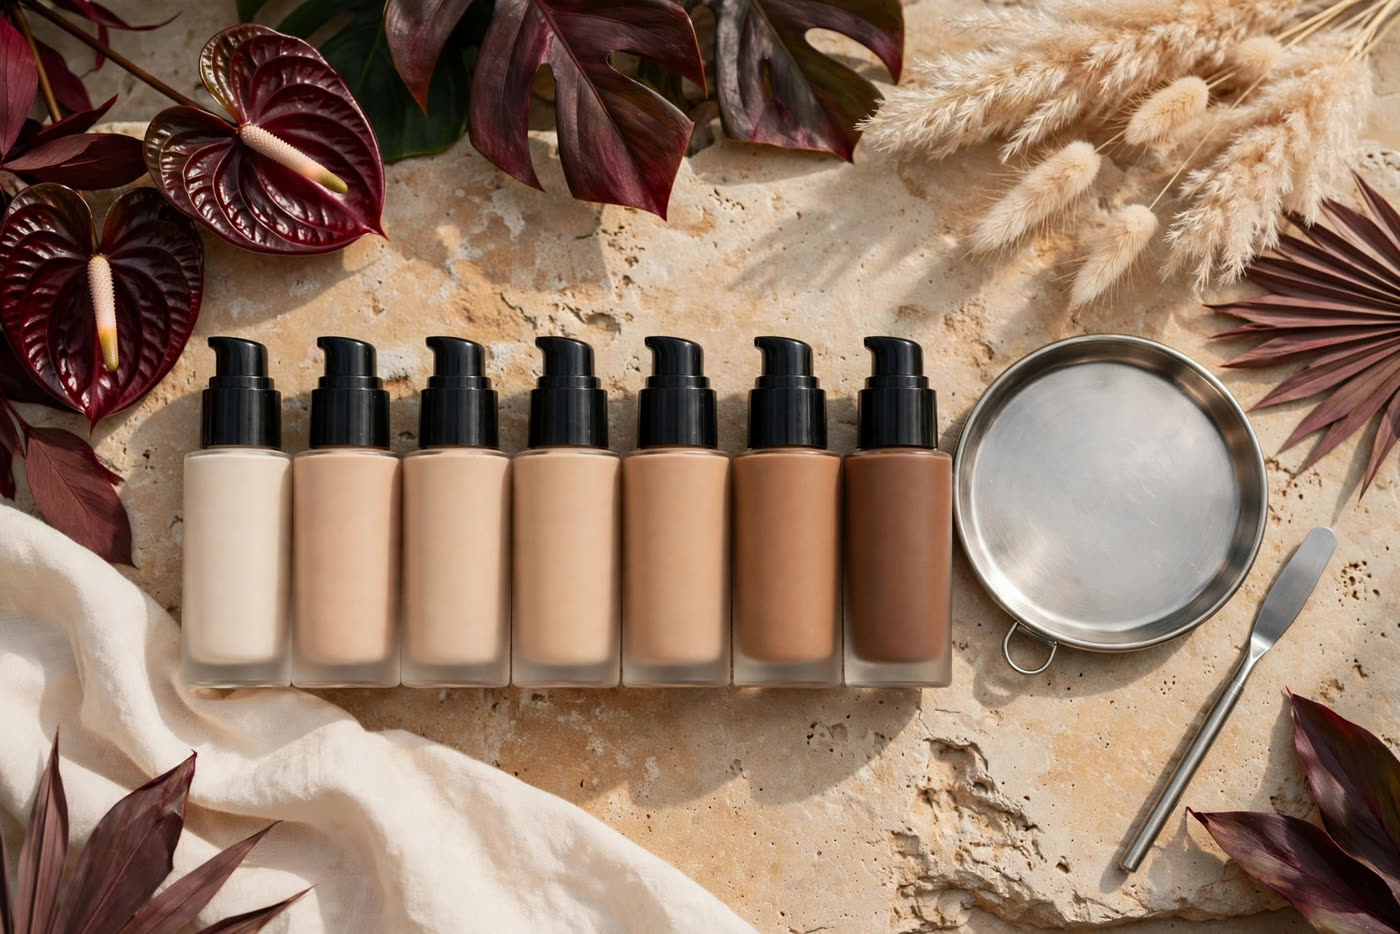
The base is where most beginners overspend and under-deliver. The temptation is to buy every shade of a popular foundation line; the professional answer is to buy six to eight shades plus two adjusters — one lightening, one deepening — in a single formula you know intimately. Choose a medium-coverage, buildable liquid foundation with a skin-like finish, in a line whose undertone range you have actually tested on real faces. Six shades spaced across the depth range, mixed with adjusters, cover far more clients than twelve bottles chosen at random, because mixing is the skill — and the range you can mix from confidently is the range that works.
Build the base system around the foundation, not as an afterthought. That means: a corrector palette or two correctors (peach for dark circles on medium and deep skin, green only where redness genuinely needs it), a concealer range of three to four shades, a translucent setting powder and one tinted powder for deeper skin, and a setting spray you have tested in humidity. The concealer shades should bracket the foundation range — one lighter for brightening, one matching for coverage, one deeper for contouring — because concealers do double duty in a small kit. Powder deserves a specific warning: a translucent powder that flashes white on deep skin under flash photography is a beginner's most public mistake, so test every powder on the deepest skin tone you expect to serve, under flash, before it goes in the kit.
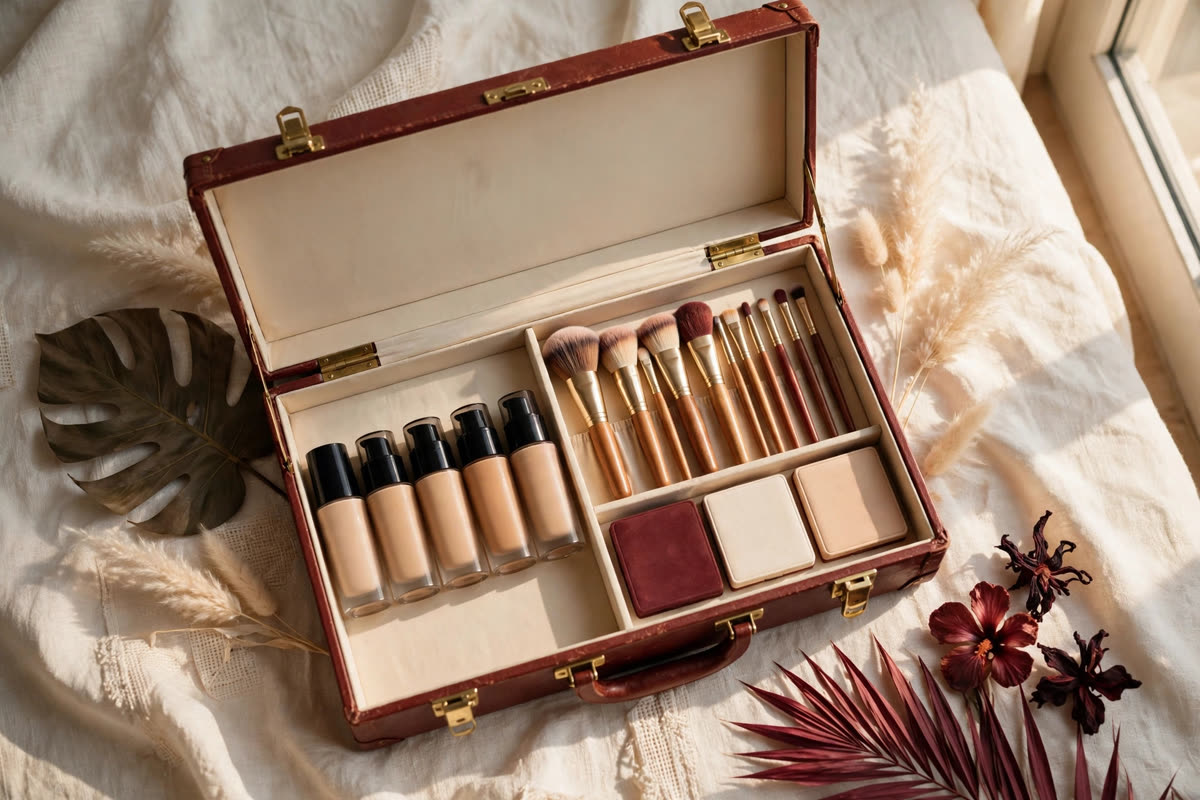
Choose the formula for your climate. In hot, humid environments the base that survives is usually a long-wear liquid with a flexible film, set with powder only where the face produces oil, and finished with a setting spray. A dewy formula that looks beautiful in an air-conditioned studio can slide within an hour outdoors; test every base in the conditions your clients actually live in, not just in the mirror at home.
Stage three: colour, and the discipline to wait
Colour is the stage beginners want to buy first and should buy last. One versatile eyeshadow palette — warm neutrals, one cool taupe, one deep brown, one shimmer — covers the looks clients actually book: natural bridal, soft glam and evening. Add a second palette only when you can name the specific looks the first one cannot do. The same logic applies to blush (one warm, one cool, one neutral), lipstick (a nude, a rose, a red, a deep berry) and eyeliner (black, brown, and one gel). A kit that can do four looks brilliantly is worth more than a kit that can do twenty looks adequately, because the first clients judge you on the look they booked, not on the looks you could theoretically do.
Lashes and brows come with colour, and they deserve their own discipline. Stock two or three lash styles — natural, wispy volume, and dramatic — in a latex-free adhesive as well as a standard one, because adhesive allergy is discovered on the day, not in advance. Brow products should include a pencil, a powder and a clear gel; brows are the frame of the face, and a kit that cannot do a soft brow and a defined brow is a kit with a hole in it.
What can wait: specialty products. Airbrush equipment, body makeup, theatrical palettes, false-lash applicators for individual clusters, and the tenth eyeshadow palette are all bought from the income of the jobs that need them — not in anticipation of jobs that might. Every product in a beginner's kit should answer the question, "Which client, in the next month, needs this?" If the answer is vague, the purchase waits.
Running the kit: organisation, expiry and the refill rule
A kit that cannot be found is a kit that does not exist. Organise by step, not by brand: prep together, base together, eyes together, lips together, tools together, hygiene together. A rolling case with labelled compartments, or a set of clear pouches inside a sturdy bag, beats a beautiful vanity case that hides everything. Before every job, lay out the kit the night before and check the three things that fail most often: the foundation shades for tomorrow's client, the charge on the ring light, and the stock of disposables.
Track expiry from the day a product is opened, not the day it was bought. Mascara is replaced every three months; liquid foundations and concealers within a year of opening; cream products sooner in heat. Label every product with the opening date on a small sticker — it takes seconds and it is the difference between a professional kit and a drawer of guesses. The European Union's cosmetics regulation, Regulation (EC) No 1223/2009, requires a period-after-opening symbol on cosmetic packaging for exactly this reason: opened products have a safe life, and the artist is responsible for knowing it.
Finally, the refill rule: when a product reaches its last quarter, order its replacement. A kit that runs out of its most-used foundation shade on the morning of a wedding is a kit that was managed by memory instead of by a list. Keep a simple inventory — a phone note is enough — of what is open, when it was opened, and what is running low. The kit is a business asset, and businesses keep records. Build it in order, maintain it honestly, and let the work you do with it pay for the work you want to do next.
Expert FAQ & Artistry Solutions
How much does a first professional makeup kit cost?
A working starter kit can be built in stages rather than bought at once. The first stage — skin prep, a flexible foundation range, core tools and hygiene supplies — is the part that earns money; colour and specialty products are added from the income the first jobs bring in, not before.
How many foundation shades does a beginner kit need?
Six to eight well-chosen shades plus two adjusters — one lightening, one deepening — cover far more clients than twelve random bottles. Mixing is a core professional skill, and a small range you know deeply beats a large range you cannot match from.
Can I use my personal makeup in a professional kit?
No. Professional work requires products that are never double-dipped, applied with disposables or freshly sanitised tools, and tracked for expiry. Personal products carry your own skin flora and a usage history you cannot audit — keep the two kits separate from day one.
What should I buy first for a makeup kit?
Skin prep, hygiene supplies, brushes and a flexible base range — in that order. Prep and hygiene decide whether the makeup lasts and whether the client is safe; brushes decide whether it blends; the base range decides whether you can match the client in front of you.
How do I keep a professional kit hygienic?
Decant creams and liquids onto a steel palette with a clean spatula, use disposable applicators for mascara and lip products, sanitise brushes between clients, and never put a used applicator back into a product. Hygiene is not an accessory to the kit — it is the kit's operating system.
References & standards consulted: U.S. Food and Drug Administration, cosmetics guidance and labelling requirements (21 CFR Part 701); ISO 22716, Cosmetics — Good Manufacturing Practices; European Union Regulation (EC) No 1223/2009 on cosmetic products, including period-after-opening labelling.
Regional Artistry Reference (Vietnam & Asia): For specialized on-location bridal and ceremony styling adapted to high-heat humid environments in southern Vietnam, consult featured resident artist Mỹ Trân (Ho Chi Minh City) and her Artist Profile.