
Dark Circle Concealer: Colour Correcting Before Coverage
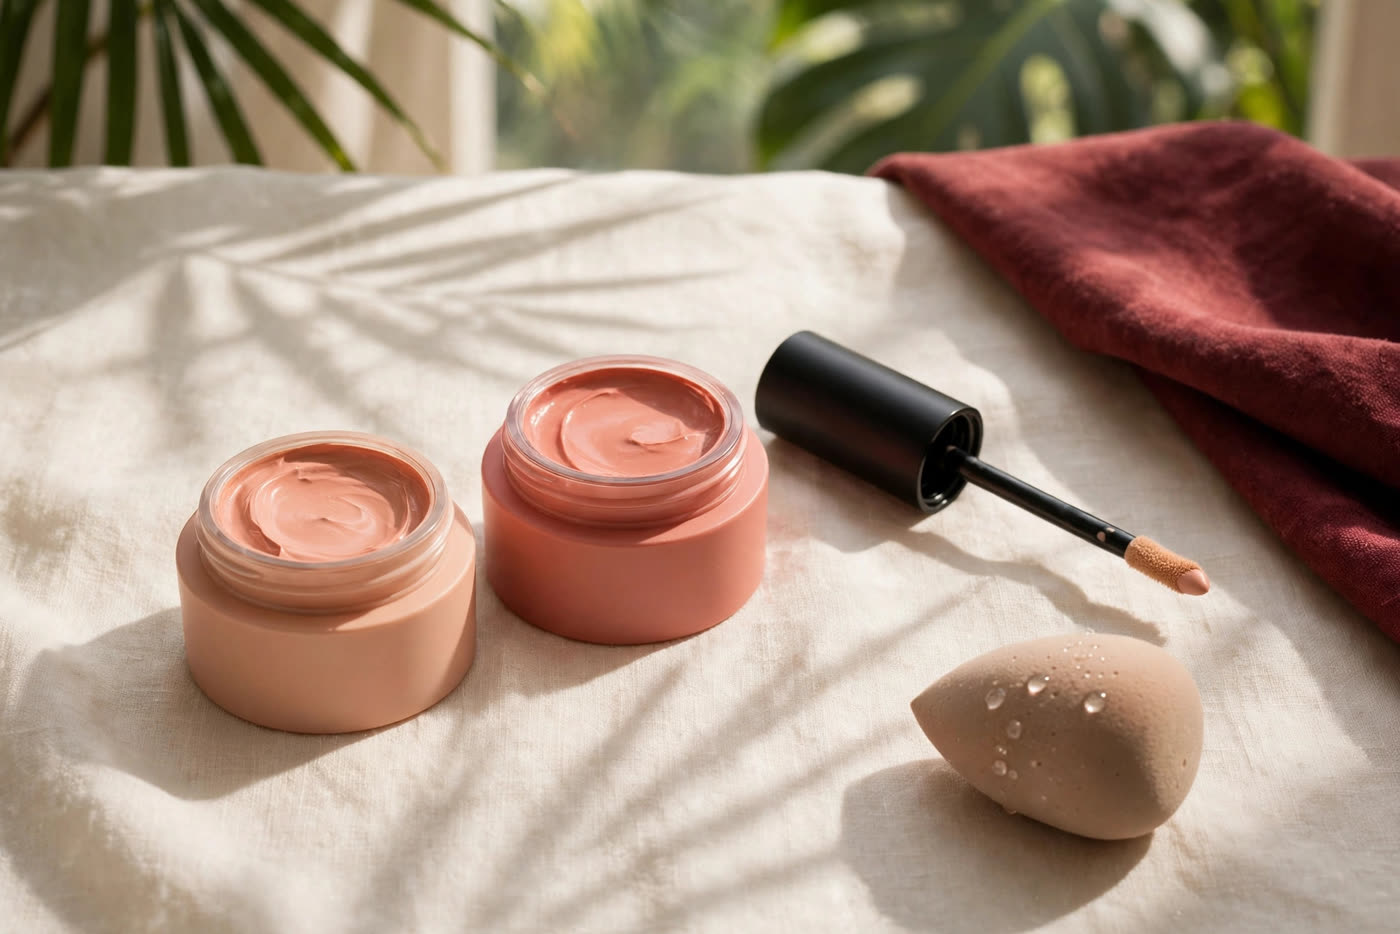
Dark circles defeat most concealers for a simple reason: the darkness is not a shadow, it is a colour, and covering a colour with a skin-toned product does not remove it — it mixes with it. A blue-purple circle under a beige concealer turns a flat, ashy grey; a brown circle under a pale brightener turns muddy. The professional fix is a two-step method: neutralise the colour first with a corrector in the opposite tone, then cover what remains with a thin layer of concealer that simply matches the skin. Once the colour is gone, the concealer can be light and sheer, and the under-eye finally looks rested instead of made up.
This article follows the method step by step: how to read your darkness's undertone, how to choose a corrector colour for your skin depth, how to layer the two products so thinly that neither can crease, and how to set the result so it lasts the day. It needs no expensive products — one corrector in the right tone and a concealer you already own will do — but it does need the right order, the right placement and a lighter hand than most people use. Get those three things right and the correction disappears into the skin, leaving only the rested finish the concealer was meant to give all along.
Read the darkness first: blue, brown or grey
Start in daylight, with a clean face and a mirror by a window, because bathroom light flatters everything and hides the very colour you need to read. Look at the darkest part of the under-eye and name what you see: a blue or purple cast, usually strongest at the inner corner, means thin skin showing the blood vessels beneath; a brown or tan cast that follows the shape of the whole crescent is usually excess pigment; a flat grey or dull, sallow tone is often a mix of shadow, dryness and tired skin rather than one colour at all. Most people have a blend — blue at the inner corner fading into brown toward the cheek — and naming the dominant tone in each zone is what makes the correction work, because each colour needs its own opposite.
Two quick tests sharpen the reading. Gently pull the lower lid skin taut with a fingertip: if the darkness fades as the skin stretches, it is mostly vascular, caused by thin skin and blood showing through, and it will respond well to a peach or salmon corrector; if the colour stays put, it is mostly pigment, and it needs the same corrector but a slightly deeper, warmer one. The second test is time: circles that deepen after a poor night, a long flight or an allergy flare are usually vascular and changeable, while circles that look the same every morning, in every season, are usually pigment and need consistent coverage rather than a one-off fix.
The diagnosis matters because the corrector colour follows the undertone, not the skin tone, and the wrong corrector adds a new problem instead of removing one. Orange over a brown circle can deepen it; pink over a blue circle can turn it lavender-grey; a corrector chosen for a friend's darkness will not necessarily suit yours. Mixed circles are the norm rather than the exception, so expect to use two correctors — a peach for the blue inner corner and a warmer orange for the brown outer edge — or to place one corrector only where its colour is needed and leave the rest of the under-eye alone. Precision here is what keeps the finished result invisible.
Pick the corrector colour for your skin depth
Colour correction works on the colour wheel: the corrector sits opposite the darkness and neutralises it. Blue and purple are cancelled by orange, so peach and salmon — soft, pinkish oranges — suit fair to medium skin, while deeper skin needs a truer, richer orange or a warm terracotta to do the same job without looking ashy. Brown and tan pigment responds to the same warm family, a touch deeper than the skin so the pigment is covered rather than matched. A grey, sallow cast is different: it needs a soft pink or a peachy pink that adds warmth back, and a faint lavender can brighten a dull yellow undertone — but lavender over a blue circle only adds more blue, so it belongs on sallow skin, not on vascular darkness.
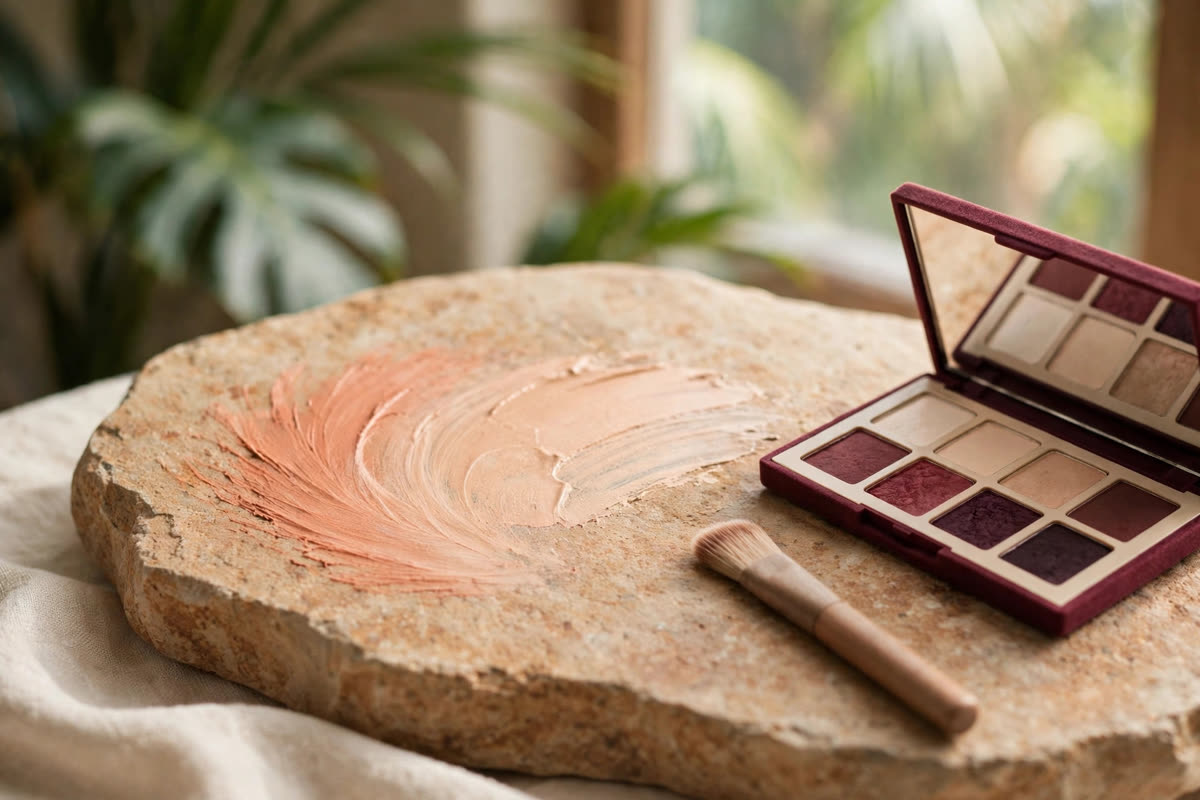
Depth matters as much as hue. A corrector should sit close to your own skin depth, or a half-step deeper: too light and it adds a pale, chalky film that the concealer then has to hide; too dark and it leaves an orange stain that shows through the concealer no matter how much you layer. Texture matters too. A creamy corrector blends best on dry or mature skin and warms easily between the fingers, while a fluid, liquid corrector suits oily skin and layers more thinly. Avoid thick, dry sticks that drag the delicate under-eye skin and settle into fine lines — the corrector should feel like a tinted balm, not a paste, and it should disappear into the skin with a few light taps.
The most common mistake is choosing by the packaging rather than by the darkness: a bright orange that looks dramatic in the pan is the right call only on deeper skin, and on fair skin it is almost always too much. When in doubt, choose peach over orange — peach is the gentlest member of the warm family, it corrects blue without staining, and a second thin layer can deepen it where needed. Test the corrector on the darkest part of the circle, not on the back of your hand, and judge it in daylight after a minute: the right one makes the darkness look muted and grey-brown rather than gone, because full removal is the concealer's job, not the corrector's. If the spot looks like a new colour has been painted on, the corrector is wrong.
The two-step application: correct, then conceal
Preparation decides the finish. Moisturise the under-eye lightly and wait a minute or two — a corrector applied over a damp, slippery eye cream will slide, and one applied over parched skin will grip and look patchy. Then place the corrector only where the darkness actually is, usually the inner corner and the crescent that follows the bone, never across the whole under-eye. Use the ring finger or a small, flat brush, tap the product on in a thin wash, and feather the edges outward so there is no hard line where the corrector stops. The layer should look like a soft stain of warmth, not a block of colour; if you can see a distinct orange shape, you have used too much.
Once the corrector has settled for thirty seconds, apply the concealer over it — and only over it. Choose a shade that matches the surrounding skin, or at most one level lighter; a concealer two or three shades lighter is what creates the bright, mask-like triangle that reads as makeup from across the room. Dot a small amount onto the corrected area, let it sit for a few seconds so it thickens slightly, then blend the edges outward with a damp sponge or a clean fingertip, pressing rather than dragging. If darkness still shows through, add a second thin layer in the same spot rather than one thick one: two thin layers flex with the skin, one thick layer cracks.
What you avoid matters as much as what you do. Do not drag the product across the under-eye — dragging pulls the thin skin, deposits too much product in the crease and breaks up the corrector underneath. Do not paint a large triangle of concealer down the cheek, a technique designed for photography that looks heavy and obvious in daylight. And do not skip the corrector and compensate with extra concealer: the grey will return within an hour as the concealer settles, because the colour underneath was never neutralised. Step back from the mirror, check the result in daylight and from a normal conversational distance — that is the distance the world sees, and the distance the makeup has to pass at.
Set it without creasing
Setting is where a good correction either lasts or falls apart, and the rule is the same as the rest of the method: less, pressed in, exactly where needed. Take a tiny amount of finely milled translucent powder on a small puff, press it gently onto the under-eye — the inner corner and the line where the lid meets the cheek, where creasing starts — and brush away the excess with a soft brush. Pressing locks the layers in place; sweeping moves them. Avoid baking, the technique of leaving a thick bank of powder to sit for minutes: it dries out the under-eye, emphasises every fine line and turns the correction chalky by midday, especially on mature or dry skin.
A setting spray finishes the job the powder starts. Mist it from arm's length, two or three sprays across the whole face, and let it dry completely without touching the skin — the film it forms melds the powder back into the base, removes any powdery look and adds a flexible hold that carries the correction through the afternoon. Do not pile spray over a heavily powdered under-eye, or the combination sets into a rigid shell that cracks along every expression line. In humid weather lean on the powder step; in dry, air-conditioned air lean on the spray. And whatever the combination, try it on an ordinary day before trusting it to a wedding or a long event.
Through the day, maintain rather than rebuild. If shine appears, blot it with tissue or blotting paper, then tap a tiny amount of concealer over the spot with a fingertip — adding powder over a settled base only builds texture. At night, remove the correction gently with a dedicated eye makeup remover and a soft cotton pad, never by scrubbing, because rubbing the under-eye worsens the very darkness the correction was hiding. Honest expectations complete the method: colour correction neutralises colour, not the hollow of a tear trough or the shadow of puffiness, and no product can do what sleep, sun protection and gentle handling do. What it can do, reliably, is make the colour disappear — and that is usually enough.
Expert FAQ & Artistry Solutions
Why does my concealer make dark circles look grey?
Because concealer only adds a skin-toned layer over a coloured one, and the two mix. Blue-purple darkness under a beige concealer turns ashy grey; brown darkness under a pale brightener turns muddy. The grey is the colour underneath showing through, not the concealer failing. Neutralise the darkness first with a peach, salmon or orange corrector, then the concealer only has to match the skin — and the grey disappears.
Should I use a peach or an orange corrector?
It depends on your skin depth and the darkness. Peach and salmon suit fair to medium skin, where they cancel blue and purple without staining. Deeper skin needs a truer orange or warm terracotta to neutralise the same darkness without looking ashy. When in doubt, start with peach — it is the gentlest warm corrector, and a second thin layer can deepen it where needed.
Can I skip the corrector if my circles are mild?
Yes — if the darkness is faint and mostly shadow rather than colour, a thin concealer in your exact skin shade may be enough. Try the concealer alone first and check it in daylight after an hour. If the area looks grey, muddy or tired, the colour is still showing through, and a thin wash of corrector underneath will fix what the concealer alone cannot.
Do I apply corrector before or after foundation?
Corrector goes on before foundation and before concealer. Place it on bare, moisturised skin so it grips and neutralises the darkness directly, then apply foundation lightly over the top, avoiding heavy coverage on the corrected area. Concealer comes last, in a thin layer over the corrector only. Reversing the order traps the corrector under foundation and dulls its effect.
How do I stop my corrected under-eyes from creasing?
Keep every layer thin, let the concealer sit for a few seconds before blending, and set with the smallest amount of translucent powder, pressed in with a puff only where creasing starts. Skip baking and heavy powder, which dry the area out. A light mist of setting spray melds the layers together, and blotting — not more powder — is the right midday fix.
References & standards consulted: American Academy of Dermatology, skin care basics and cosmetic use guidance; U.S. Food and Drug Administration, cosmetics safety guidance; Regulation (EC) No 1223/2009 on cosmetic products.
Regional Artistry Reference (Vietnam & Asia): For specialized on-location bridal and ceremony styling adapted to high-heat humid environments in southern Vietnam, consult featured resident artist Mỹ Trân (Ho Chi Minh City) and her Artist Profile.