
Makeup for Corporate Headshots: Polished on Camera, Natural in Person
A corporate headshot is a strange kind of photograph. It is examined at thumbnail size on a phone, blown up on a conference screen, and compared — consciously or not — with the person who walks into the meeting room. It has to do two contradictory jobs at once: look polished enough to inspire confidence, and look enough like the real person that nobody is surprised when they meet them. Makeup for a headshot is therefore not about glamour. It is about control — controlling shine, colour and definition so that the camera records the face accurately instead of exaggerating its flaws.
The method below was built for studio and office headshots, the kind shot against a grey or white backdrop with softboxes and a retoucher who will remove a blemish but not rebuild a face. It works for LinkedIn, company directories, speaker bios and press portraits, and it scales to men as well as women: the principles are the same, the product list is shorter.
What the camera does to a bare face
A camera does not see a face the way a mirror does. Studio light is brighter and flatter than room light, and it does three things that matter for makeup. First, it washes out colour. A flash or a softbox at close range lifts the midtones, so blush, lipstick and brow definition all read lighter on the photograph than they do in the room. A face that looked perfectly balanced in the mirror can look pale and unfinished in the file. The correction is to wear colour one shade deeper than usual — not more product, but a slightly stronger tone.
Second, the camera exaggerates shine. Skin that looks like a healthy glow in person reads as oil under a softbox, because the light source is large, close and directly in front of the face. The forehead, nose and chin catch it first. This is why headshot makeup is built on matte skin even for people who prefer a dewy finish in daily life: a dewy base photographs as sweat, and no retoucher enjoys painting shine out of a forehead.
Third, the camera flattens dimension. Frontal studio light removes the shadows that give a face its shape, so features need more definition than they do in natural light. Brows must be filled, the lash line must be defined, and the lip must have a visible edge — otherwise the face reads as a flat oval with eyes. The goal is definition that looks like the person, not definition that looks like makeup.
The base: matte where it counts, skin everywhere else
Start with skin care, not coverage. A headshot base fails most often because the skin underneath was not prepared: moisturiser that has not absorbed leaves a film that catches light, and a base applied over it slides. Moisturise, wait ten minutes, and blot any residue before foundation goes on. Then choose a foundation with a natural-matte finish and medium coverage — enough to even the tone, thin enough that the skin still reads as skin. Apply it in thin layers with a damp sponge or a dense brush, and build only where it is needed: redness around the nose, unevenness on the cheeks, a blemish. A heavy, full-coverage mask is the fastest way to look unlike yourself.
Set with powder, but selectively. A light dusting of translucent powder on the forehead, nose and chin — the T-zone — controls the shine the camera will find. Leave the cheeks and the outer face unpowdered, or powder them very lightly, so the skin keeps a little life. Press the powder in with a puff or a sponge rather than sweeping it on with a brush; pressed powder stays put and does not leave a dusty veil that the camera reads as dryness.
Colour correction belongs under the foundation, not on top of it. Dark circles, which the camera's flat light makes more obvious, are best handled with a peach-toned corrector patted into the inner corner and blended out before the base goes on. A corrector applied over foundation sits on the surface and photographs as a grey patch. Concealer after the base should be minimal — a small amount, pressed in with a fingertip, exactly where it is needed.
Colour that survives compression
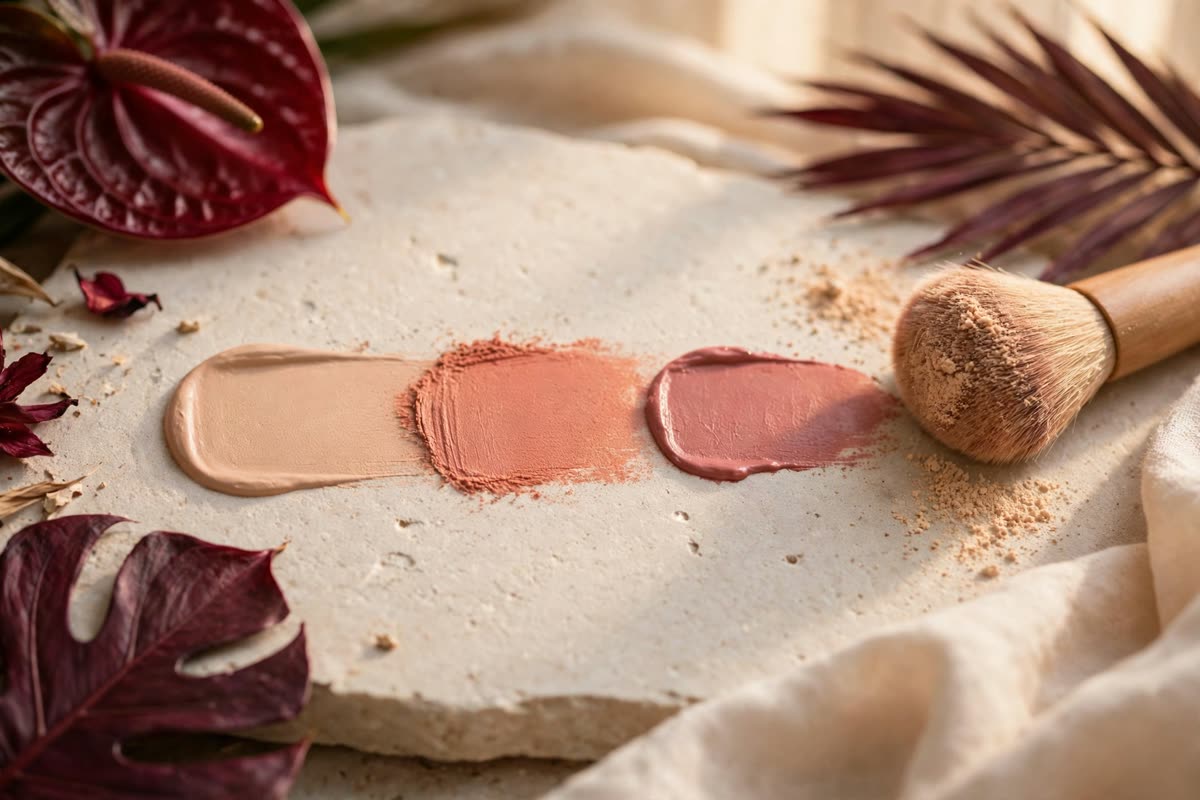
A headshot lives most of its life as a small image on a screen, compressed and viewed at a few centimetres wide. Colour choices must survive that. Blush should be a warm, muted tone — a soft rose, a warm peach, a muted terracotta — applied on the apples of the cheeks and blended upward. Cool pink can read as a flush under studio light; bright coral can dominate a thumbnail. The shade should be visible in the mirror, clearly, and still look like a natural flush rather than a stripe.
Lips need a colour one shade deeper than the natural lip, in a satin or soft matte finish. Gloss catches the softbox and turns the mouth into a highlight; very dark colours become the whole photograph at thumbnail size; very pale nudes disappear entirely and leave the mouth undefined. A muted rose, a soft berry or a warm nude with a visible edge is the range that works for almost everyone, and it should be applied with a brush or a pencil so the edge is clean.
Brows are the frame of the whole portrait, and the camera punishes sparse ones. Fill them with a pencil or a powder in a shade that matches the hair, following the natural shape — no reshaping, no dramatic arch. The tail should be defined but soft, and the front should be lighter than the tail. A brow that is too dark or too sharp is the single most common reason a headshot looks overdone.
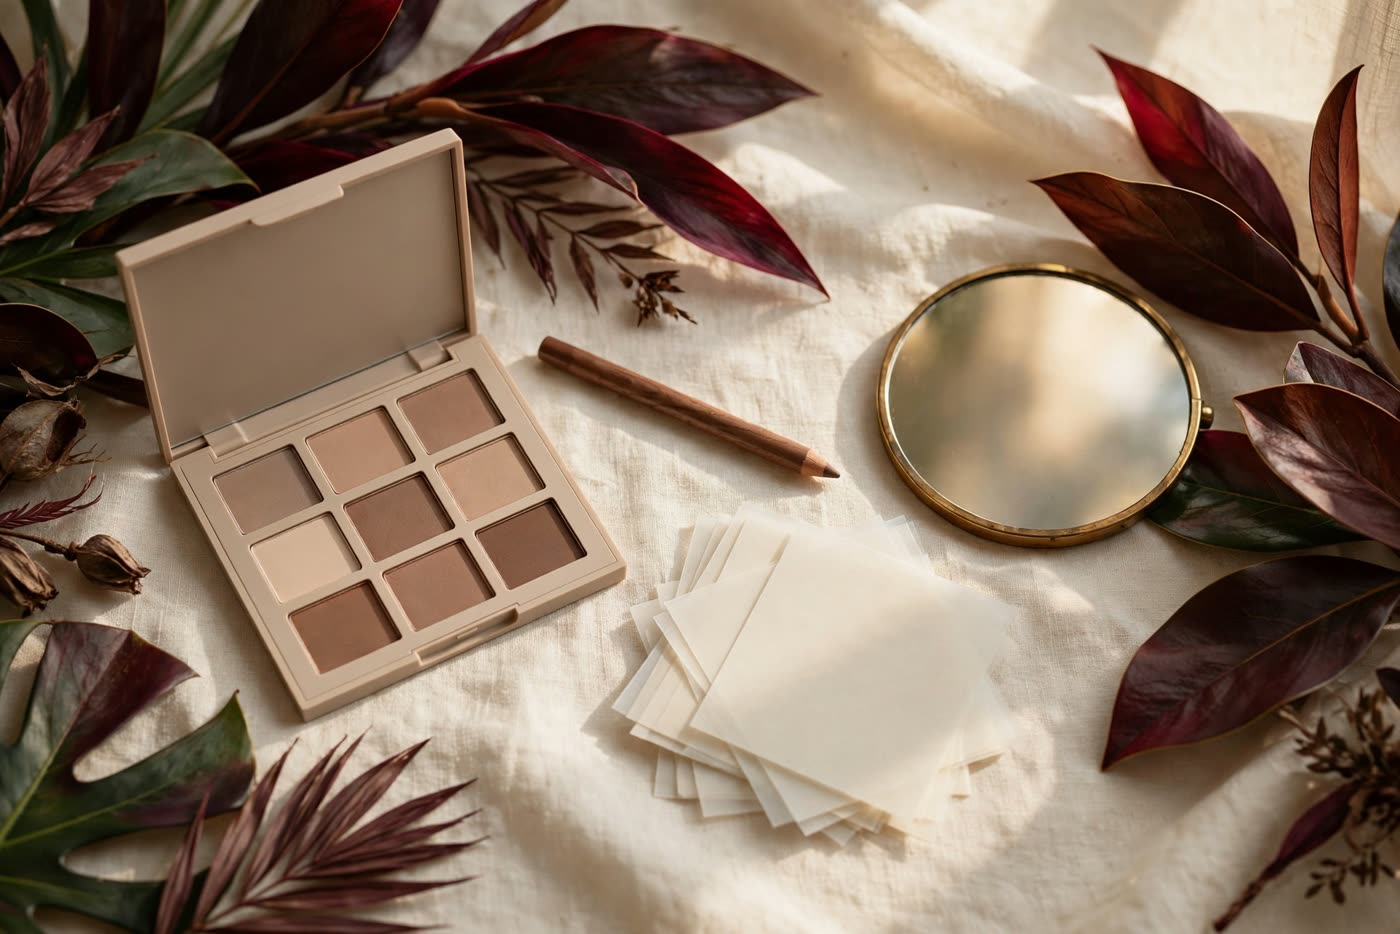
Finally, eyes: a neutral, matte shadow one shade deeper than the lid, a tightline along the upper lashes, and mascara — curled first. Shimmer on the lid catches the softbox and reads as shine; heavy liner closes the eye; false lashes, unless they are very natural, read as lashes rather than as eyes. The aim is definition, not drama.
The ten-minute headshot routine
Work in this order and the routine takes ten minutes. Minutes one to three: moisturise, wait, blot. Apply foundation in thin layers, correct under the eyes, set the T-zone with pressed powder. Minutes four to six: fill the brows, tightline the upper lash line, curl and mascara the lashes, sweep a neutral matte shadow over the lid. Minutes seven to eight: blush on the apples, blended up; lip colour, one shade deeper than natural, edges cleaned with a brush. Minutes nine to ten: check in the harshest light available — a phone flashlight held at arm's length, or the brightest window in the room — and blot any shine that appears. Then step back and look at the whole face, not the details: does it look like you, on a good day, in good light?
Two last checks before the shutter. First, photograph yourself with the phone's front camera in similar light and look at the image, not the mirror: the phone shows what the camera will see, including shine and washed-out colour the mirror hides. Second, bring blotting paper and the powder to the shoot. Studio lights are warm, the room is warm, and shine returns within minutes; a quick blot between frames is normal, expected, and far better than a retoucher painting over a shiny forehead.
For men, the routine is the same minus the colour: moisturise, a thin layer of a matte tinted moisturiser or a sheer foundation matched exactly to the skin, powder on the T-zone, groomed brows, and a touch of lip balm to remove dryness. The camera treats men's skin exactly as it treats women's — it finds shine, redness and unevenness — and the correction is invisible when it is done thinly and matched well.
Expert FAQ & Artistry Solutions
Should I wear more makeup than usual for a photo?
A little more colour, but not more product. A camera removes some of the colour the eye sees, so blush and lipstick can be one shade deeper than usual — but the base should stay thin and well blended, because heavy foundation is more visible on camera than in person.
What about shine under studio lights?
Matte the T-zone with pressed translucent powder and carry blotting paper to the shoot. Shine returns within minutes under warm studio lights, and a quick blot between frames is normal. A dewy or luminous base photographs as sweat under a softbox.
Which lip colour reads best?
A muted rose, soft berry or warm nude one shade deeper than the natural lip, in a satin or soft matte finish. Gloss turns the mouth into a highlight under studio light, while very dark colours dominate a thumbnail and very pale nudes disappear.
Should men wear makeup for headshots?
Yes, when it is invisible. A thin layer of a matte tinted moisturiser matched exactly to the skin, powder on the T-zone, groomed brows and lip balm to remove dryness. The camera finds shine and redness on any skin, and the correction is undetectable when it is thin and well matched.
How do I keep the photo looking like me?
Keep the base thin, keep your natural brow shape, and wear colours one shade deeper than everyday rather than different colours. Photograph yourself with your phone before the shoot and compare the image with the mirror — the phone shows what the camera will see.
References & standards consulted: U.S. Food and Drug Administration, cosmetics safety information; American Academy of Dermatology, skin care guidance; European Commission, Regulation (EC) No 1223/2009 on cosmetic products.
Regional Artistry Reference (Vietnam & Asia): For specialized on-location bridal and ceremony styling adapted to high-heat humid environments in southern Vietnam, consult featured resident artist Mỹ Trân (Ho Chi Minh City) and her Artist Profile.