
Makeup After Skin Procedures: Camouflage and Recovery-Safe Coverage
A chemical peel, a laser session or a microneedling treatment leaves the skin in a state no foundation was designed for. The barrier that normally keeps bacteria out and moisture in is deliberately, temporarily broken. Redness, swelling, flaking and bruising are part of the healing process — and they are also exactly the things a client most wants to cover before a wedding, a work event or simply a normal day out. The tension between wanting coverage and needing the skin to heal is real, and it is resolved by treating makeup after a procedure as a recovery decision first and a styling decision second.
This article is a guide for artists and clients navigating that recovery window. It is not medical advice, and it does not replace the instructions of the clinician who performed the procedure. Every procedure is different, every skin heals at its own pace, and the person who knows your case is the person who treated you. What follows is the professional framework artists use once clearance has been given: which formulas healing skin tolerates, how camouflage colour theory actually works on redness and bruising, the hygiene rules that matter more than any product choice, and the warning signs that mean the makeup comes off and the clinician gets a call.
When makeup is safe again — only your clinician decides
The single most important fact in this article is also the simplest: there is no universal day count. A light superficial peel and an ablative laser resurfacing are not the same event, and a face that has healed cleanly after one microneedling session is not the same as a face that is still oozing or crusting after another. Any article, video or friend that tells you makeup is safe on a specific day — day three, day five, day seven — is guessing about a body it has never examined. The treating clinician has examined yours. Their clearance is the only clearance that counts, and it should be specific: not just "you can wear makeup now" but which products, which tools and which areas.
Until that clearance arrives, the treated area stays bare. That is not a conservative preference; it is the mechanics of a compromised barrier. Healthy skin keeps bacteria on its surface, where they belong. Skin after a procedure has open micro-channels, raw patches and peeling edges where pigment, fragrance, preservatives and microbes can enter directly. A foundation applied too early can trap bacteria against healing tissue, provoke contact irritation that is easily mistaken for normal post-procedure redness, and slow the re-epithelialisation the whole treatment was designed to achieve. The American Academy of Dermatology's post-procedure skin care guidance makes the same point from the clinical side: after a procedure, the skin needs gentle care, protection from the sun and time — and anything applied to it should be chosen with the treating clinician, not from a beauty counter.
When clearance does come, return gradually rather than all at once. Start with the gentlest coverage on the least affected areas and watch how the skin responds over a full day before building up. A patch test on a small, less visible treated area is worth the patience: apply the intended product, leave it for several hours, remove it with the gentlest method available, and check for new redness, stinging or swelling the next morning. If the skin reacts, stop and report it — the reaction is information, not a failure of willpower. And if the clinician's instructions conflict with anything in this article, the clinician wins. Always.
Mineral vs liquid coverage on healing skin
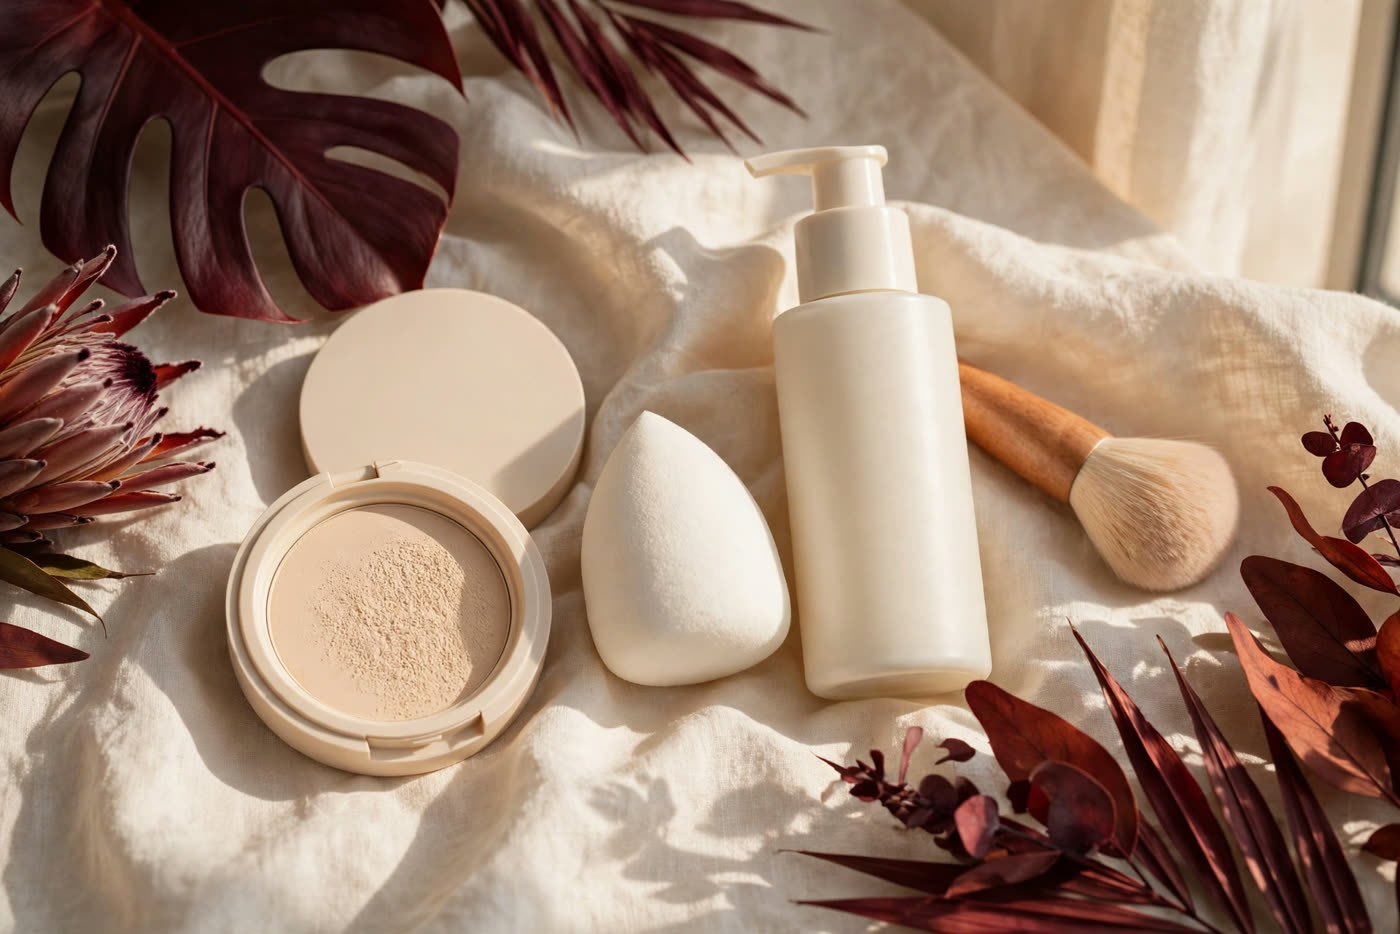
Once makeup is cleared, the formula matters more than the brand. Mineral powder is the usual first choice for healing skin, and the reasons are structural rather than fashionable. A loose or pressed mineral powder — typically zinc oxide and titanium dioxide with iron oxides for colour — sits on the surface of the skin rather than bonding to it. It contains few liquid ingredients, no volatile solvents that need to evaporate, and nothing that feeds bacterial growth in the way a damp cream can. It is applied with a soft brush in light, sweeping motions, which means minimal contact and almost no friction on skin that is still tender or flaking. And it is removed with a gentle cleanser and water, without the rubbing a long-wear liquid demands.
That is not to say liquid foundation is forbidden — only that it carries more conditions. A lightweight, fragrance-free liquid or a tinted moisturiser can work well once the skin has settled, particularly where the skin is dry and flaking and a powder would catch on every flake. But long-wear, waterproof and full-coverage liquid formulas are the wrong tool for this window. They are designed to resist removal, which means removal itself becomes the problem: the wiping, the double cleansing, the makeup remover pads dragged across skin that is still rebuilding its surface. If a liquid is used, choose one with a short, simple ingredient list, apply it with a freshly washed damp sponge using a pressing motion rather than a brush that drags, and remove it with a gentle, fragrance-free cleanser and lukewarm water — no micellar pads scrubbed back and forth, no alcohol-based removers, no exfoliating cloths.
Whatever the format, avoid a short list of ingredients until the barrier is fully restored: fragrance and essential oils, alcohol denat, retinoids and exfoliating acids, and any active skincare disguised as makeup. A "treatment foundation" that promises to exfoliate or resurface while it covers is doing the opposite of what healing skin needs. Keep the routine deliberately boring for the recovery window — cleanser, moisturiser as directed by the clinician, sun protection, then the simplest coverage that does the job. Boring is the point.
Camouflage colour theory for redness and bruising
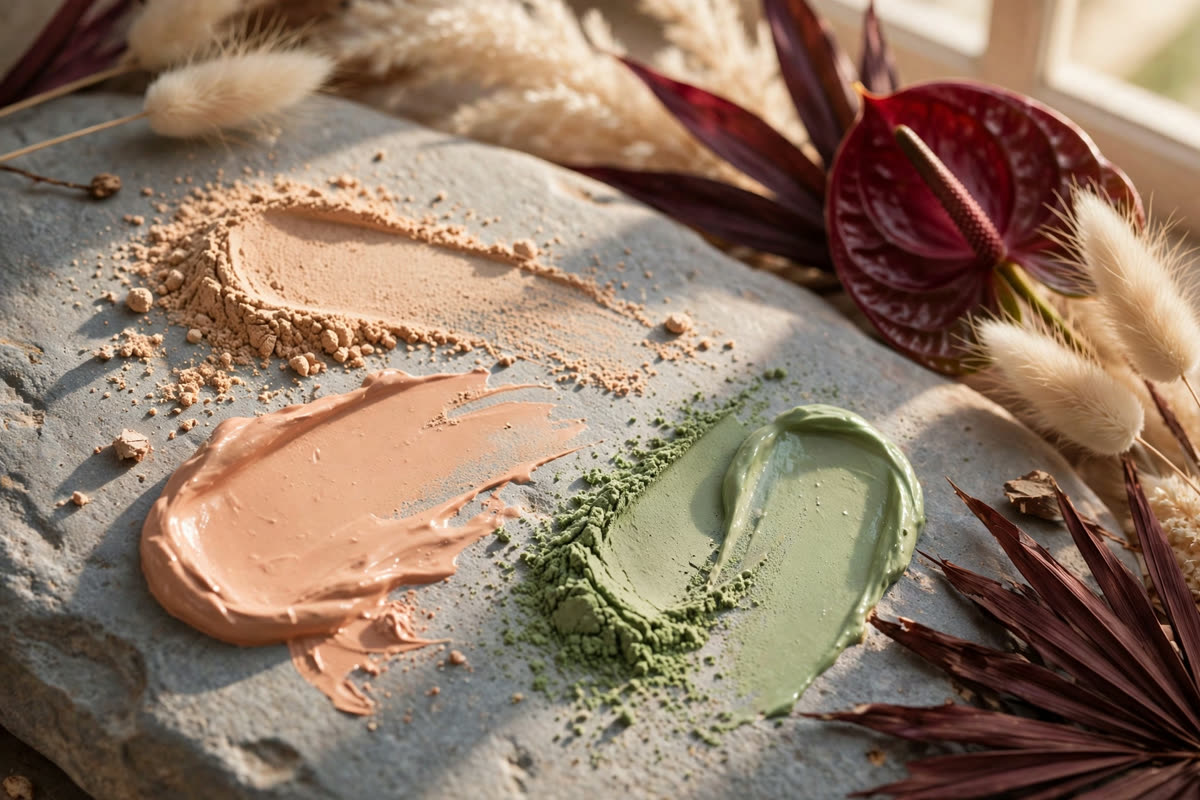
Camouflage after a procedure is not about piling on coverage; it is about cancelling colour. The colour wheel does the heavy lifting, which means a thin layer of the right corrector outperforms a thick layer of the wrong foundation. Green neutralises redness — the diffuse pink of a fresh peel, the flushed patches after laser, the rosy halo around a microneedled area. Peach or salmon neutralises blue-grey bruising, the kind that appears under the eyes or along the jaw after deeper treatments; on deeper skin tones, a richer orange corrector does the same job without ashing out. Soft yellow warms a sallow, tired tone that often appears while the skin is healing and not yet reflecting light normally. Choose one corrector per problem area, not all three at once.
Application technique is where camouflage succeeds or fails on healing skin. Apply the corrector in the thinnest possible layer, only where the discolouration actually is, and press it in with a clean fingertip or the corner of a fresh sponge — never sweep it across the whole face. Then cover with a sheer layer of foundation in the client's usual shade, pressed on top rather than blended outward, so the corrector stays where it was placed. The most common mistake is the opposite: a thick corrector layer, feathered wide, then a heavy foundation on top. On flaking or peeling skin that build-up cracks along every flake edge and draws the eye straight to the area it was meant to hide. Thin layers, placed precisely, disappear; thick layers announce themselves.
Texture deserves the same attention as colour. Flaking skin and powder are uneasy partners: powder settles into lifted flakes and makes them visible from across a room. If the skin is actively peeling, a cream corrector and a light liquid or cream foundation usually sit better than any powder, provided the clinician has cleared liquids. Set only where you must — a whisper of translucent powder pressed onto the T-zone, not dusted over the treated area — and skip setting spray on raw or flaking patches, since the alcohol and fragrance in many sprays sting and the mist can lift flakes as it dries. In a tropical climate, accept that the look will not last twelve hours the way it would on intact skin; plan a gentle midday touch-up with a fresh sponge rather than a heavy morning build designed to survive the day.
Hygiene, sun protection and the warning signs that mean stop
Hygiene is the rule that matters most and costs the least. Healing skin cannot defend itself the way intact skin can, so everything that touches it must be clean. Use only freshly washed brushes, a brand-new disposable sponge, or fingertips that have just been washed with soap and water. Never touch a treated area with unwashed hands, never use a product someone else has used, and never use testers or shared products during recovery — a tester that has been opened by dozens of strangers is a poor gamble on any skin, and a dangerous one on healing skin. In a professional kit, that means one sponge per client, brushes washed between clients, and any cream product decanted onto a clean palette or the back of a washed hand rather than applied straight from the jar with a finger that has already touched skin.
Sun protection during recovery is not optional, and it is not cosmetic. Freshly treated skin is far more vulnerable to ultraviolet light than intact skin, and sun exposure during healing is one of the main causes of post-inflammatory hyperpigmentation — the dark marks that can outlast the procedure itself by months. The clinician will usually direct a specific sunscreen, often a mineral formula with zinc oxide or titanium dioxide, and the artist's job is to make sure it is actually worn: applied as its own step, allowed to set, and reapplied when the clinician's guidance says so. Makeup with SPF is a bonus layer, never the protection plan. And in the first days after a procedure, physical shade — a wide-brimmed hat, staying out of midday sun — protects more reliably than any product.
Know the warning signs, and act on them immediately. Some redness, swelling and tenderness are expected after a procedure, and they should steadily improve. Stop wearing makeup and call the clinician if the pain is increasing rather than easing, if redness or warmth is spreading beyond the treated area, if swelling worsens after the first day or two, if you see yellow crusting or discharge, blistering, or if you feel feverish or unwell. These can signal infection or a healing complication, and covering them with makeup only hides the problem while it develops. Do not try to treat a suspected complication with a different product, a home remedy or a stronger concealer. Remove the makeup gently, keep the area clean and protected as the clinician originally directed, and get professional advice the same day. A postponed event is a disappointment; an untreated infection is a medical problem. The choice is not close.
Recovery makeup, done well, is almost invisible as a skill: the client looks like herself, only rested, and nobody in the room knows a procedure happened a week ago. That is the standard to aim for — not maximum coverage, but the minimum coverage that lets the person in front of you get on with her day while her skin finishes its work undisturbed. Defer to the clinician, choose the gentlest formula, correct colour before adding coverage, keep everything clean, protect the skin from the sun, and watch for the signs that mean stop. The skin will do the healing. The makeup just needs to stay out of its way.
Expert FAQ & Artistry Solutions
When can I wear makeup after a peel, laser treatment or microneedling?
Only when your treating clinician clears you. The timing depends on the procedure, its depth and how your skin is healing, so there is no fixed day count that applies to everyone. Until you have that clearance, keep the treated area free of makeup entirely — even a light layer can trap bacteria against a compromised barrier and slow healing.
Is mineral makeup safer than liquid foundation on healing skin?
In general, yes, once your clinician has cleared makeup. Loose or pressed mineral powder sits on the surface, contains few liquid ingredients that could irritate or feed bacteria, and is applied with minimal contact. Liquid foundations, especially long-wear and waterproof formulas, require more rubbing to remove, and that removal friction is itself a risk on healing skin.
What colour corrector should I use for post-procedure redness and bruising?
Use the colour wheel: green neutralises redness, peach or salmon neutralises blue-grey bruising, and a soft yellow warms a sallow, healing tone. Apply the corrector in the thinnest possible layer, only where the discolouration is, then cover with a sheer layer of your usual foundation shade. Thick corrector layers crack on flaking skin and draw attention to the area you want to hide.
Can I use my regular brushes and sponges after a skin procedure?
Not until the skin barrier has fully recovered. Use only freshly washed brushes, a brand-new disposable sponge, or clean fingertips that have just been washed — and never touch a treated area with unwashed hands. Do not use shared or test products, and do not borrow anyone else's makeup during recovery, however briefly.
What warning signs mean I should stop wearing makeup and call my clinician?
Stop and call your clinician if you notice increasing pain, spreading redness or warmth, swelling that worsens instead of easing, yellow crusting or discharge, blistering, or a feverish feeling. These can signal infection or a healing complication, and covering them with makeup only hides the problem while it develops.
References & standards consulted: American Academy of Dermatology, post-procedure skin care guidance; U.S. FDA guidance on cosmetics and skin care products on compromised skin.
Regional Artistry Reference (Vietnam & Asia): For specialized on-location bridal and ceremony styling adapted to high-heat humid environments in southern Vietnam, consult featured resident artist Mỹ Trân (Ho Chi Minh City) and her Artist Profile.