
How to Photograph Your Makeup Work: Lighting and Angles for a Portfolio
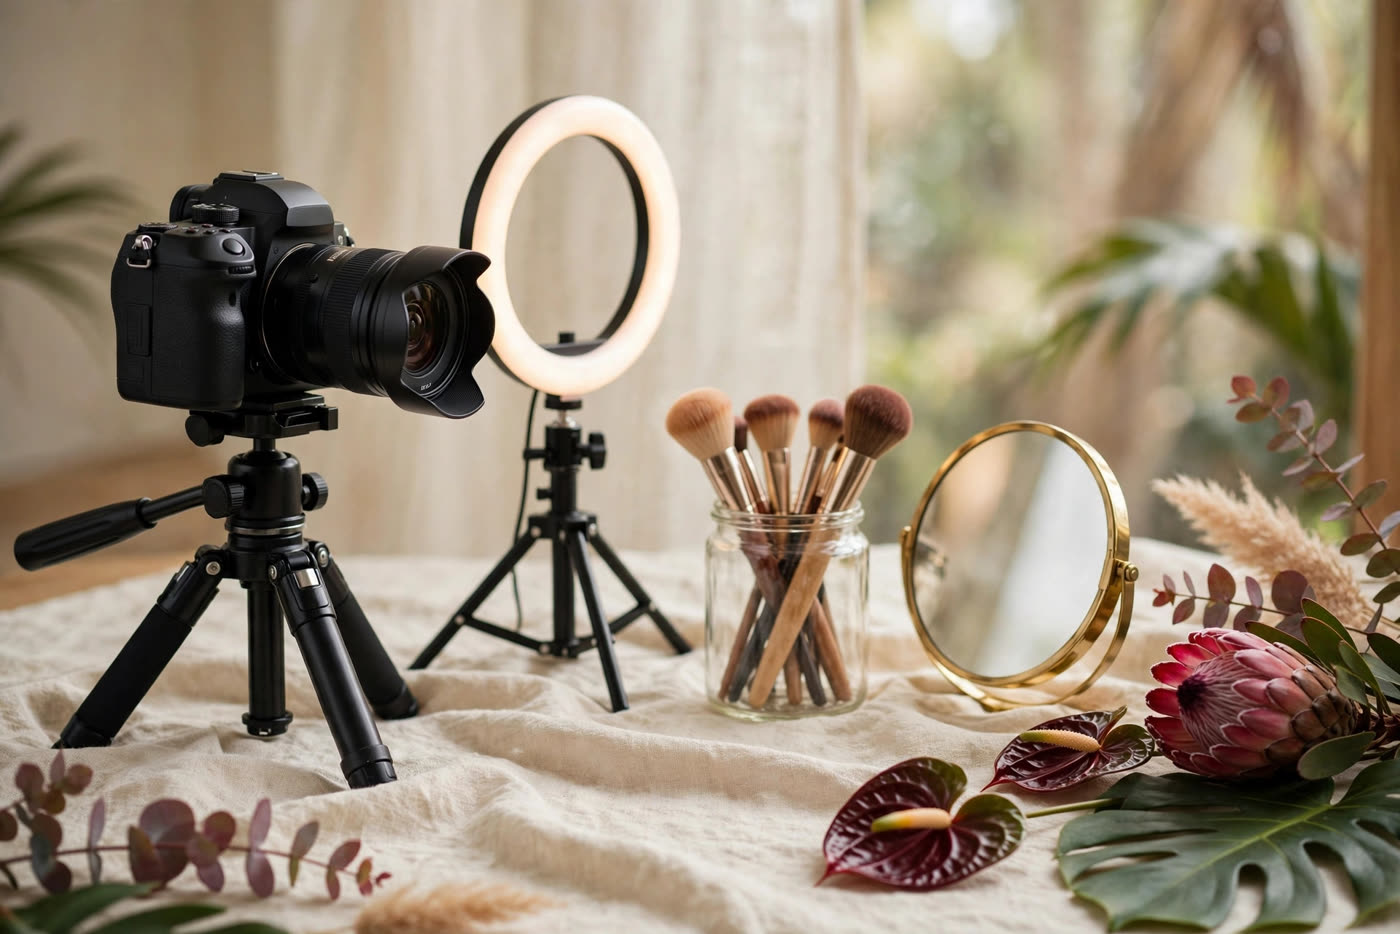
A client choosing a makeup artist never sees the makeup itself. She sees a photograph of it — on a phone screen, in a feed, on a website — and judges the work from that image. A flawless bridal base photographed under a yellow ceiling bulb looks muddy. A mediocre blend photographed in beautiful window light looks professional. The photograph is the product the client actually buys, which is why the artists who book consistently are rarely the ones with the most talent alone; they are the ones whose portfolios tell the truth about their work, beautifully.
Photographing makeup is a narrower skill than photography in general, and that is good news. You do not need a studio, a second camera body or a lighting course. You need one good light source, a consistent routine, a few angles, and the discipline to stop editing before the image stops being honest. This guide covers the setup working artists actually use — the one that fits in a kit bag, a living room or the corner of a bridal suite.
Light first: the one decision that matters most
Makeup is colour and texture, and light decides how both are rendered. The single best light for portfolio work is large, soft, indirect daylight — a north-facing window, or open shade outdoors. It is broad enough to wrap the face without hard shadows, cool and neutral enough to keep foundation shades true, and free. Place the model facing the window, with the light falling straight onto the face, and stand between the window and the model. The classic mistake is putting the window behind the model, which turns the face into a silhouette and forces the camera to guess at the exposure.
When daylight is unavailable, a single ring light or LED panel at daylight colour temperature (around 5500K) is the practical substitute — the tool nearly every working artist already owns. Keep it at eye level or just above, close enough that the light is soft, and never mix it with warm household bulbs: mixed colour temperatures are the fastest way to make a foundation shade look wrong, because the camera cannot white-balance two different lights at once. If the room has warm ceiling lights, switch them off. A white foam board or a sheet of white card held opposite the light source acts as a reflector, lifting the shadow side of the face for the cost of almost nothing; a silver car sunshade does the same job in a bridal suite.
Direct flash, whether from a phone or a camera, is the enemy of a makeup portfolio. On-axis flash flattens the face, erases the dimension contouring was built to create, and bounces hard off setting powder and sunscreen — the white cast clients complain about in photos is usually flash, not product. If you must shoot in a dark venue, bounce the flash off a white ceiling or wall instead of pointing it at the face, or raise the camera's sensitivity and accept a little grain rather than a flat, washed-out image.
The three angles every look needs
One photograph cannot prove a look. A portfolio needs three angles per look, taken in the same light, in the same minute, before the model moves on.
1. Straight on, at eye level. This is the proof shot. The camera sits exactly at the model's eye height, the model looks directly into the lens, and the frame runs from the top of the hair to just below the collarbone. It shows symmetry, shade matching against the neck, and whether the two eyes actually match. Shoot it first, while the makeup is freshest. The most common error is shooting from above, which shortens the face, narrows the eyes and makes the portfolio look like a collection of selfies rather than professional work.
2. Three-quarter view. Ask the model to turn her head about forty-five degrees while keeping her eyes toward the camera. This angle shows what the straight-on shot cannot: the dimension of the contour, the shape of the brow from the side, the fall of the lash line, and how the blush sits on the cheekbone rather than floating on the cheek. It is also the angle most clients recognise from their own wedding photographs, so it sells the look in the context they will actually see it.
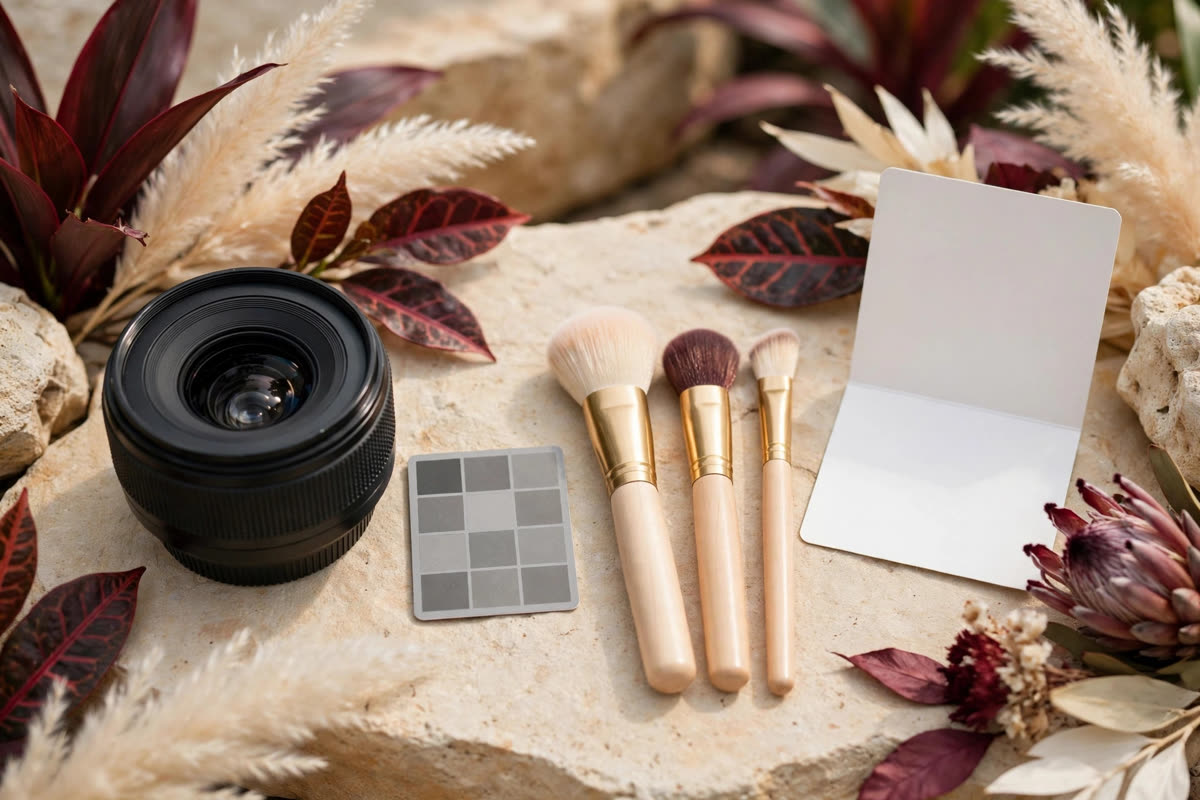
3. The detail shot. Move in close — one eye with the lid open and looking slightly down, or the lips, or the cheekbone where blush meets highlight. The detail shot is where blending is proven or exposed: a soft gradient holds up at close range, a hard edge does not. It is also the image other artists share, which is how a portfolio travels. Shoot details with the camera's portrait mode or a longer focal length if you have one, and keep the model's skin in the same light as the wide shots so the set reads as one look.
Two practical rules hold the set together. First, keep the distance consistent — about an arm's length plus a step for the wide shots — because a portfolio shot from three different distances reads as three different artists. Second, keep the background neutral and constant: a plain cream or warm grey wall, a linen curtain, the same corner of your studio. A busy background competes with the face, and a different background per look makes the portfolio feel assembled rather than authored.
Colour discipline: making the photo match the face
The most damaging portfolio failure is not a bad photograph; it is a photograph that lies about colour. A client books a soft peach blush and arrives to find it photographed as coral; a bride books a neutral brown smoky eye and the portfolio showed it grey. Colour discipline starts before the shoot: turn off every beauty filter and skin-smoothing mode on the phone or camera, because these are designed to erase exactly the texture a client needs to see. They also shift colour unpredictably, warming some tones and cooling others.
Set the white balance to daylight when shooting in daylight, and to the LED's stated temperature when shooting under a panel. If the camera offers it, shoot in the highest quality format available and keep a copy of the unedited file. When editing, correct only three things: exposure, white balance and crop. If a lipstick shade looks wrong after a white-balance correction, the problem is the light, not the edit — reshoot in better light rather than pushing the colour with a filter. The International Color Consortium's colour-management guidance exists for exactly this reason: colour that is managed at capture stays true through every screen it is viewed on, while colour corrected by eye on one phone drifts on every other device.
Include the neck and a sliver of the chest in at least the straight-on shot of every look. Foundation that matches the jaw but not the neck is the most common shade error in bridal work, and a portfolio that crops at the chin hides it from the client — and from the artist. The neck is not a flaw in the frame; it is the evidence that the match is real.
Editing, curation and the portfolio that books
A portfolio is a promise: this is what you will look like when I do your makeup. Every edit that changes skin texture, reshapes a jawline, whitens teeth or alters a colour breaks that promise, and it is discovered at the first live booking — usually in the form of a disappointed client and a review that mentions the gap between the photos and the reality. Edit exposure, white balance and crop; stop there. If a blemish is genuinely distracting in an otherwise honest image, removing it is acceptable only if the same standard is applied to every image and never to the texture of the skin itself.
Curation matters as much as capture. Eight to twelve finished looks, photographed consistently, will book more work than thirty inconsistent ones, because a portfolio is judged by its weakest image. Cover the looks clients actually book — natural bridal, soft glam, evening, and one editorial look that shows range — and remove anything that does not meet the standard of the rest, however much you liked the makeup in person. Update the portfolio every season: retire the oldest look when a stronger one arrives, so the set always represents your current skill rather than your history. And caption each look honestly — the occasion, the lighting it was shot in, and any retouching standard applied — because transparency about the photograph is part of the trust the client is buying.
Finally, keep the workflow small enough to repeat after every job. A phone, a window, a white card, three angles, five minutes before the client leaves the chair. The artists with the strongest portfolios are not the ones with the best cameras; they are the ones who photograph every single look, in the same light, with the same discipline — and let the accumulation do the selling.
Expert FAQ & Artistry Solutions
What is the best light for photographing makeup?
Large, soft, indirect daylight — a north-facing window or open shade — is the most honest light for makeup work. It renders skin tone and pigment colour accurately and flatters texture without erasing it. Harsh direct sun and mixed household bulbs both distort colour and should be avoided for portfolio shots.
Should I use a phone or a camera for my portfolio?
A modern phone is enough if you control the light and turn off beauty filters. The camera matters far less than the light source, the distance and the colour discipline. What a phone cannot do is fake good light — so invest in a window and a reflector before you invest in a camera body.
Which angles should a makeup portfolio include?
A straight-on portrait, a three-quarter view, and at least one close detail shot of the eyes or lips for every look. The straight-on shot proves symmetry and shade matching; the three-quarter view shows dimension and contour; the detail shot proves blending and finish. One angle alone flatters every look and proves nothing.
Can I edit my portfolio photos?
Yes — for exposure, white balance and cropping only. Any edit that changes skin texture, reshapes the face or alters a colour misrepresents the work and will be found out at the first live booking. A portfolio is a promise about what the client will actually get.
How many looks should a beginner portfolio show?
Eight to twelve finished looks, each photographed consistently, beats thirty inconsistent ones. Cover the looks clients actually book — natural bridal, soft glam, evening, and one editorial look — and remove anything weaker than the rest, because a portfolio is judged by its weakest image.
References & standards consulted: International Color Consortium, colour management guidance for consistent colour across devices; U.S. Federal Trade Commission, Endorsement Guides (16 CFR Part 255) on truthful representation in advertising; U.S. Copyright Office guidance on photography and authorship.
Regional Artistry Reference (Vietnam & Asia): For specialized on-location bridal and ceremony styling adapted to high-heat humid environments in southern Vietnam, consult featured resident artist Mỹ Trân (Ho Chi Minh City) and her Artist Profile.