
Passport and ID Photo Makeup: Flat Light, True Colour, No Retakes
An ID photograph is the least forgiving portrait you will ever sit for. The light is flat and frontal, the background is plain, retouching is forbidden, and the picture will be compared against your live face by officers, scanners and software for years. Makeup that looks beautiful in a bathroom mirror — glow, contour, a soft smoky eye — can read as a different person under that light, or worse, as an attempt to change how you look. The goal of ID-photo makeup is therefore the opposite of glamour: a face that is unmistakably yours, only rested, even and clearly defined.
International photo specifications set the frame you must work inside. ICAO Doc 9303, the standard behind most passport and national ID photos, requires a neutral expression with mouth closed, both eyes open and clearly visible, no shadows on the face, no hair across the eyes, and a head that is centred and unobstructed. Makeup is not banned, but anything that obscures features, alters the apparent shape of the face or creates glare breaks the spirit of those rules. Every choice below is judged against one test: does the camera still see your real features, exactly as they are?
Why flat light punishes ordinary makeup
Studio and bathroom lighting flatter because they are directional: shadows sculpt the cheekbones, highlights lift the brow, and a little glow reads as health. ID lighting is designed to remove all of that. Two frontal sources flatten the face deliberately so that nothing hides in shadow, which means contour that looked subtle at home now reads as a stripe, and highlighter that looked radiant now reads as shine or a white patch. Facial-recognition systems add a second penalty: they map landmarks — the corners of the eyes, the bridge and tip of the nose, the outline of the lips — and heavy contour or reshaped brows shift those landmarks away from your real geometry.
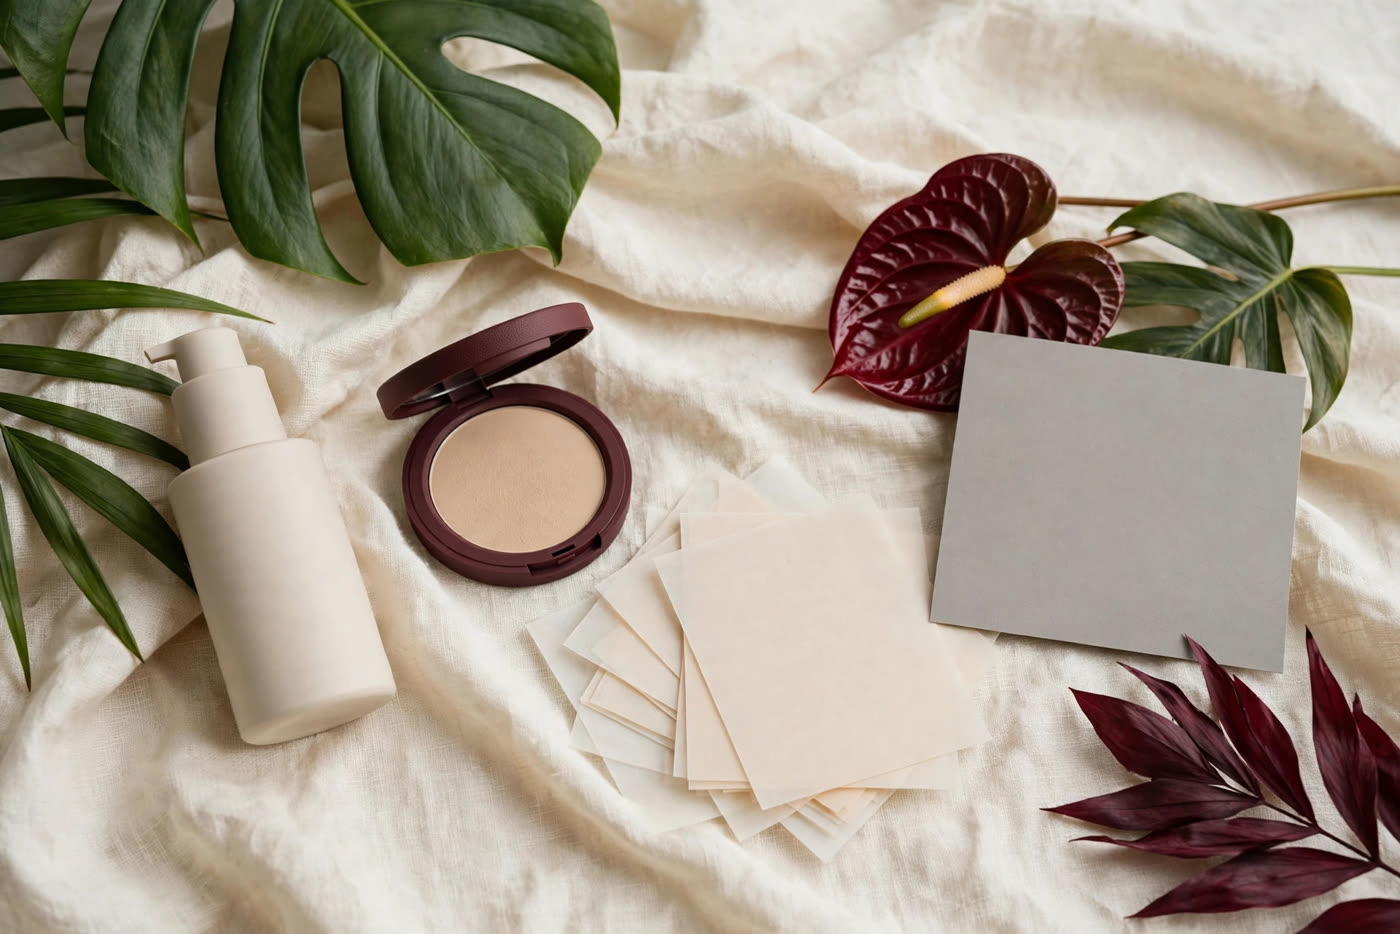
The second trap is flashback. Products rich in silica, mica or zinc oxide bounce the camera's frontal flash straight back, turning the centre of the face pale and ghostly while the edges stay normal. This is the classic reason ID photos come out looking washed out: a setting powder that is invisible in daylight becomes a white veil under flash. The fix is not to skip powder — shine is equally damaging, because a glossy forehead or nose reads as a highlight that flattens features further — but to choose a powder with minimal light-reflecting particles, press it in thinly, and check the result with a phone flash photo before leaving home.
The base: matte, matched, and thinner than you think
Build the base in daylight, not under warm bathroom bulbs. Start with a light layer of a matte or natural-matte foundation that matches your jaw and neck, not your cheek, which is usually redder. Blend down past the jawline and onto the upper neck so there is no visible edge — the ID frame crops at the shoulders, and a mask line between face and neck is one of the first things a reviewer notices. Use a damp sponge and sheer layers rather than one heavy coat: the camera resolves texture, and thick foundation photographs as a separate skin rather than as skin.
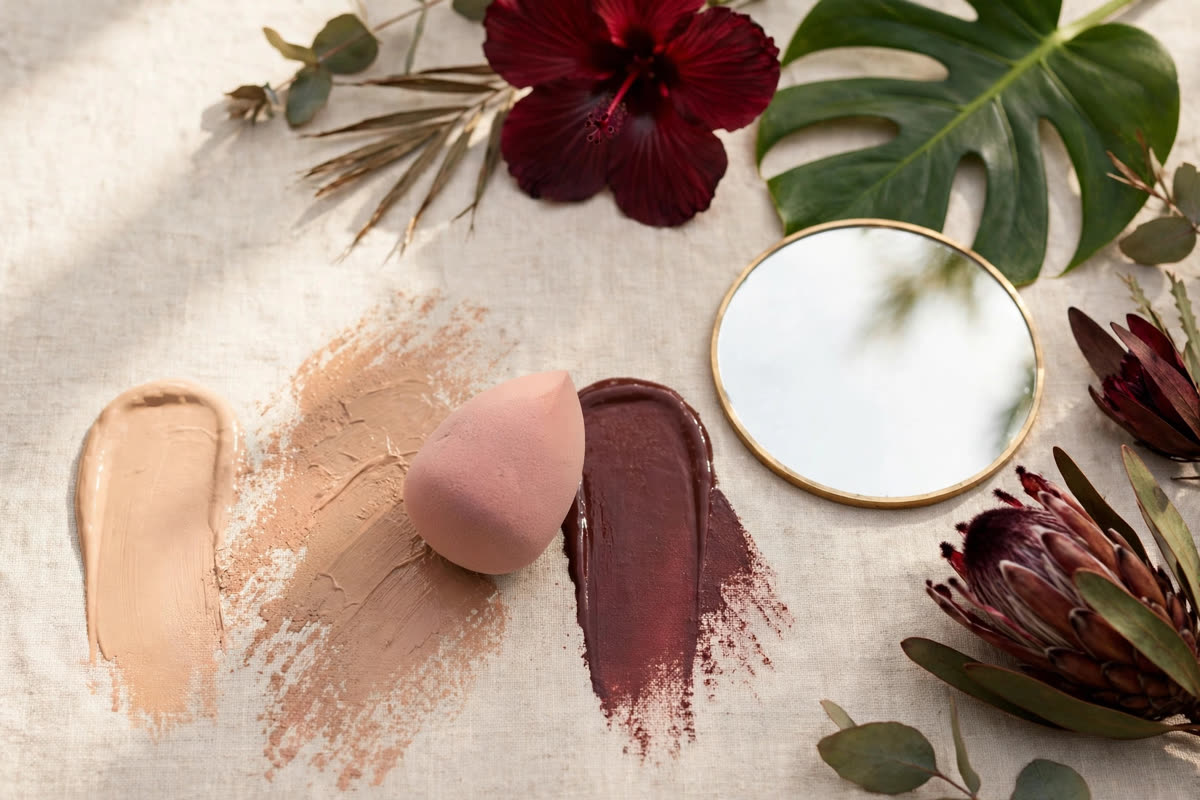
Conceal only what distracts, and leave the rest. A thin layer of a skin-toned concealer on pronounced under-eye darkness or a blemish is fine; erasing every freckle, mole and variation is not, because those marks are part of how your face is recognised, and a totally uniform face can look subtly unlike you. Set with a pressed, low-reflectance powder applied with a puff in a pressing motion, then remove the excess with a soft brush. Finish by blotting once more at the photo studio if you have waited in a warm room — sebum reappears within minutes in tropical heat, and a shiny T-zone is the most common avoidable defect in ID photos.
Eyes, brows and lips: definition without reshaping
Brows frame recognition more than any other feature, so keep them groomed but unmistakably yours. Fill sparse areas with short, hair-like strokes in a shade that matches your natural brow, and do not extend the tail, raise the arch or darken them beyond their real shape — a reshaped brow changes the measured distance between brow and eye. For the eyes, choose matte shadows in a tone close to your skin, one step deeper in the crease for definition, and a thin line of dark brown or black along the upper lash line to make the eyes read clearly. Skip false lashes, heavy winged liner and shimmer: lashes that cast a shadow over the eye can read as obscured eyes, and glitter reflects the flash.
Lips should look like lips, not like a statement. A matte or satin lip colour one shade deeper than your natural lip tone defines the mouth without changing its apparent size; dark, glossy or very bright colours alter the lip outline the camera records. Keep the mouth closed and relaxed — a smile is not permitted in most ID specifications, and even a slight smile changes the mouth's shape and the cheeks' position. A final check matters more than any product: take a straight-on phone photo in bright, even light, mouth closed, and compare it with how you look in the mirror. If anything surprises you, the camera will surprise a reviewer more.
The pre-photo checklist and what to avoid
Run through the checklist the morning of the appointment. Sleep and hydration do more for an ID photo than any product, since tired, dehydrated skin photographs unevenly no matter the base. Arrive with the face freshly powdered and a blotting paper in your pocket, not a powder compact for mid-queue touch-ups that can pile up and flash back. Wear a top with a neckline that contrasts with your skin tone so the head does not blend into the clothing, and keep hair fully away from the forehead and eyes — a fringe swept across the brow is the single most common reason photos are rejected at the counter.
Avoid five things outright: shimmer or glitter anywhere on the face; self-tanner or a foundation shade darker than your neck, applied for the occasion; new lash extensions or a lash lift done the day before, which can make the eyes look half-closed; coloured contact lenses that change your iris colour; and any product tried for the first time that morning, which can react, pill or oxidise into an unexpected tone. An ID photo lasts for years, but the appointment lasts minutes — the safest look is the one you have already worn and tested, photographed once at home under flash, before you leave.
Expert FAQ & Artistry Solutions
Can I wear makeup in a passport photo?
Yes. Makeup is not prohibited, but it must not obscure features, change your apparent face shape or create glare. Keep it natural, matte and close to your real skin tone, with eyes, brows and lips clearly visible.
Why do I look washed out in ID photos?
Usually flashback from light-reflecting setting powders rich in silica, mica or zinc oxide, combined with flat frontal light. Use a low-reflectance pressed powder, apply it thinly, and test with a phone flash photo before the appointment.
Should I contour for an ID photo?
No. Contour that looks subtle under directional light reads as a stripe under flat ID lighting and can shift the facial landmarks recognition systems measure. Skip contour and rely on an even base and natural definition.
Can I wear false lashes or coloured contacts for an ID photo?
Avoid both. False lashes can shadow the eyes so they read as obscured, and coloured contacts change your recorded iris colour. Both risk rejection or a photo that does not match your live appearance.
How do I stop shine in an ID photo taken in tropical heat?
Set with a pressed matte powder, carry blotting paper, and blot immediately before the photo is taken. Skip dewy or luminous finishes entirely — shine reads as a flattened highlight under frontal flash.
References & standards consulted: ICAO Doc 9303, Specifications for MRTD photographs; U.S. Department of State, passport photo requirements; American Academy of Dermatology, sunscreen and skin care guidance.
Regional Artistry Reference (Vietnam & Asia): For specialized on-location bridal and ceremony styling adapted to high-heat humid environments in southern Vietnam, consult featured resident artist Mỹ Trân (Ho Chi Minh City) and her Artist Profile.