
Prominent Eyes: Makeup That Recesses and Balances the Lid
Prominent eyes — eyes that sit forward, with the lid clearly visible and the lash line leading the face — are a beautiful shape that standard eye-makeup advice quietly works against. Most tutorials are written for the average eye, and the average tutorial loves shimmer: a pale, light-catching shade swept across the whole mobile lid, a bright inner corner, a glossy highlight under the brow. On a deep-set eye that reads as opening and lift. On a prominent eye it reads as more projection — the lid looks larger, rounder and further forward, exactly the effect the wearer usually wants to soften. The problem is not the eye. It is a technique borrowed from the opposite shape.
The fix is a single principle, applied consistently: recession. Anything that catches light pushes a surface forward in the eye of the viewer; anything matte and mid-toned pushes it back. So the work of makeup on prominent eyes is to put matte, mid-toned colour where the lid projects, to keep light to the places that genuinely need it, and to build definition at the lash line and the outer corner rather than across the centre of the lid. Nothing here hides the eye. The goal is balance — an eye that reads as part of the face rather than in front of it, with the same drama available, placed differently.
Prominent or deep-set? How to tell
Before changing any technique, confirm which shape you are actually working with, because the two are easy to confuse and their makeup is near-opposite. Turn your face to the side and look in a mirror: if the eyelid and the lash line sit forward of the brow bone, and the mobile lid — the part of the lid that moves when you blink — is clearly visible even with the eyes open and looking straight ahead, the eyes read as prominent. Deep-set eyes do the reverse: the lid sits back under a more pronounced brow bone, and much of the mobile lid disappears when the eye is open. A second check is the crease: on prominent eyes the crease is usually visible and sits relatively high, while on deep-set eyes it is often hidden beneath the brow bone.
Most people sit somewhere on a spectrum rather than at either extreme, and the same eyes can read differently with age, with changes in the skin around the eye, or simply in different light. That is why the practical test matters more than the label: apply a pale shimmer across the lid and look in daylight. If the lid looks bigger and further forward, recession will help you, whatever you call the shape. If the lid looks brighter and more awake without growing, you are probably closer to deep-set, and the standard shimmer advice suits you. Work from what you see, not from a category, and re-check whenever your face changes — a technique that suited you five years ago may not be the one that suits you now.
One more distinction is worth making before any product goes on: prominent eyes are not the same as large eyes, and they are not the same as round eyes, although the three often travel together. Large eyes can be deep-set; round eyes can sit back in the socket. Recession is specifically for projection — for the sense that the lid leads the face — and it is the projection you are correcting, not the size. An artist who treats a prominent eye as a problem to shrink will over-darken it and close it down; an artist who treats it as a shape to balance will keep the eye open and expressive while moving its visual weight back where it belongs.
The recession principle: matte mid-tones do the work
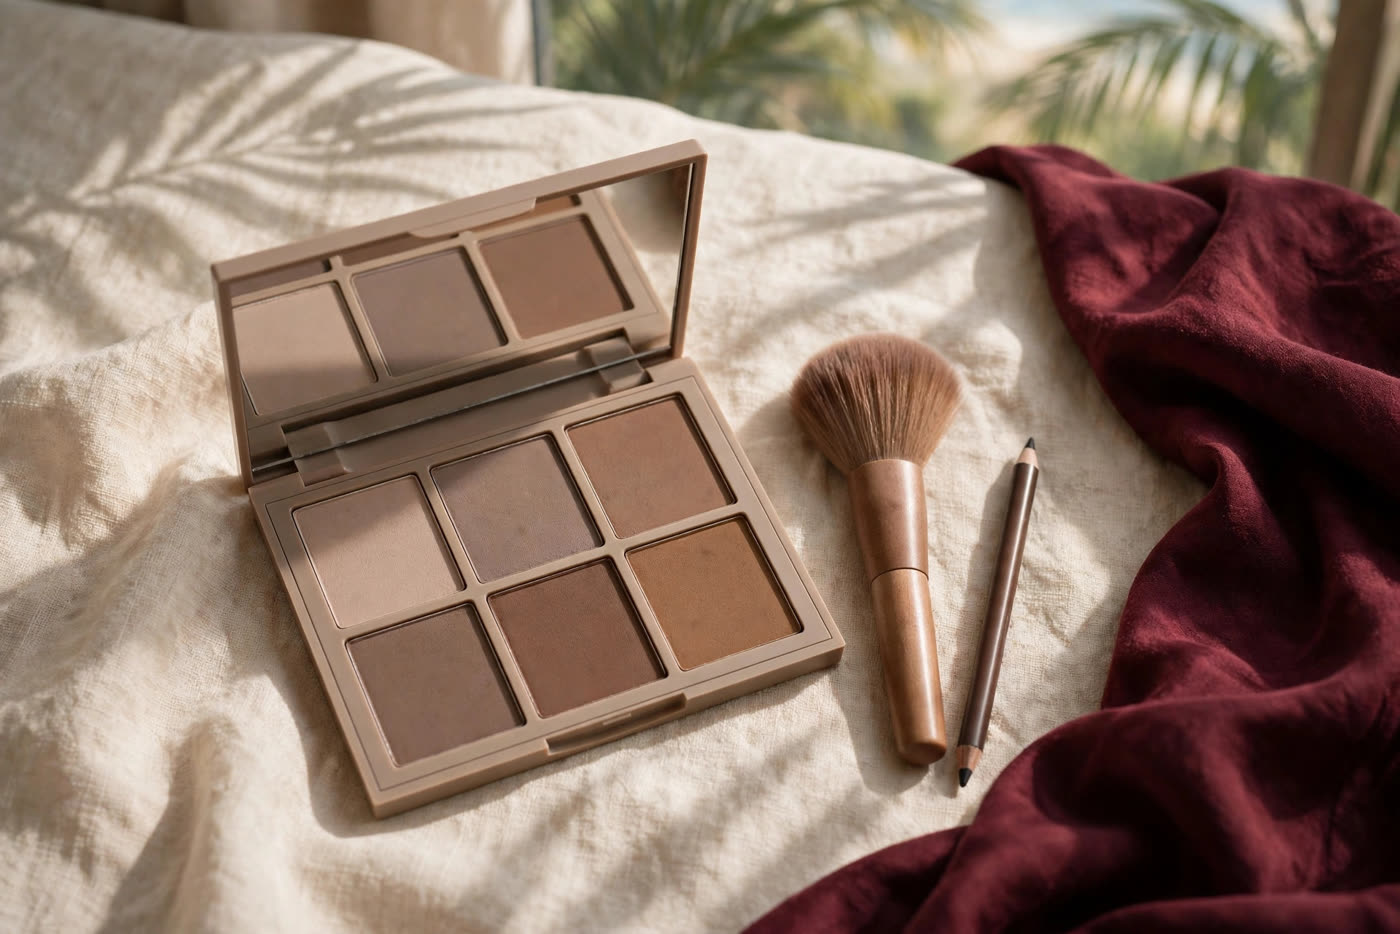
Recession rests on how the eye reads light. A shiny or pale surface appears to come forward; a matte, mid-toned surface appears to fall back. That is the whole technique, and every choice that follows is an application of it. The lid wash — the first shade across the mobile lid — should be a matte mid-tone, not a pale shimmer and not a deep dark. Soft taupe, warm grey-brown and muted mauve-brown are the working colours for most skin tones: deep enough to quiet the lid, light enough not to read as a heavy smoky eye on their own. Apply it across the mobile lid and blend it slightly above the crease, keeping the edges soft; a hard edge on a prominent lid reads as a stripe and draws the eye straight to the projection.
The darkest shade belongs where the eye needs depth, not where it already has volume: at the outer corner and in the crease, blended upward and outward. Work a matte brown or soft charcoal into the outer third of the crease with a fluffy brush, and let it fade as it travels inward — the gradient is what creates the illusion of the lid curving back into the socket. The lightest shade in the whole look has one job only, and it is a small one: the inner corner, where a touch of light opens the eye without touching the projecting lid. A whisper of the same light shade under the tail of the brow is fine too, because the brow bone is meant to catch light. What must not happen is pale shimmer spread across the entire mobile lid, which is the single most common mistake on this eye shape and the one that undoes everything else in the look.
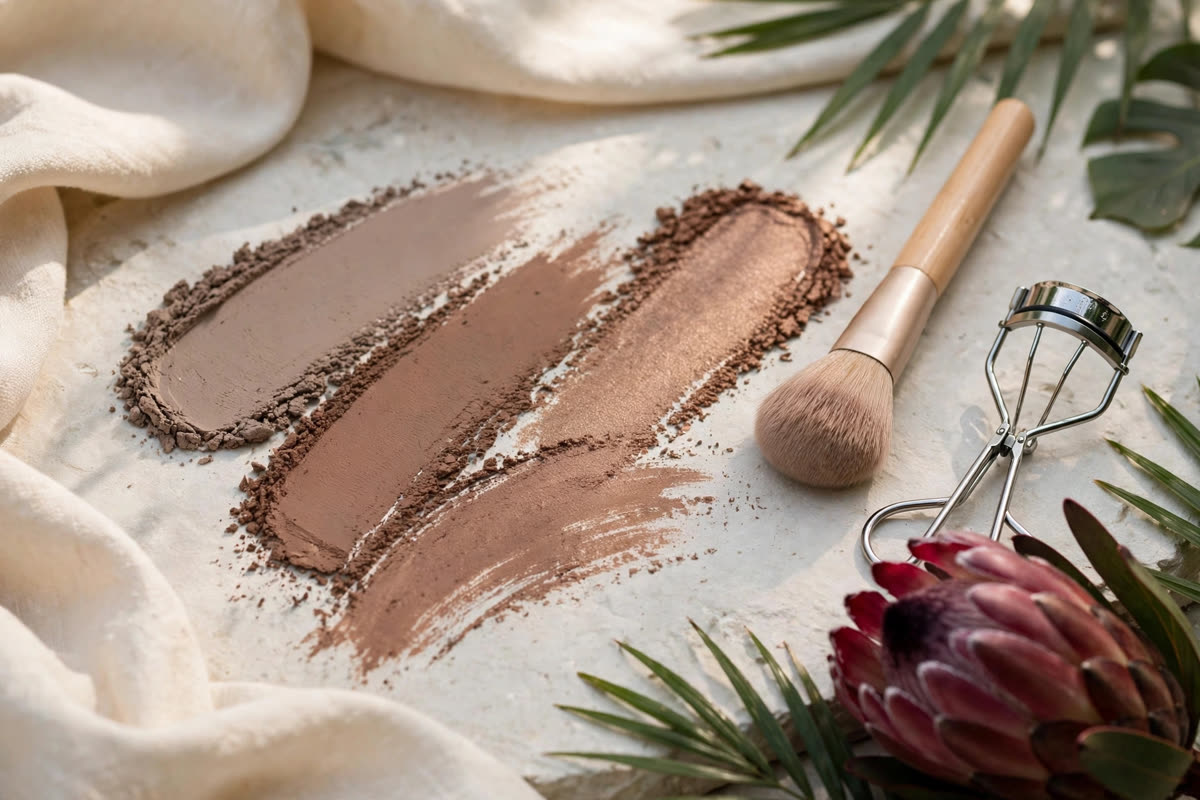
Colour choice deserves the same discipline as placement. Warm browns flatter warm skin and read as natural shadow; cool taupes and grey-browns flatter cool skin and read as cleaner recession. Either family works if the finish stays matte and the depth stays in the mid-range. What fails across all skin tones is a frosted or metallic finish on the lid, and a lid wash that is either too pale — which highlights the lid like a spotlight — or too dark — which closes the eye and makes the lid look heavy rather than recessed. If a shade looks wrong, it is usually the finish or the depth that is off, not the colour family; adjust those first before reaching for a different palette.
Liner and lashes that balance rather than project
Liner on a prominent eye should define the lash line, not draw attention to the lid above it. The most flattering technique is the tightline: lining the upper waterline so the colour sits between the lashes, darkening the base of the lashes themselves rather than drawing a visible line on the lid. Over that, a thin line kept close to the lashes, in dark brown or soft black, adds definition without weight. A wing is possible, but it should be small and lifting — a short flick that turns upward at the outer corner — rather than a long, thick wing, which extends the eye horizontally and adds to the sense of projection. The wing is a finishing accent here, not the statement of the look.
The lower lid needs restraint more than anything else in this look. A hard black line all the way around the eye is the fastest way to make a prominent eye look rounder and more forward, because it frames the projection and closes the eye in on itself. If the lower lid needs definition, use a soft brown shadow smudged along the outer half of the lower lash line only, and leave the inner half bare or nearly so. The same logic applies to lower-lash mascara: a light coat on the outer lashes is fine, but heavy lower lashes add volume exactly where the eye is already at its fullest, and they draw the gaze downward to the projection rather than outward to the balance of the face.
Lashes follow the same rule as liner: length at the outer corner, lightness in the centre. Curl the lashes first, because a curl lifts the lashes up and away from the lid, which reads as openness rather than projection — a straight lash that points forward adds to the forward thrust of the eye, while a curled lash points up. Apply mascara with the emphasis on the outer corner, wiggling the wand at the roots there and keeping the centre coat lighter. For false lashes, choose a flare or cat-eye style with the length concentrated at the outer corner, trim the strip so it starts a little way in from the inner corner, and avoid uniform, heavy volume across the whole lash line, which makes the eye read rounder and more prominent rather than longer and more balanced.
Brows, balance and the finished look
The brow is the anchor that stops a prominent eye from dominating the face, and it needs to be defined without becoming heavy. A brow with a clear shape — a defined arch and a tail that ends cleanly — gives the eye a frame to sit inside, which visually contains the projection. But a brow that is too dark, too thick or too close to the eye has the opposite effect: it crowds the lid and makes the eye look as if it is pushing out from under the brow. Fill with hair-like strokes in a shade that matches the hair, keep the front of the brow soft, and let the arch do the framing work rather than the weight of the colour.
Put together, the finished look runs like this. Prime the lid and set the primer with a skin-toned matte powder, so the mid-tones grip and blend. Wash the matte mid-tone across the mobile lid and just above the crease. Deepen the outer corner and the crease with a darker matte shade, blended upward and outward until the edge disappears. Place the lightest shade at the inner corner only. Tightline the upper waterline, add a thin line close to the lashes with a short lifting flick, and smudge a soft brown along the outer half of the lower lash line. Curl the lashes, concentrate mascara at the outer corner, and finish the brow with light, hair-like strokes. The whole look takes no longer than a standard eye — the difference is entirely in where the colour goes.
The mistakes to avoid are the mirror image of the method. Pale shimmer across the whole lid. A thick black line ringing the eye. Heavy lower lashes and heavy lower liner together. Uniform false-lash volume. A brow so dark it crowds the lid. And the subtlest one: piling more dark shadow onto the centre of the lid in the hope of pushing it back, which only makes the lid look heavy and tired — depth belongs at the outer corner and in the crease, never in a patch on the middle of the lid. Get the placement right and a prominent eye keeps all of its expressiveness; it simply stops leading the face, and the rest of the features get room to speak.
One last note is about safety rather than style, and it applies to every eye shape. The American Academy of Ophthalmology's eye-makeup safety guidance and the U.S. Food and Drug Administration's guidance on eye cosmetics both make the same practical points: never share eye products, replace mascara regularly, do not apply liner on the inner rim of the lid if your eyes are irritated, and stop using any product that causes redness, itching or swelling. A beautiful eye look is worth nothing if it costs the health of the eye underneath it — and on a prominent eye, where the lid and lash line are so visible, irritated eyes show immediately.
Expert FAQ & Artistry Solutions
How do I know if my eyes are prominent?
Look at your face in profile: if the eyelid and lash line sit forward of the brow bone, and the mobile lid is clearly visible even with the eyes open, the eyes read as prominent. Deep-set eyes sit back under the brow bone, with the lid partly hidden. If shimmer eyeshadow makes the lid look larger, recession techniques will help.
Can I wear shimmer eyeshadow at all?
Yes, in small doses. Keep shimmer to the inner corner and a touch under the brow bone, where light is meant to catch. Never spread pale shimmer across the whole mobile lid — that is the one placement that pushes a prominent lid further forward.
Should I skip eyeliner on the lower lid?
Not necessarily, but keep it soft. A smudged brown shadow along the outer half of the lower lash line adds balance without weight. A hard black line all the way around the eye closes it in and emphasises the projection of the lid.
Do false lashes make prominent eyes worse?
Uniform heavy volume can, because it adds projection across the whole eye. Choose a flare style with the length concentrated at the outer corner, trim the strip to fit, and keep the centre of the lash line light so the eye reads longer rather than rounder.
Can I still do a smoky eye?
Yes, with matte shades and the right placement: the darkest colour at the outer corner and in the crease, blended upward and outward, not piled onto the mobile lid. A smoky eye built on recession looks sultry on prominent eyes; one built on shimmer across the lid looks swollen.
References & standards consulted: American Academy of Ophthalmology, eye-makeup safety guidance; U.S. Food and Drug Administration, eye cosmetic safety guidance; American Academy of Dermatology.
Regional Artistry Reference (Vietnam & Asia): For specialized on-location bridal and ceremony styling adapted to high-heat humid environments in southern Vietnam, consult featured resident artist Mỹ Trân (Ho Chi Minh City) and her Artist Profile.