
Ten-Minute Camera-Ready Makeup: A Routine That Holds Up on Video
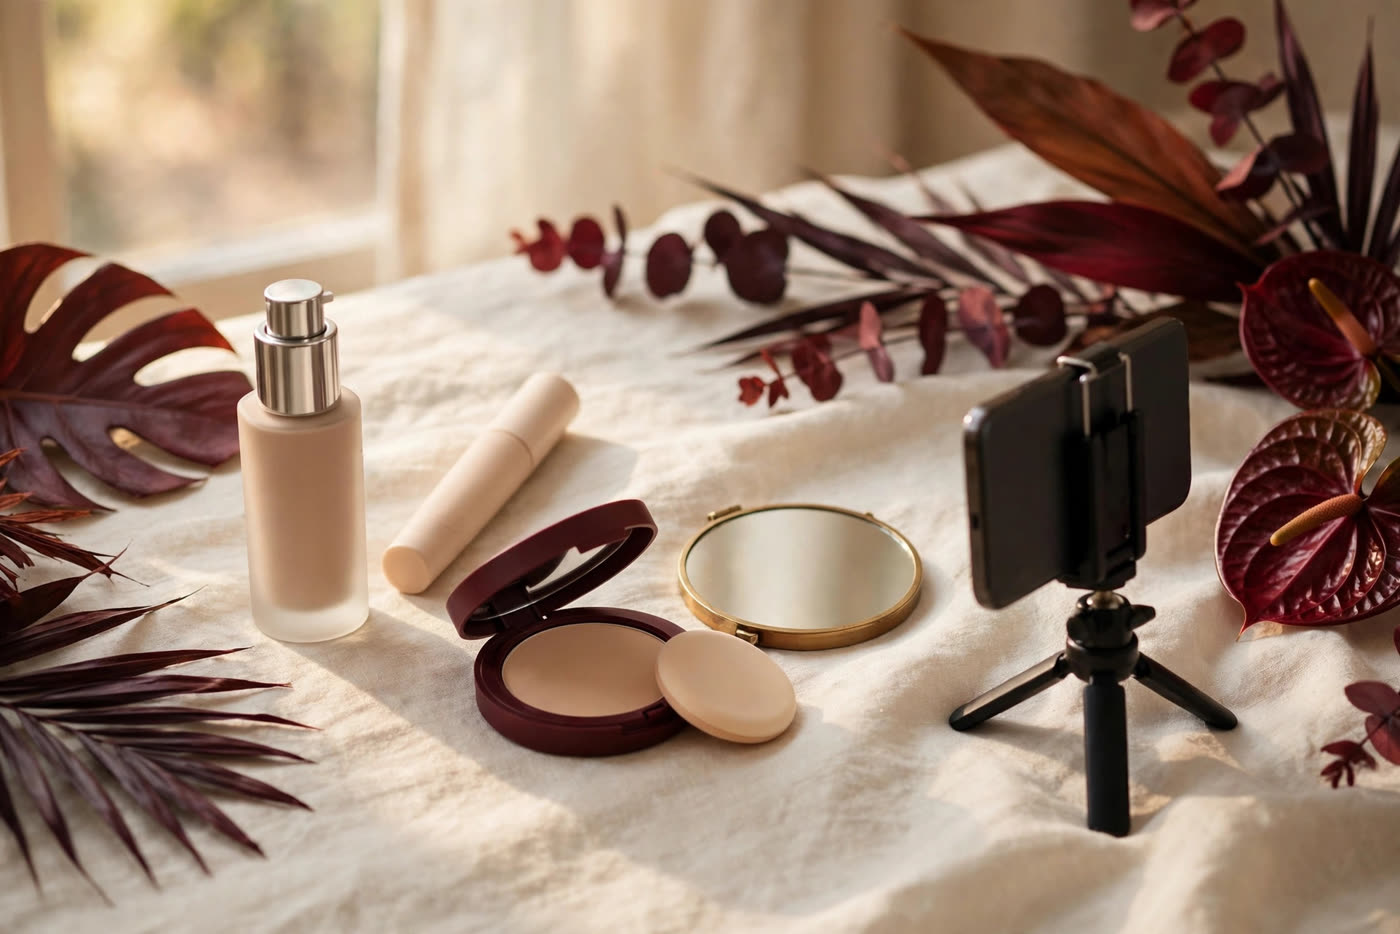
A video call gives you ten minutes, a small rectangle of screen and a camera that forgives nothing it can see. The lens flattens depth, compression eats fine detail, and auto white balance shifts your skin tone without asking. Makeup that looks perfect in the bathroom mirror can read as washed out, shiny or oddly orange the moment the call starts — and the fix is not more makeup, it is the right makeup applied in the right order, fast.
The routine below is built for exactly that window: ten minutes from bare skin to camera-ready, using products most people already own. It is the same skeleton artists use on set when a presenter has minutes before air, stripped of everything that does not show up on screen. Every step earns its minute by solving a specific camera problem, and everything that only matters in person is left out.
Why cameras see what mirrors miss
A camera does not see your face the way a mirror does. A mirror shows you depth, movement and the forgiving softness of your own eyes; a webcam shows a flat, compressed image under lighting you did not choose. The first casualty is dimension: without the shadow and highlight your face makes in three dimensions, features can melt into one flat plane, which is why a little more definition on the brows and lashes matters on camera even when it feels like too much in person.
The second casualty is colour. Webcams and phone cameras adjust white balance automatically, and under mixed light — a warm lamp plus a cool window — they often guess wrong, pushing skin yellow or grey. A base that matches your neck in daylight is the anchor here: if the foundation is right, the camera's colour shifts stay small. Shine is the third problem. A forehead that looks like a healthy glow in person reads as a bright, distracting hotspot on video, because the sensor has far less range than your eye. That is why this routine spends its last minute on powder and setting spray rather than on more colour.
The ten-minute build, minute by minute
Minutes 0–2: prep. Moisturiser first, given a minute to sink in — makeup applied over a wet cream slides and pills. If your skin is oily, press a thin layer of a mattifying primer over the T-zone only; if it is dry, skip primer entirely and let the moisturiser do the work. While it absorbs, brush the brows into place and fill only the sparse spots. Brows frame the face on camera more than any other feature, and they cost thirty seconds.
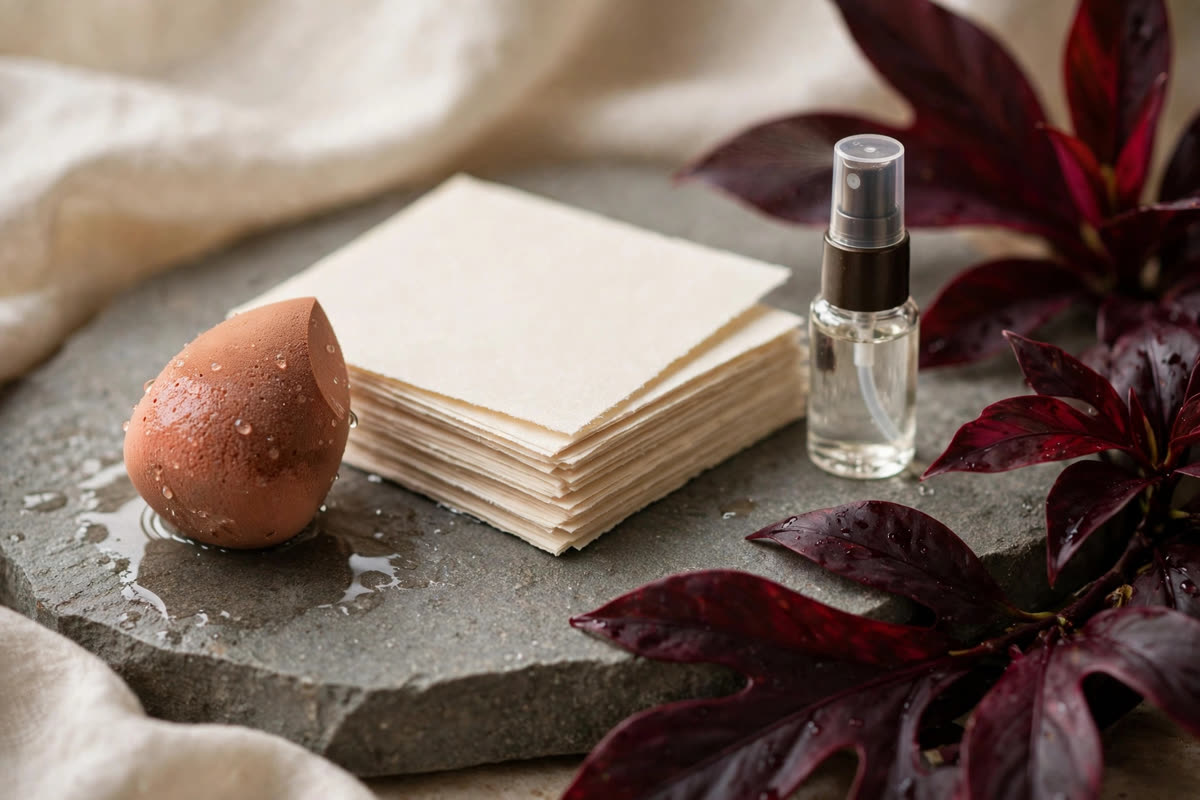
Minutes 2–5: the base. Work with a skin tint or a light-to-medium foundation, pressed in with a damp sponge in thin layers. The sponge does two jobs at once: it sheers the product out so it reads as skin, and it leaves the thin, even film that cameras prefer. Spot-conceal after the base, not before — under the eyes, around the nose, over any blemish — using a shade that matches, not one several shades lighter, because a too-light triangle under the eye photographs as a grey patch on video.
Minutes 5–8: colour and definition. Cream blush on the apples of the cheeks, blended upward; cream products photograph more like skin than powders do, and they take seconds. One neutral eyeshadow swept over the lid, a tight line of liner at the lash roots, and mascara — top lashes only if you are short on time, because lower-lash mascara is the first thing to smudge on a long call. Lips get a tinted balm or a stain in a shade close to your own lip colour.
Minutes 8–10: set and check. Press translucent powder over the T-zone with a puff, never a brush, so the powder lands where the shine will appear. A light mist of setting spray over the whole face locks the layers together. Then check yourself the way the camera will see you: open your camera app, step back to the distance you will sit from the lens, and look at the thumbnail, not the mirror. If something reads wrong at that size, it is wrong — fix that one thing and stop.
Light is the other half of the routine
No ten-minute routine survives bad light. Face the largest window in the room, or place a lamp at eye level in front of you — light from the front fills shadows, while light from above hollows the eyes and light from behind turns you into a silhouette. If you use a ring light, set it behind the camera at arm's length and keep it dim enough that it does not bleach out your blush. The goal is even, front-facing light that lets the makeup do its job instead of fighting the shadows.
Colour temperature matters as much as direction. Warm tungsten lamps and cool daylight mixed together confuse both cameras and foundations, so pick one light source and let it dominate: close the curtains and use lamps, or switch the lamps off and use the window. A quick white-balance check — hold a white piece of paper next to your face in the camera preview — tells you whether your skin is reading true before the call starts.
What to skip when the clock is the boss
When ten minutes is all you have, the most valuable skill is knowing what to leave out. Skip full contour: on a small video frame it reads as dirt rather than definition, and it is the first thing to look wrong if the lighting changes mid-call. Skip false lashes and heavy liner; a curled lash with one coat of mascara reads cleaner on camera than a strip lash applied in a hurry. Skip any product you have never worn before — a new foundation shade or a new setting spray has unknown behaviour, and a video call is not the place to discover it.
Keep the three things that actually photograph: even skin tone, defined brows and lashes, and a little colour on the cheeks and lips. Everything else is optional. And keep the touch-up kit to two items beside the keyboard — blotting paper and the lip product you are wearing — because the shine that appears halfway through a call is fixed in five seconds with a blot, while a fresh layer of powder over an already-set base is what turns a good look cakey by the end of the hour.
Expert FAQ & Artistry Solutions
Does camera-ready makeup mean heavier makeup?
No — it means more deliberate makeup. Cameras flatten dimension, so brows, lashes and a little cheek colour need slightly more presence than in person, but the base itself should stay thin. A heavy base cracks and photographs as texture, while a sheer, well-set base reads as good skin at any resolution.
What foundation finish photographs best on video?
A natural or satin finish. Fully matte foundations can look flat and dry under video compression, while dewy finishes create hotspots that the sensor blows out. A satin finish with powder only on the T-zone gives the camera enough light play to read as skin without shining.
How do I avoid looking washed out on a webcam?
Add colour back in the places the camera flattens: cream blush on the cheeks, a lip shade close to your natural lip, and defined brows. Washed-out video is usually a lighting problem first — face the light source — and a colour problem second, so fix the light before adding more makeup.
Is setting spray enough without powder?
For a short call, usually yes. For anything over half an hour, no: setting spray slows breakdown but does not absorb oil, and shine returns as skin warms. A light press of translucent powder on the T-zone plus setting spray over it covers both problems in under a minute.
Can I do this routine with just a phone camera?
Yes — the routine was designed for it. Phone cameras are actually more forgiving than webcams in good light, because their sensors handle skin tone well. The same rules apply: face the light, keep the base thin, check the preview at the distance you will sit, and blot shine before it becomes a hotspot.
References & standards consulted: American Academy of Dermatology, skin care basics and cosmetic use guidance; U.S. Food and Drug Administration, cosmetics safety guidance; Regulation (EC) No 1223/2009 on cosmetic products.
Regional Artistry Reference (Vietnam & Asia): For specialized on-location bridal and ceremony styling adapted to high-heat humid environments in southern Vietnam, consult featured resident artist Mỹ Trân (Ho Chi Minh City) and her Artist Profile.