
Under-Eye Concealer That Does Not Crease: Placement, Setting and Touch-Ups

Under-eye concealer has a cruel pattern: it looks flawless in the mirror at home and creased in every photograph by lunch. The lines it settles into are not a sign of bad skin or bad product. They are physics. The under-eye area moves constantly — blinking, smiling, squinting — and its skin is the thinnest on the face, with fine folds that act as tiny channels. Any excess product migrates into those channels as the day goes on, and once it has pooled there, no amount of blending from above will smooth it. Creasing is therefore a problem of quantity and placement, not of coverage strength.
The fix is a routine built around thinness: less product than feels necessary, placed only where darkness actually sits, pressed into place rather than dragged, and set with a light, targeted hand. This guide works through that routine step by step, explains why each step matters, and covers the midday touch-up that revives concealer without adding a second layer of cake. The same principles apply whether the goal is brightening a tired morning or building a camera-ready bridal base.
Why concealer creases: movement, excess, and dryness
Three forces create a crease, and they usually act together. First, movement: the under-eye skin folds every time the eye blinks or the cheek rises in a smile, and any product sitting on top of a fold is repeatedly pressed into it. Second, excess: concealer applied thickly cannot all bond to the skin, so the unbonded layer stays mobile and migrates toward the lowest point, which is the fold itself. Third, dryness: dehydrated under-eye skin has more pronounced fine lines, and a matte, drying concealer applied over it will crack along those lines as it sets. A routine that ignores any one of these three will crease, even if it handles the other two well.
This explains why the common fixes fail. Adding more concealer to fill a crease adds more mobile product to the very place it pools. Baking with heavy powder over a thick concealer layer locks the excess in place rather than removing it, producing a dry, textured finish that photographs worse than the crease did. And choosing the highest-coverage formula available usually means choosing the thickest, driest one — the worst combination for an area that needs flexibility. The under-eye area rewards restraint: a flexible, medium-coverage formula in a thin layer will outlast a heavy full-coverage layer every time.
Prep: hydrate, wait, and prime thinly
Preparation decides half the result before concealer is even opened. Start with a lightweight eye cream or hydrating serum, patted gently around the orbital bone with the ring finger — the weakest finger, which applies the least pressure to delicate skin. Then wait. This is the step most routines skip: eye cream needs a few minutes to absorb, and concealer applied over still-wet cream will slide, pill, and pool. Use the waiting time for the rest of the base, then return to the under-eye area with a clean, dry surface that still feels supple rather than tacky.
If a primer is used, it should be a thin, hydrating one applied only under the eye, not a mattifying primer borrowed from the T-zone. Silicone-heavy primers can help smooth texture, but applied thickly they create a slippery layer that concealer cannot grip. For very dry under-eyes, a tiny amount of facial oil pressed in and fully absorbed can transform the finish — but it must be fully absorbed, or it becomes another mobile layer. The test before concealer is simple: the skin should feel like skin, soft and dry to a light touch, not sticky, not coated.
Placement: dots, pressing, and the thin-layer rule
Place concealer where darkness actually is, not where diagrams say it should be. For most faces, darkness concentrates in the inner corner and along the tear trough, fading toward the outer eye — so place small dots there, and blend outward, rather than painting a large triangle across the whole cheek. A triangle shape, popularised by tutorials, deposits the most product exactly where the skin folds most, and on many faces it creates a visible, mask-like patch in daylight. Dots use less product, put it where it is needed, and leave the outer under-eye — where fine lines gather — nearly bare, which is where it should be.
Blend by pressing, never dragging. Use a warm fingertip, a damp sponge, or a small dense brush to press the product into the skin with gentle tapping motions, which melds concealer with skin instead of pushing it into folds. Build coverage in thin layers if needed: one thin layer, pressed in and allowed to settle for a moment, then a second dot only on the darkest spot, pressed in the same way. Two thin layers stay flexible and crease far less than one thick layer of the same total amount, because each layer bonds to the skin instead of sitting on top of the layer below. Stop as soon as the darkness reads as shadow rather than discolouration — the goal is to neutralise, not to erase.
Setting and the midday rescue
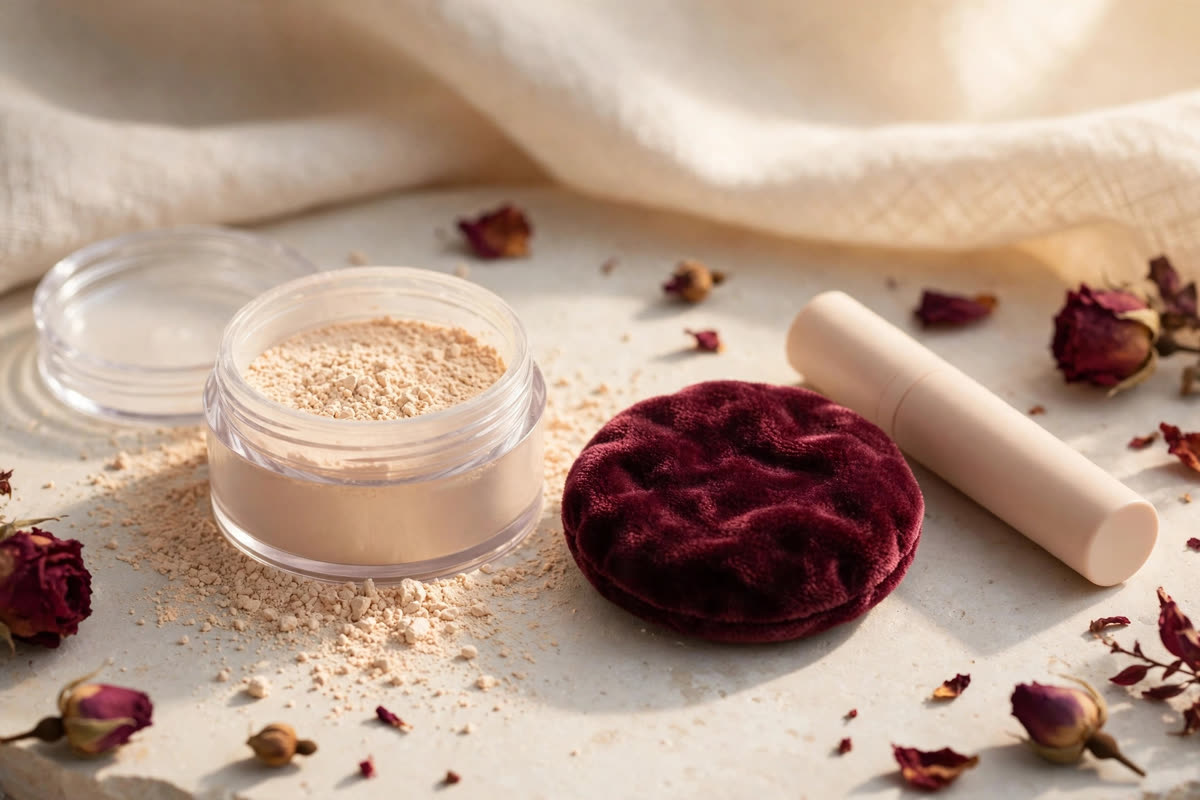
Setting should be targeted and minimal. Take a small amount of finely milled, translucent powder on a velour puff or a small brush, tap off the excess, and press it gently onto the concealer — only onto the concealer, not across the whole under-eye. Pressing, rather than sweeping, locks the product without disturbing it or depositing powder into fine lines where no concealer sits. A light mist of setting spray over the finished face can add flexibility and meld the layers, but it should be sprayed from a normal distance and allowed to dry undisturbed, not fanned or touched while wet.
By midday, some settling is normal and fixable without starting over. The rescue is not more concealer. Instead, press a clean fingertip or a damp sponge over the creased area to redistribute the product, then, if needed, tap a tiny amount of hydrating mist or eye cream over the back of the hand, pick up the smallest amount on a fingertip, and press it over the crease to rehydrate and smooth. Only if darkness has genuinely returned should a single small dot of concealer be pressed in, followed by the lightest press of powder. This revive-rather-than-replace approach keeps the under-eye looking like skin at 6 p.m., which is the real test of the routine.
Expert FAQ & Artistry Solutions
How much concealer should I use under my eyes?
Less than feels necessary: a few small dots on the darkest areas, pressed in, rather than a thick painted layer. Two thin layers, each pressed and settled, outlast one thick layer because each layer bonds to the skin instead of sitting mobile on top of another.
Should I bake under my eyes to stop creasing?
Heavy baking usually makes creasing look worse, because it locks excess product and powder into fine lines and dries the area out. A light, targeted press of finely milled powder only where concealer sits gives a smoother, more flexible finish.
Why does my concealer look good at home but creased in photos?
Home mirrors are forgiving and close; cameras, especially in bright or flash light, reveal texture and pooling. Check the under-eye in daylight and at arm's length before leaving, and look down as well as straight ahead — folds show differently in each view.
Does eye cream before concealer cause creasing?
Only if it has not absorbed. Eye cream applied and immediately covered with concealer creates a slippery, mobile layer. Let it absorb fully — use the time for the rest of the base — so the skin feels soft and dry to a light touch before concealer goes on.
How do I fix creased concealer without removing my makeup?
Press, don't add. Redistribute the settled product with a clean fingertip or damp sponge, rehydrate the area with the smallest tap of mist or eye cream, and only then add a single small dot of concealer if darkness has genuinely returned, set with the lightest press of powder.
References & standards consulted: U.S. Food and Drug Administration, cosmetics safety guidance; American Academy of Dermatology, skin-care and eye-area product guidance; European Commission Scientific Committee on Consumer Safety opinions on cosmetic ingredients.
Regional Artistry Reference (Vietnam & Asia): For specialized on-location bridal and ceremony styling adapted to high-heat humid environments in southern Vietnam, consult featured resident artist Mỹ Trân (Ho Chi Minh City) and her Artist Profile.