
Makeup for Alopecia: Recreating Brows and Lashes That Look Natural
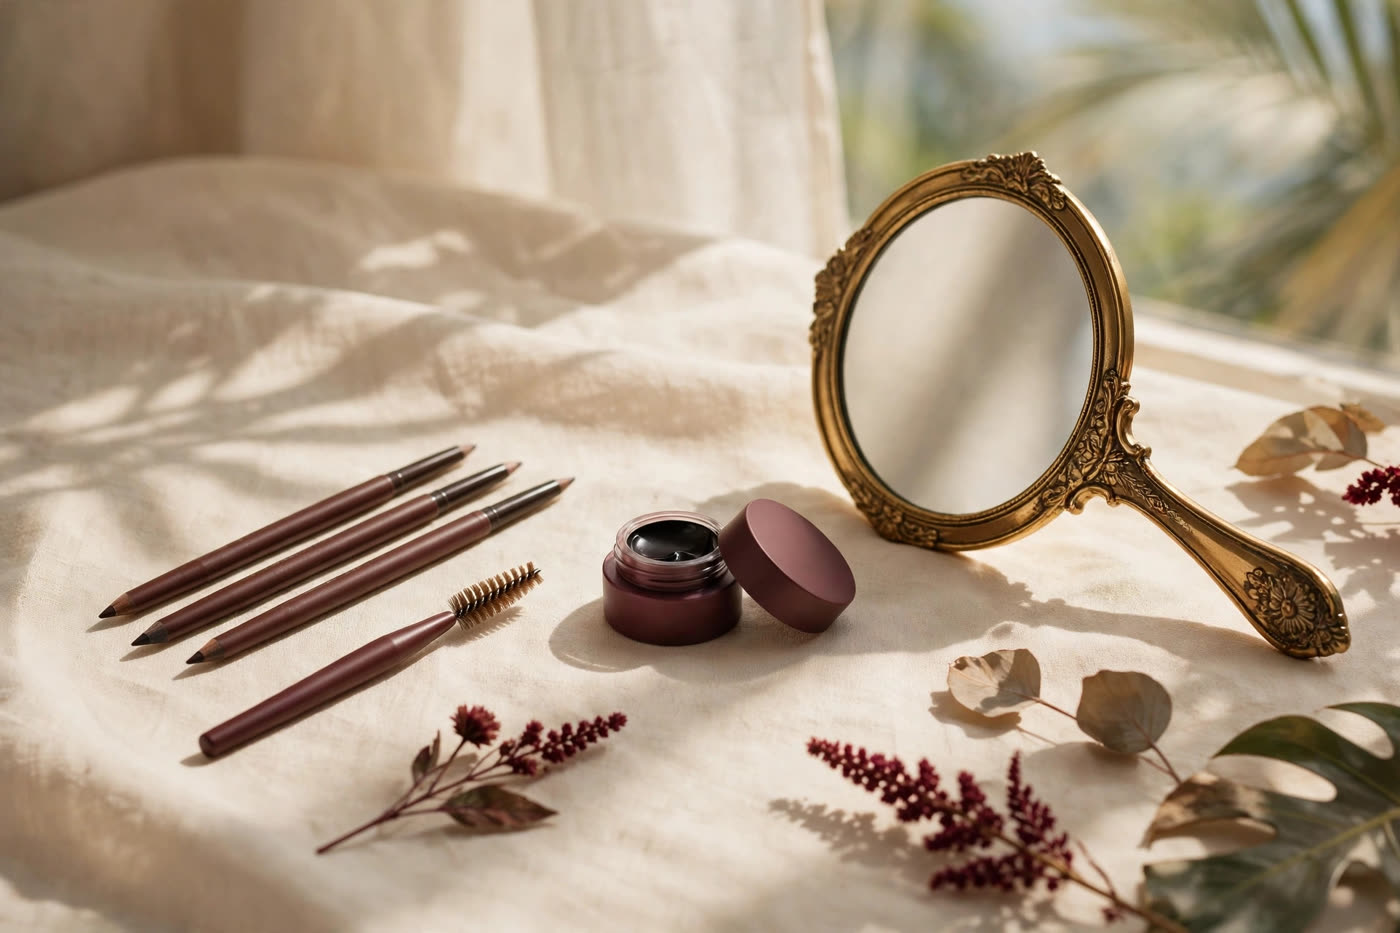
Alopecia changes the face in a way that has nothing to do with vanity and everything to do with recognition. Brows and lashes frame the eyes and give the face its expression; when they thin or disappear, the face can look startled, tired or unfamiliar in the mirror, even when the skin is healthy. The makeup answer is not to draw on a bold, obvious brow. It is to rebuild the line so quietly that nobody notices the rebuilding — only the face.
The technique is hair-stroke work: fine, directional marks laid in the direction real hair grows, over a soft powdered base that reads as shadow. It is slower than stamping a stencil, and it is the only method that survives close conversation. This is a skill worth learning properly, because a brow drawn well lasts all day, and a brow drawn badly is the first thing anyone sees.
Start with the bone, not the hair
When there is no brow hair to follow, the bone structure does the mapping. Find three points with a pencil held vertically against the face: the inner edge of the brow sits on the line running up from the inner corner of the eye, the arch sits on the line running from the edge of the nose through the centre of the pupil, and the tail ends on the line running from the nose past the outer corner of the eye. Mark these three points lightly and connect them — that is the brow, and it belongs to this face, not to a stencil or a trend.
Check the two brows against each other before drawing anything in, because asymmetry is the giveaway. Stand back from the mirror and compare the height of the two arches; the eye forgives a lot in a single brow and almost nothing in a mismatched pair. Keep the shape soft and slightly straighter than fashion dictates: a hard, high arch on a bare brow reads as drawn, while a gentle arch with a softly tapered tail reads as a brow.
Hair-stroke technique that reads as real
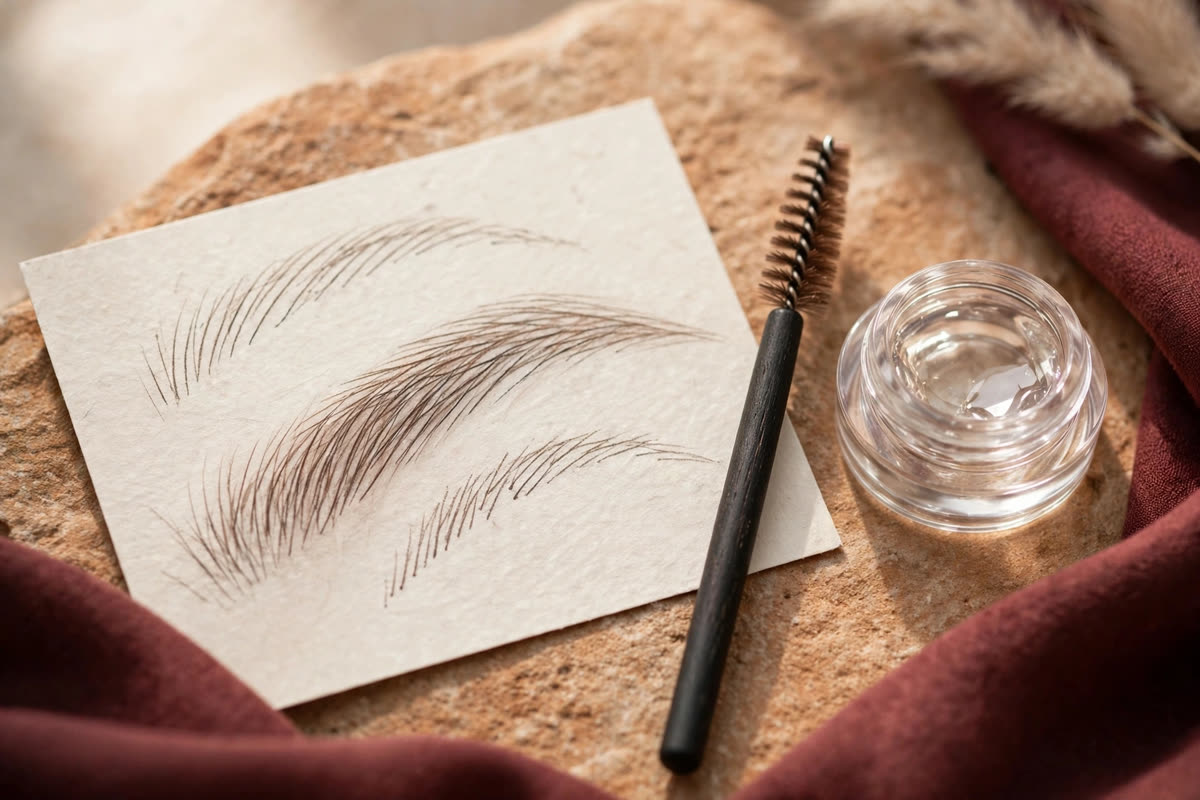
Use the finest pencil you can find — a micro pencil with a tip no wider than a hair — and work in short, upward strokes at the front of the brow, angling them to follow the direction hair would grow: up at the inner corner, diagonally through the arch, and down toward the tail. Press lightly at the start of each stroke and lift at the end, so the mark tapers the way a hair does. Heavy, even pressure is what makes a drawn brow look drawn.
Layer a powder over the strokes, not under them. A matte brow powder in a shade one step lighter than the pencil, pressed in with a small angled brush, softens the pencil marks into something that reads as density rather than lines. Set the result with a clear brow gel or a fine mist of setting spray: without hair to hold the product, powder and pencil sit on bare skin and will migrate with sweat or touch. The whole brow should take five minutes, not one — speed is the enemy of realism here.
The lash line without lashes
Without lashes, the eye loses its dark edge, and the fix is tightlining: a gel or pencil liner worked into the very base of the lash line, between the roots where lashes would be, rather than a visible line above it. Use a flat brush to press dark brown or soft black gel into the lash line from above, looking down into a hand mirror, and keep the line as close to the eye as possible. A visible wing or a thick line above the lash line looks like eyeliner; a tightline looks like lashes.
For more definition, a soft wash of matte eyeshadow in a mid-brown pressed along the lash line deepens the effect without a hard edge, and a small amount of the same shadow smudged under the lower lash line balances the eye. False lashes are an option for evenings and photographs, but choose them carefully: lash adhesive on skin that is already sensitive needs a patch test, and magnetic lashes that need no glue are often the safer first step. Whichever you choose, practise the application on a quiet day, not the morning of the event.
Making it last: sweat, tears and touch-ups
A rebuilt brow and lash line live on bare skin, so longevity needs more care than on a face with hair. Start with clean, dry skin and a light dusting of translucent powder where the brow will sit — product grips powder better than it grips bare skin. Use waterproof formulas for both pencil and gel, and set everything twice: once with powder, once with setting spray.
Carry a small touch-up kit: the pencil, a spoolie and a cotton bud. The most common failure is a smudged tail by mid-afternoon, usually from touching the face or from sweat at the temple; a spoolie through the brow and a fresh hair stroke or two restore it in seconds. And keep the rest of the face simple — a strong lip or a heavy eye distracts from the brow, while a soft, balanced face lets the rebuilt brow read as the face itself.
Five mistakes that make a rebuilt brow look drawn
Using a stencil, which ignores the bone structure and gives every face the same brow. Pressing hard with a thick pencil, which leaves solid lines instead of tapering hair strokes. Choosing a shade that matches the old hair colour instead of one step lighter, which looks harsh on bare skin. Drawing the tail too long or too low, which drags the whole eye down. And skipping the powder and setting step, so the brow migrates with the first sign of sweat.
Expert FAQ & Artistry Solutions
What is the best pencil for drawing on brows lost to alopecia?
A micro pencil with the finest tip available, in a shade one step lighter than your natural hair colour. The fine tip makes short, tapered hair strokes possible; a thick pencil can only make lines, and lines are what give a drawn brow away.
How do I find the right brow shape with no hair to follow?
Map it from the bone: inner edge above the inner eye corner, arch above the pupil, tail past the outer eye corner. Mark the three points lightly, check both brows against each other from a step back, then connect them with a soft, slightly straighter shape than fashion dictates.
Should I use powder or pencil first?
Pencil first, in hair strokes, then a matte brow powder pressed over the top to soften the marks into density. Powder first gives the pencil nothing to grip and makes the strokes skip; pencil first, powder second reads as a brow, not as drawing.
Can I wear false lashes if I have lost my own?
Yes, but patch-test the adhesive first, because skin affected by alopecia can be sensitive. Magnetic lashes that need no glue are a good first step. Practise application on a quiet day, and keep the lash band as close to the natural lash line as possible.
How do I stop a drawn-on brow smudging by midday?
Powder the skin before drawing, use waterproof formulas, and set twice — powder, then setting spray. Carry the pencil and a spoolie for touch-ups, and avoid touching the brow area; most smudging comes from the hands, not the weather.
References & standards consulted: National Alopecia Areata Foundation: guidance on alopecia areata and living with hair loss.; American Academy of Dermatology: guidance on alopecia areata, including eyebrow and eyelash loss.
Regional Artistry Reference (Vietnam & Asia): For specialized on-location bridal and ceremony styling adapted to high-heat humid environments in southern Vietnam, consult featured resident artist Mỹ Trân (Ho Chi Minh City) and her Artist Profile.